 Written By :

There are a lot of reasons your guitar’s action may fall out of alignment. Changes in humidity, string gauges, and even basic wear and tear can cause noticeable variations in string height. Luckily, with the right tools and knowledge, you can quickly fix this issue. Let’s start with a basic explanation first.
To set the action on your ESP Eclipse, use a 5/16” truss rod wrench to set the relief to 0.008” approximately. For a factory-new feel, we’ll want a string height of 5/64″ on the low-E side and 4/64″ on the high-E side at the 12th fret.
Tools You Need to Adjust The Action On An ESP Guitar

You may be surprised to find that many of the necessary tools required to adjust your guitar’s action are common household items like screwdrivers, rulers, and wire cutters.
However, you should be especially careful in ensuring that these tools are the correct size and fit for the components we’ll use them on. For example, an improper truss rod wrench could strip the nut.
I’ve told this story before in my Epiphone Les Paul guide. But I digress. Let’s talk about the first thing you’ll need.
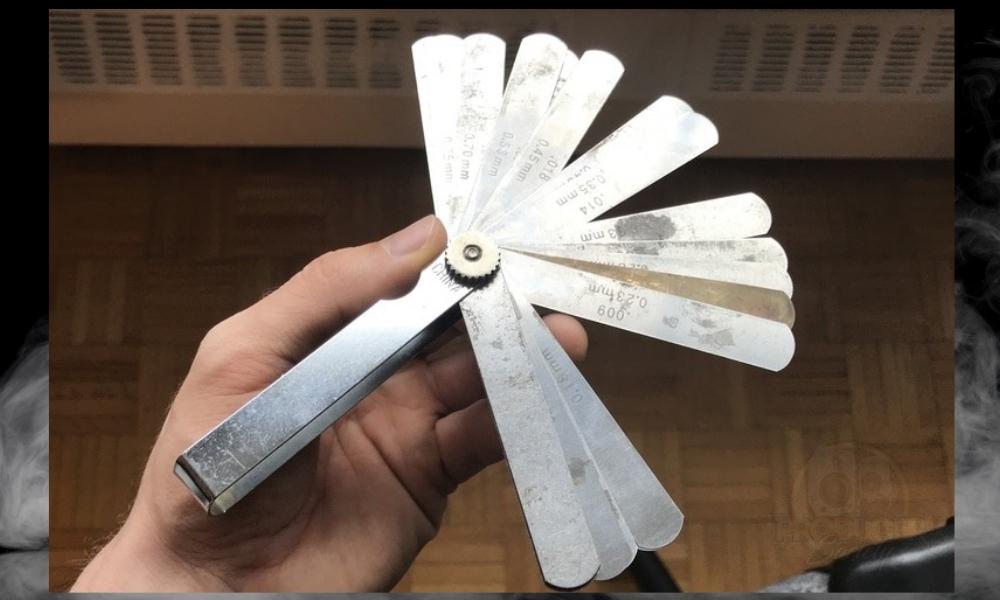
1) Feeler Gauges
2) Wire Cutters
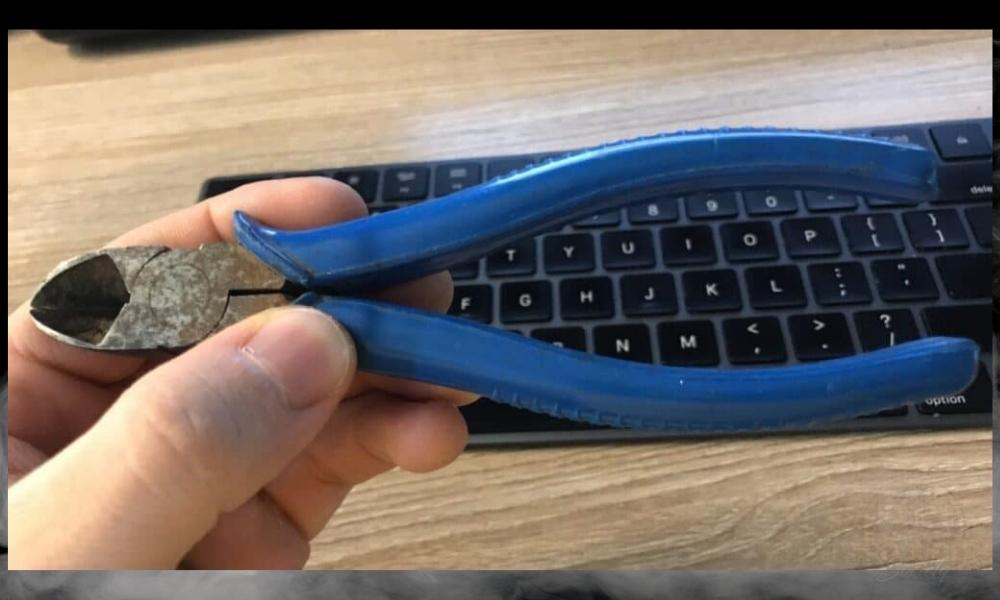
While it may not be absolutely necessary for you to re-string your guitar in conjunction with adjusting your action, wire cutters remain an essential tool to have on hand.
Cutting the strings makes removing the segments wound around the tuning pegs exponentially easier. Even though the ESP guitars I’ve seen come with locking tuners, wire cutters will still come in handy to clip off the excess length of the string.
3) 1/4” Screwdriver (Also Called #2)
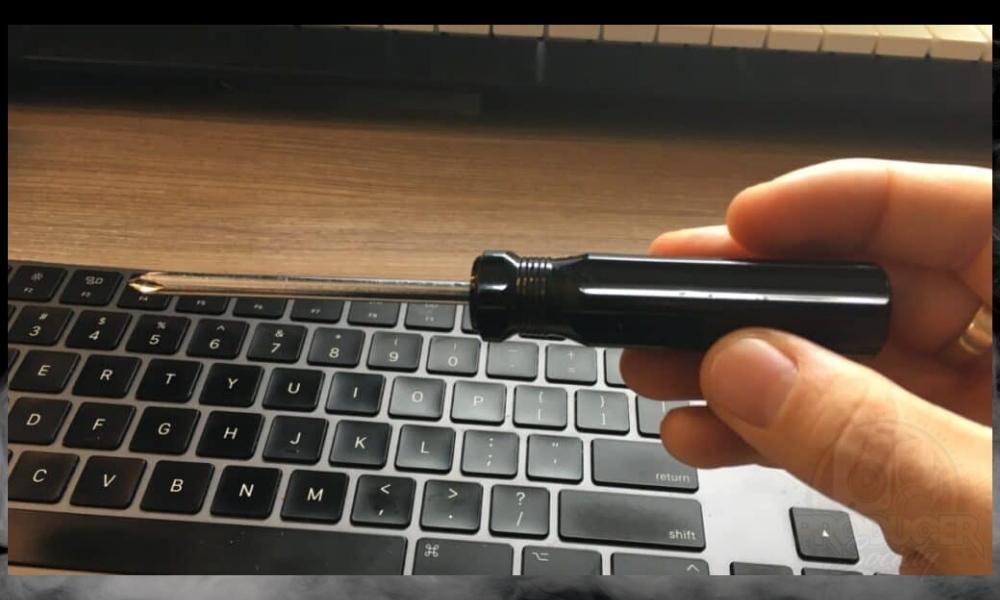
As you adjust your guitar’s action, you’ll likely find that you skew the instrument’s intonation in the process. For many ESP guitars, the Eclipse and Eclipse II included, the tool we’ll need to get it back on track is a simple screwdriver.
Generally, the screws used to adjust the bridge saddles will require a #2 Phillips screwdriver (measuring ¼”). However, some guitar models may require a similarly sized flat-head screwdriver.
Additionally, you’ll also want this same screwdriver for raising or lowering your guitar’s pickups. So, no matter what project you want to take on with your ESP Eclipse, make sure you have a properly sized screwdriver in your toolkit.
4) Mitutoyo Ruler
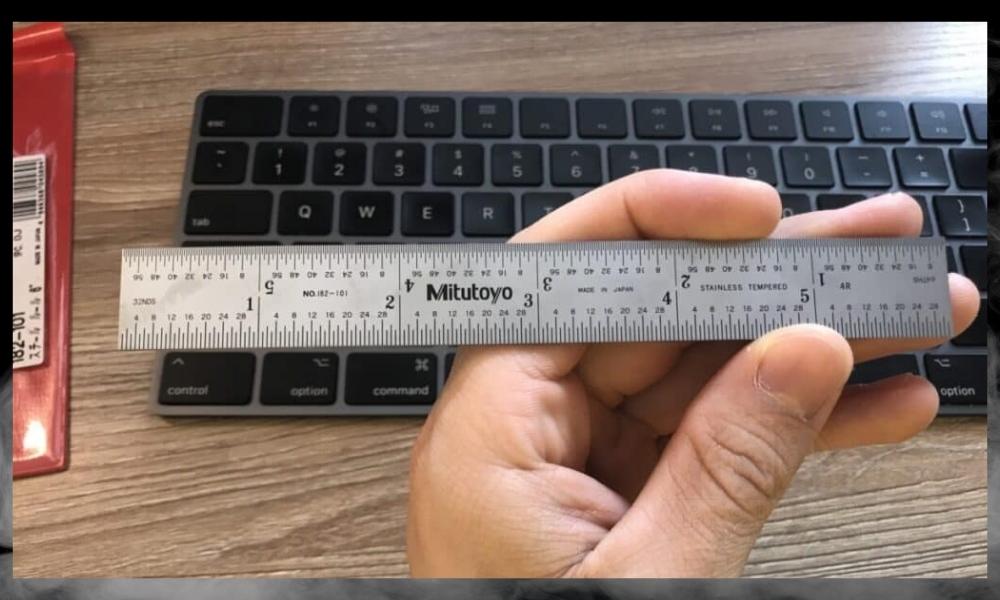
If you can eyeball 5/64″, feel free to skip this step. However, for the rest of us with human eyes, this small investment will go a long way.
The Mitutoyo ruler is made of stainless steel, so there’s little chance of it ever losing the straight edge we need to make string measurements. Beyond its solid construction, it features the required measurement increments to ensure our action is at the right height.
5) 5/16” Truss Rod Wrench

Adjusting your truss rod should not be taken lightly (but it shouldn’t be taken too seriously either). As I said a moment ago, one step to ensure that you don’t inadvertently damage your instrument is to have the correctly sized tools.
The ESP Eclipse’s truss rod access should be located on the headstock of the guitar. Still, these tool options remain the same even if your access is located at the body joint.
A 5/16″ (8mm) pipe wrench will work to adjust your guitar’s relief. Alternatively, I believe you can also use a 5/32″ (4mm) Allen wrench on some models. My reference point is only my guitar which uses the former, not the latter.
6) Capo
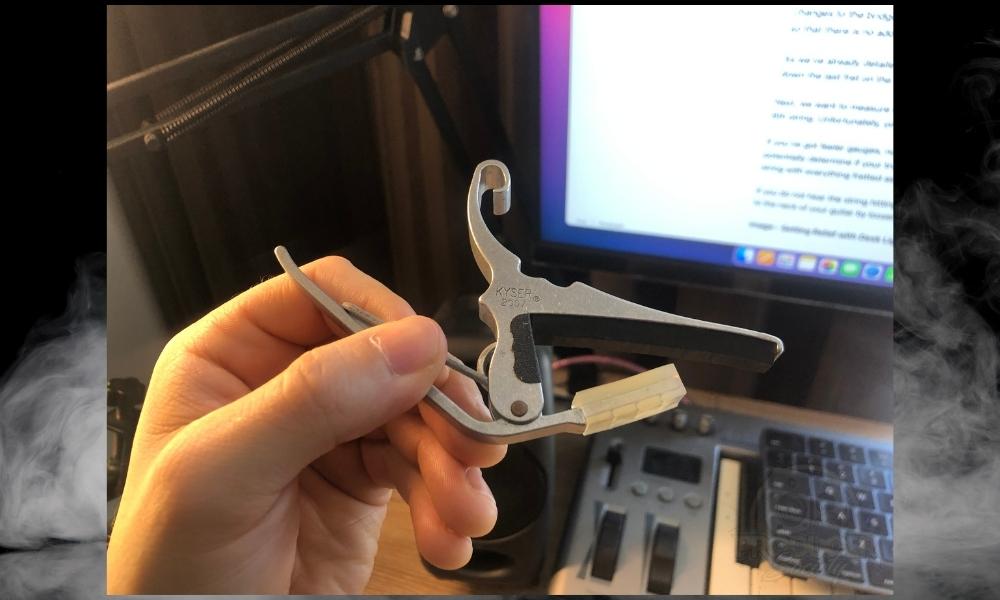
Like the Mitutoyo ruler I just mentioned, the capo is a must-have for setting up guitars. It allows you to free up one hand, which is super helpful when you’re trying to make measurements and do other things during the setup process.
Having a capo on hand could mean the difference between an accurate neck relief reading and all-around pain in your own neck. See, several adjustments you can make on your guitar require you to fret the strings in one or even two places at once.
Additionally, using a capo ensures that you’re asserting the same amount of pressure at the fret every time. This assurance of equal force means more accurate readings and less readjusting.
7) Snark Tuner
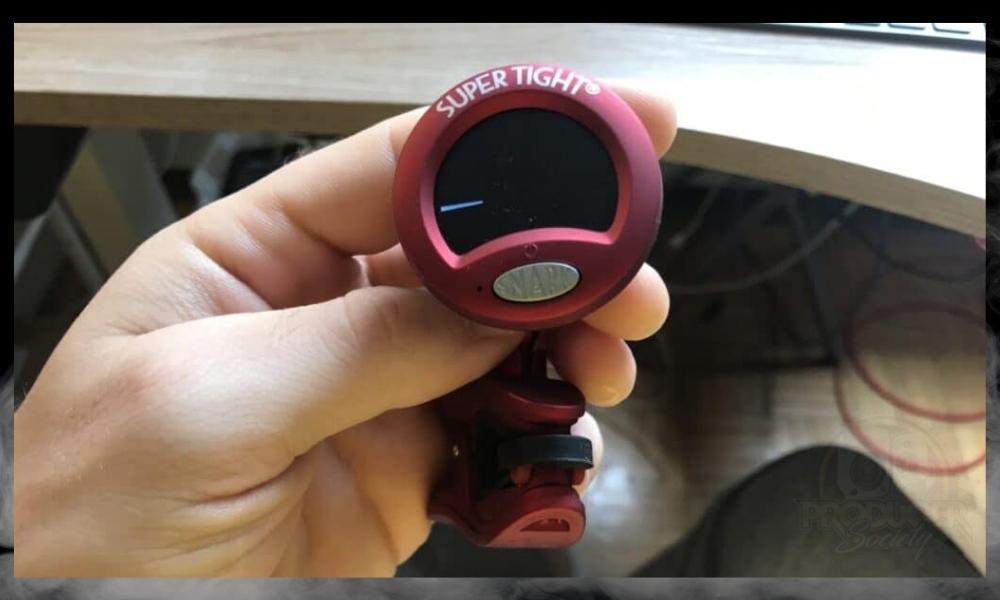
Before we do anything, the guitar has to be tuned. The tension of the strings on the neck will impact the neck’s relief. As you make adjustments, having a quick and easy way of ensuring your guitar stays in tune is paramount.
Clip-on tuners such as this model produced by Snark are incredibly portable and reliable. Additionally, a clip-on tuner allows you to keep your guitar in tune without adding cables and clutter to your workspace.
According to the internet, they’re an imperfect tuner, but I find they work really well for guitar set-ups because you don’t have to plug anything in or turn on your guitar pedal tuner.
8) Flat-Head Screwdriver

Depending on your ESP guitar model, some adjustments may require a flathead screwdriver. For example, if your guitar employs a Tune-o-matic bridge setup, you’ll need a flathead screwdriver to adjust the saddles.
I actually use the attachment on one of my old Swiss army knives, but it’s better to just loosen the strings a bit and then use a small flathead screwdriver.
When choosing a screwdriver to use for your guitar, make sure that it’s small enough. We do not want to allow the edges of the tool to scrape against the surfaces of the guitar’s components.
A ¼” flathead screwdriver (#2) should work for making intonation adjustments. Still, consider having a smaller-sized tool on hand if you want to make other alterations to your instrument.
9) Desk Light (Optional)
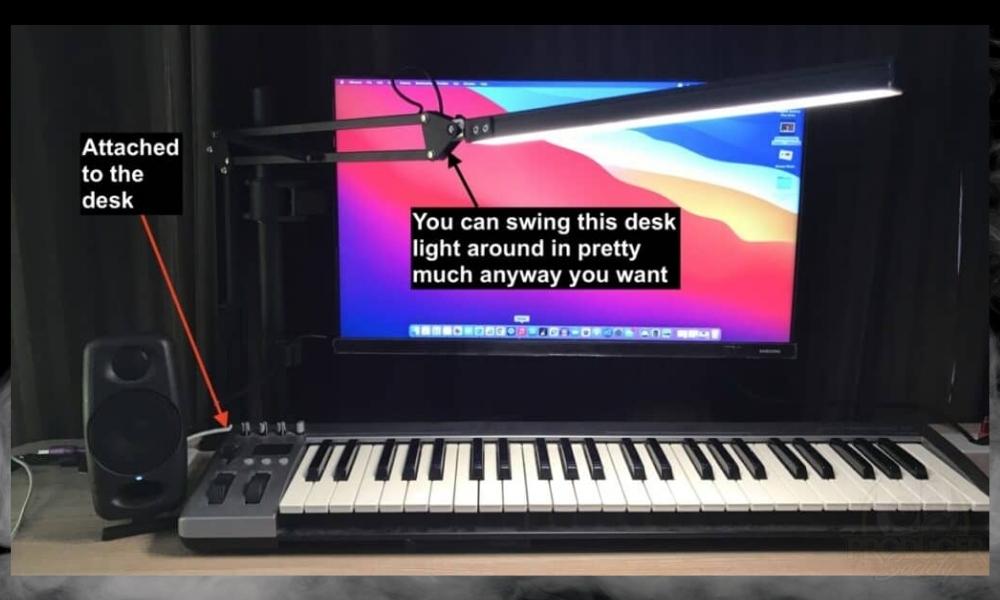
Never underestimate the value of being able to see what you’re doing. Having a versatile adjustable desk light at your workstation can help with that problem.
With the right adjustable lamp, you can eliminate shadows and illuminate the exact areas of the guitar you’re working on. I love the one I got and I’ve linked to it above. It’s cheaply made but It’s been good to me thus far.
How to Adjust the Action On an ESP Eclipse
Before getting started, make sure your instrument is set up with the gauge of strings that you prefer and is tuned to your preferred tuning. Generally, it’s recommended that we make adjustments with our strings in E standard tuning.
Action and Relief Guideline

Follow each step listed below and make sure the adjustments look and feel correct before moving on to the next step.

1) Adjust the Truss Rod First
If your ESP guitar’s neck relief isn’t within the recommended range (0.010″ – 0.020″), then making other adjustments first will essentially be a waste of time. But how do you measure a guitar’s relief? The best way to do it is with a capo and feeler gauges.
A) Put A Capo on the 1st Fret

First, take your capo and barre the first fret.
B) Fret the 16th or 17th Fret (Where The Neck Meets the Body)

Next, we’ll want to fret the low-E string at the point on the neck where the guitar’s body begins. This intersection should be around the 16th – 17th fret.
The eyeball method is to use our free hand to note the distance from the bottom of the string to the top of the frets by gently and repeatedly pressing the string around the 7th fret. The string should not touch the frets here without your added pressure.
Additionally, the distance should be extremely short. If you aren’t sure what one- or two-hundredths of an inch feels like, you can absolutely use feeler gauges to measure your neck’s relief. In fact, that’s what we’ll do next.
C) Use Feeler Gauges to Find the Distance Between the 9th Fret & the String

Whether your ESP guitar’s neck curves undesirably towards the strings or away from the strings, the solution lies with the truss rod.
D) Loosen the D & G String Then Remove the Truss Rod Cover

In many cases, such as with the ESP Eclipse series, the truss rod access should be located at the headstock, just behind the nut. Remove the cover using your screwdriver, and ready your wrench.
E) Adjust the Truss Rod Clockwise or Counterclockwise

If we observed that the frets were too close to the string, we’ll want to loosen the truss rod. Alternatively, if the frets were too far away, we’ll want to tighten the rod.
Keep in mind that very minor adjustments to the truss rod can make a considerable difference. I recommend you make single eighth to one-quarter rotations at a time and check the relief again before making further adjustments.
This process may very well be the most potentially damaging to your instrument. If you don’t feel confident and comfortable performing this adjustment, there’s no shame.
2) Measure the String Height at the 12th Fret

With our neck relief set, now we can accurately measure the action of the guitar. For this, you’ll need only your ruler. Make sure all your strings are in tune and unfretted.
Then, measure both the low-E string and the high-E string at the 12th fret. What we’re looking for is the distance between the top of this fret to the bottom of the string.
Ideally, we want to see a distance of 5/64″ between the fret and the low-E string and 4/64″ between the fret and the high-E string.
You’ll likely find that a higher action causes the instrument to feel more difficult to play. On the other hand, an action set lower than this recommendation may result in unwanted string buzz.
3) Lower/Raise the Action By Turning The Screws Counterclockwise or Clockwise

Now that we have an idea of what our guitar’s action is currently, we can make informed adjustments to get it to where we want it. To achieve this goal, we’ll need to raise or lower our bridge.
Especially if you need to raise the bridge, it would be a good idea to loosen the strings. This will make adjusting the bridge height easier and prevent the strings from breaking.
Your ESP guitar may feature a TonePros Tune-o-matic bridge system, as seen with the Eclipse and Eclipse II, or a standard Tune-o-matic bridge. Regardless, you’ll adjust it in the same way.
The bridge sits on two screws toward the bottom of the guitar’s body. At the base of these screws, there is a round dial that serves to raise or lower the bridge’s position.
Keep in mind that your guitar may also feature set screws that keep the bridge locked in place. It may be necessary to loosen these screws with an Allen wrench before raising or lowering the bridge.
4) Tune It Again and Check the Action

Use your tuner to ensure each string is tuned to E standard (or your primary tuning), and repeat step 2. If your action is still too high or too low, repeat step 3.
5) Repeat To All Strings
While the individual saddles on the bridge cannot be raised or lowered, it is a good idea to check each string’s action. If any of the second through fifth strings feature an action that seems incorrect, consult a repair technician or contact ESP customer service directly.
How to Adjust the Intonation on Your ESP Guitar
1) Tune Your Guitar As Accurately As Possible

Intonation refers to each string’s ability to retain its open note at the 12th fret. To check your guitar’s intonation, start by attaching your tuner.
2) Fret Your Guitar String at the 12th Fret Harmonic

With the guitar in tune, fret and play the note at the 12th fret. Next, on the same string, play the natural harmonic at the 12th fret. These notes should be the same.
3) Measure the Pitch of the Harmonic

To set the intonation correctly, we want the fretted note to match the harmonic. Therefore, if the fretted note played at the 12th fret is sharp or flat compared to the harmonic, we need to adjust the saddles.
4) Adjust the Saddles Either Clockwise or Counterclockwise

As with the bridge, you may find it easier to adjust the saddles with the strings loosened. Then, use your Phillips or flathead screwdriver to bring the saddles forward (meaning closer to the neck) or back (further from the neck).
Specifically, if the fretted note is flat compared to the harmonic, the saddle needs to come forward. If the note is flat, move the saddle back.
5) Repeat Until You’ve Successfully Intonated Every String
As with all other adjustments, move the saddle only a small amount at a time. Then, retune the string and check the intonation. However, unlike the bridge, you have to adjust the intonation of each string individually.
How Do You Adjust Your ESP Guitar’s Neck?
To add to or reduce the curvature of your ESP guitar’s neck, loosen or tighten the truss rod, respectively.
In most cases, you’ll be able to adjust your truss rod from the headstock of the guitar. However, sometimes this will need to be done at the bottom of the neck at the body joint. Keep in mind that overcorrecting your truss rod could seriously damage your guitar.
How to Adjust the Bridge On An ESP Guitar?
In most cases with ESP guitars, the bridge sits atop two screw-like pegs. At the base of these pegs, there is a round dial that one can use to raise or lower each side of the bridge. Turning this dial left will lower the bridge, while a rightward rotation will raise it.
Do ESP Guitars Have A Floating Bridge?
Most ESP guitar models come standard with a fixed bridge. In the case of electric guitars, users will most often see their instrument outfitted with a Tune-o-matic bridge or a TonePros Tune-o-matic bridge.
Important Things to Note About Adjusting the Action On An ESP Guitar
1) These Rules and Guidelines Will Apply To Many ESP Guitars
Action adjustment for models such as the Eclipse, Viper, and EX will follow essentially the same guidelines. ESP guitars such as these feature similar bridges and truss rod accesses.
2) But Some ESP Guitars are Different And Require Other Tools/Set-Ups
Other ESP guitar models such as the Horizon series feature a different bridge system called a Floyd Rose. These bridges are not as easily adjusted.
Additionally, some guitars such as the Arrow series employ a similar bridge, but with a string-through system. This does not cause a drastic difference in action adjustment but does affect how one would restring the guitar.
Finally, some ESP guitars have their truss rod accesses located at the bottom of the neck of the guitar. In these cases, adjusting the truss rod will require additional steps to remove the neck.
Other Articles You May Be Interested In
- How to Set Up An ESP Eclipse [A Step-By-Step Guide]
- How Much Does An ESP Eclipse Weigh [ANSWERED]
- How To Set Up A PRS Guitar (Step-By-Step)
- How to Adjust the Action on a PRS Guitar (With Pictures)
- How to Set Up a Squier Telecaster (Step-By-Step)
- How Much Does A Squier Telecaster Weigh? [REAL Answer]

