If you’re not setting up guitars or adjusting actions on a regular basis, some of the little details and nuances of how to get it done can escape you. So how do you go about setting up the action of a PRS guitar?
To adjust the action on a PRS guitar, use a 0.050″ (1.27mm) Allen wrench to adjust the two screws on each side of the individual saddle which holds one string. Turn it clockwise to lower the saddle or counter-clockwise to raise the saddle, which will lower and raise the action respectively.
Tools You Need to Adjust the Action on a PRS Guitar

1) 0.050″ Allen Wrench
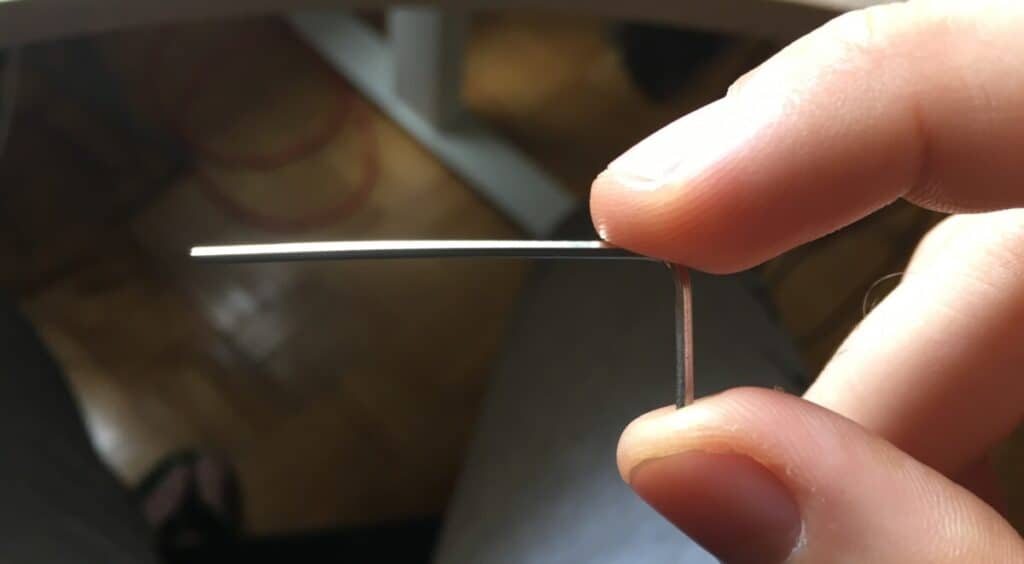
This is the primary tool that you’ll need to adjust the action on your PRS guitar, and you can find one of these Allen wrenches on Amazon for a good price. As I said already in my article on how to set up a PRS guitar from scratch, I’m actually using a 0.0585″ Allen wrench instead of the 0.050″ and it works just fine, however, it’s not the correct size of Allen wrench.
Yes, it does work, but it’s not correct. Using an Allen wrench that’s too big can work but the issue is that it’ll probably strip the nut/bolt after repeated use.
2) 1/4″ Screwdriver
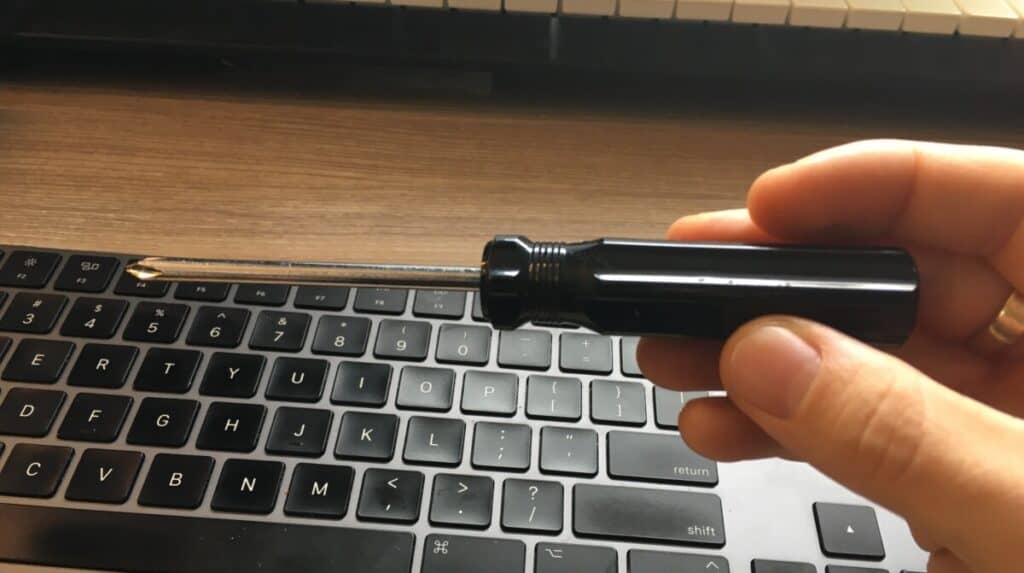
This is the screwdriver you’ll need to adjust the intonation on your guitar once you’ve set up the action the way that you want.
Setting the intonation is important, because when you go to play over top of a chord progression and you’re slightly sharp or flat, it causes a lot of problems for not only you but also your engineer, assuming you plan on recording.
Thankfully, setting the intonation isn’t terribly difficult, and we’ll make sure to walk through that process down below as well.
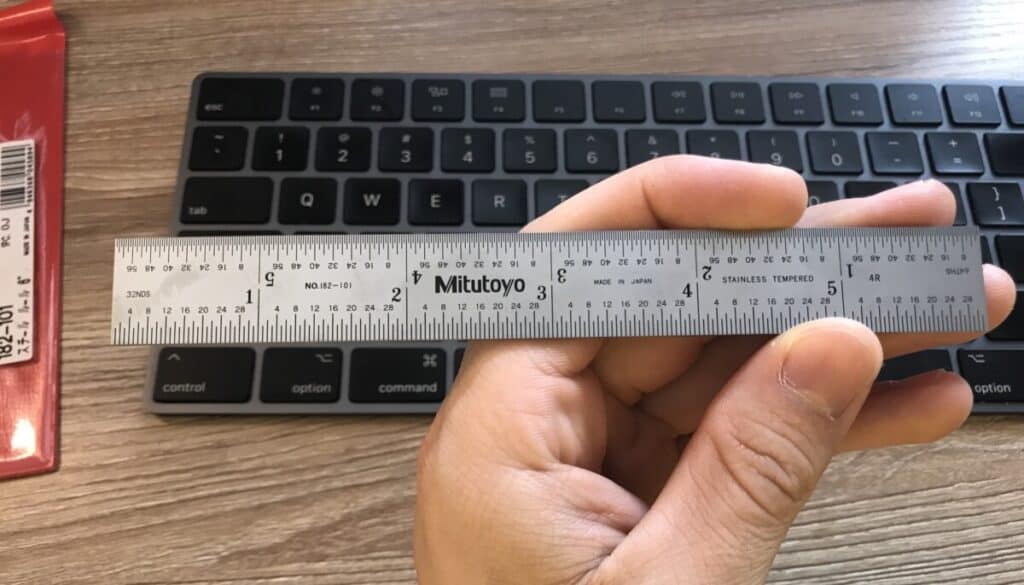
3) Mitutoyo Ruler
This Mitutoyo ruler is a great purchase because it measures in inches, 1/8ths, 16ths, 32nds, and 64ths. It’s the perfect tool for measuring actions and pickup height, and I couldn’t recommend grabbing this badboy enough from the link I mentioned earlier.
Frankly, I can’t believe there was a time when I just tried to eye-ball measurements or use a measuring tape that didn’t have the correct increments. Why did I ever do that? I don’t know either, and you should never do it either, so just grab this ruler.
4) Truss Rod Wrench (7mm or 1/4″)
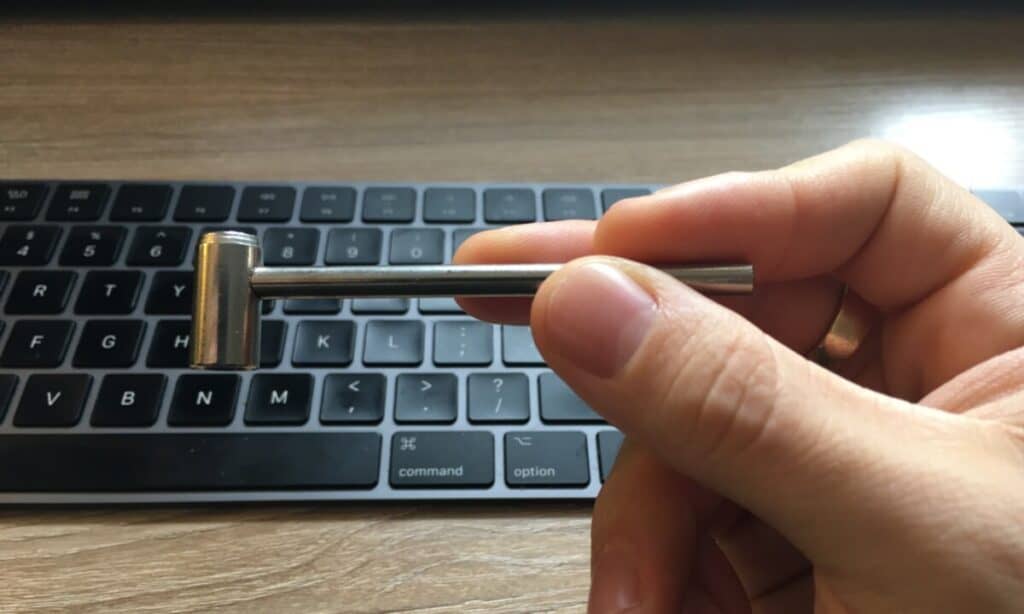
This is the wrench that comes with the purchase of a PRS SE Custom 24, assuming you’ve bought it brand new from a place like zZounds. When I bought the guitar around 7-8 years ago, the wrench, I believe, came in the bag with it.
It’s worth mentioning that it only works for the PRS and not my Les Paul Custom or my ESP Eclipse II. In case you didn’t get one in the bag, you can find one on my Product Page.
5) Capo
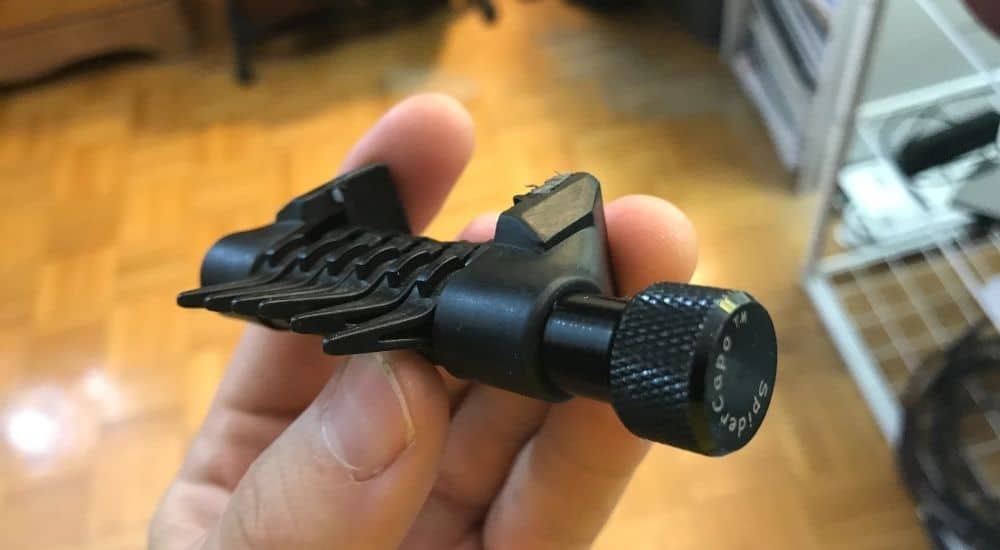
The image you can see above is a spider capo, but any old capo that you have laying around will work just fine. You could even use an elastic in case you didn’t own one.
You’ll need this to suppress the 1st fret across all strings while measuring the neck’s relief/bow. Find it on Amazon. Using a capo is a great way of freeing up one hand, making your life a lot easier.
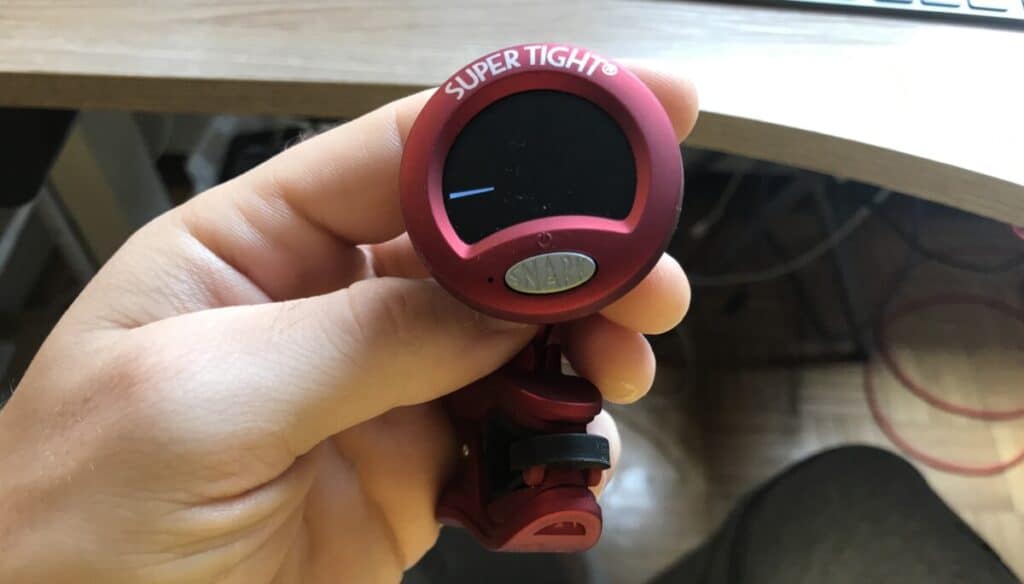
6) Snark Tuner
Snark and clip-on tuners in general get a bad rap from people for reasons that are unknown to me.
Probably due to the guitar’s popularity across many, many generations, there are a lot of orthodoxies and conventions that people don’t like to see defied, and the standard pedal tuner, rack tuner, or handheld tuners are what most of us are used to.
But I love the Snark Tuner for setting up guitars because you don’t have to plug the guitar into a tuner whenever you want to check the tuning after having adjusted the action, truss rod relief, or intonation.
You just keep it attached to the headstock at all times and use it whenever you need just by clicking the button. I’d recommend getting this chromatic version in case you want to tune your guitar to less common tunings.
However, it can be a nuisance when adjusting the intonation because the intonation is a fairly concise measurement where a lot of precision is needed. I use the clip-on mostly when I’m adjusting the action and the truss rod, but if you want to intonate the guitar, it’s better to use a more accurate tuner.
Optional – 7) Desk Light
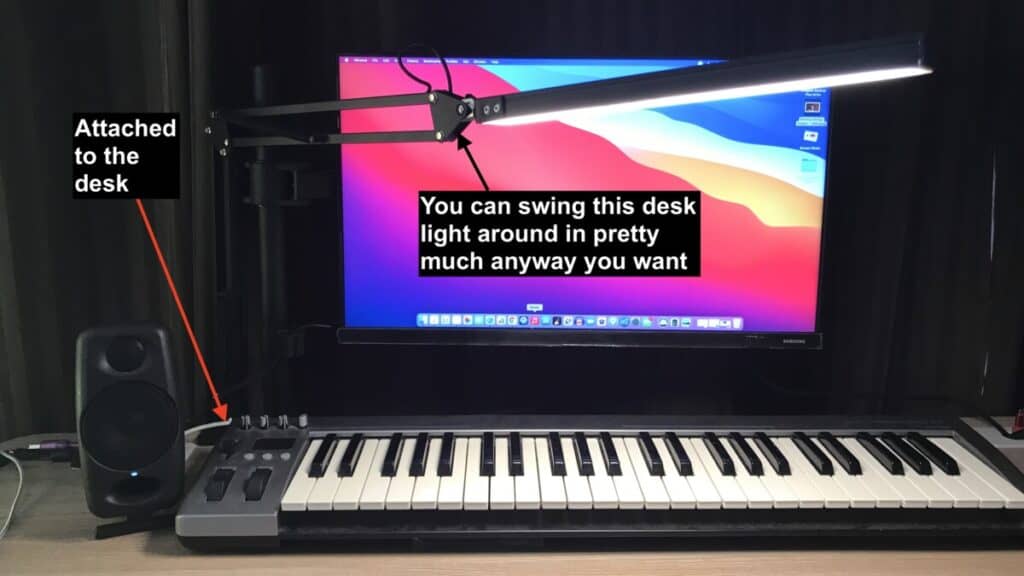
I described this desk light as optional simply because it’s not 100% necessary to adjust the action on your guitar.
However, it’s so useful that it had to be included in some way on this list. Truthfully, you can use any old light, including just a flashlight, but I find this desk light useful for many other set-up and guitar-related purposes.
What makes the desk light so convenient for setting up guitars is that I shine it right on the instrument which helps for truss rod adjustments, cleaning it, and other measurements where I need to get in real close to see what’s going on. We’ll talk more about this in a second.
How to Adjust the Action on the PRS SE Custom 24
Action and Relief Guideline
| Parameter | Measurement |
| Truss Rod Relief/Bow | 0.005″ (0.127mm) |
| String Height (Measured from Fret to Bottom of the String at 17th Fret) | 4/64″ (1.58mm) |
The two measurements that I’ve listed above are awesome on the PRS SE Custom 24. There is a bit of buzzing on the 6-9th frets due to the neck being so straight, but thus far, I’m a fan of this setup. It’s extremely easy and fun to play on and also it sounds good amplified.
If the buzzing is too much for you in the middle part of the neck, try out 0.006″ – 0.007″ relief instead. Alternatively, you could raise the action a tiny bit. It all depends on how straight you like your guitar neck to be, which is something I’ve discussed before in a whole other guide.
1) Adjust the Truss Rod First
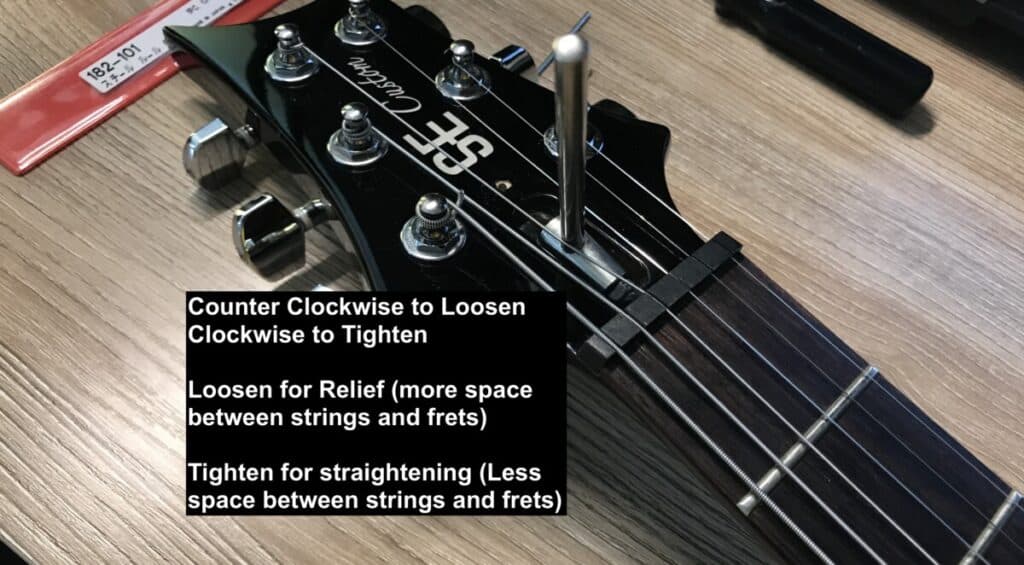
Adjusting the truss rod of the guitar is typically the first thing that a person should do when setting up the instrument. I imagine some people do things differently on occasion, but it’s commonly suggested to do this part first. I’ll usually set the truss rod measurement first and I’ll get it down to 0.005″ or 0.006.”

As I just said, this is the easiest and most fun to play on. It’s not terribly difficult to adjust the truss rod; all you have to do is take the cover off with a 1/4″ screwdriver and then turn the truss rod nut counter-clockwise to loosen it or clockwise to tighten it.
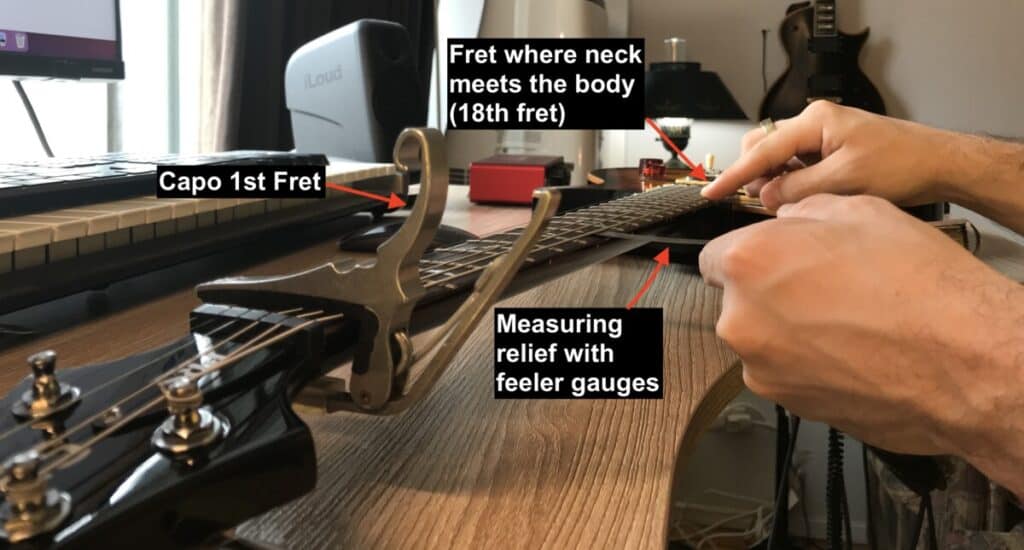
A loosened truss rod adds more relief (increases the curvature) and a tightened truss rod straightens or flattens it out.
In my experience, what’s difficult about setting the truss rod is not adjusting it, but measuring it properly. I only know of the method by which you use feeler gauges, and It’s the way that I do it (other than eye-balling it).
The tip that helped me, however, was using a desk light (or any adjustable light or flashlight would do).
I place the light right up to the neck, that way when I put the feeler gauge under the string, the light reflects off the steel feeler gauge and up to the string, that way you can see whether there’s space between it or not!
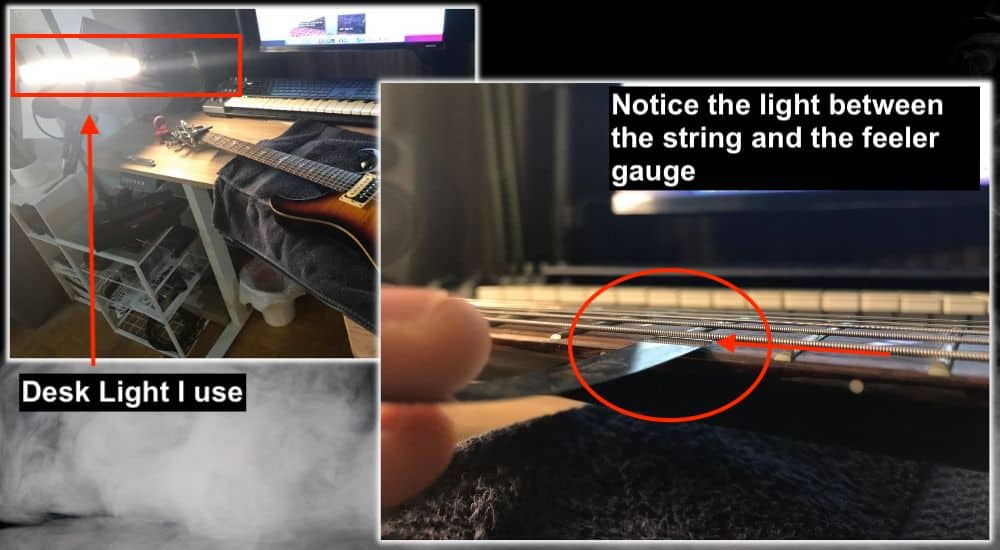
Once you get down to real precise increments and measurements like 0.005,” it’s hard to know what the difference is between 0.006″ and 0.005,” because both can fit between the string and fret depending on how much relief there is.
Explained another way, it’s hard to tell whether the feeler gauge fits underneath the string without touching it because the gauge, itself, is so small.
It’s not always easy to see if you’re pushing the string up or not and getting an artificial measurement. The light trick I just mentioned helps a lot though.
2) Measure the String Height at the 17th Fret
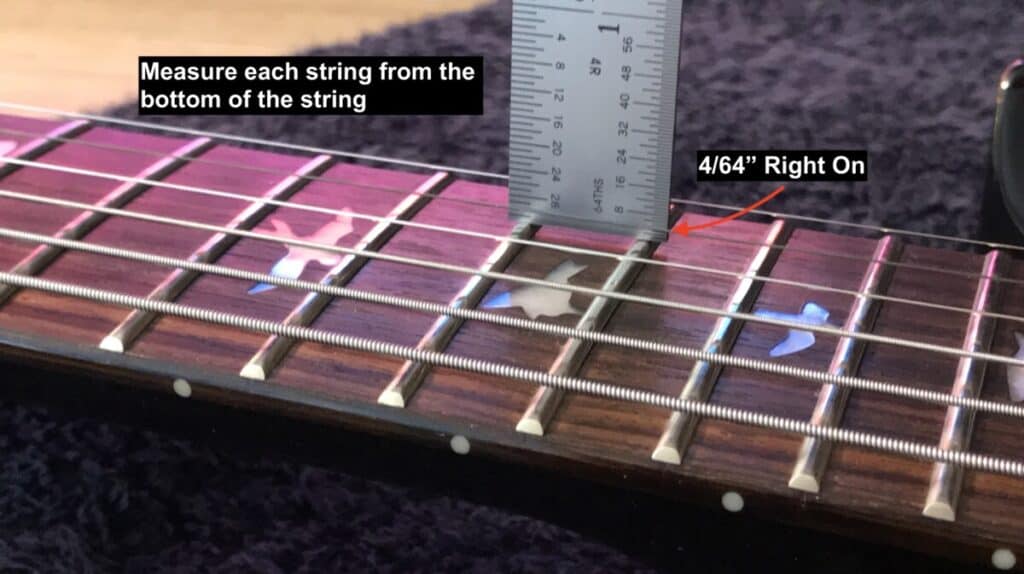
Before adjusting the action, I would first measure all of the strings at the 17th fret and take note of the measurement of each one, that way you can make intelligent adjustments.
For example, I typically set my action to 4/64 on all of the strings just as a jumping-off point. I learned that measurement from Dan Erlewine’s book, and I find it’s a good reference point.
Grab the Mitutoyo ruler and put it right up against the string and evenly across the fret, to measure the string’s height from the fret.
What I’ll commonly do is I’ll pull some of the strings away from the string that I’m trying to measure, or I’ll just depress them with my fingers, that way I can see what I’m doing.
3) Lower or Raise the Action By Turning The Screws Counterclockwise or Clockwise
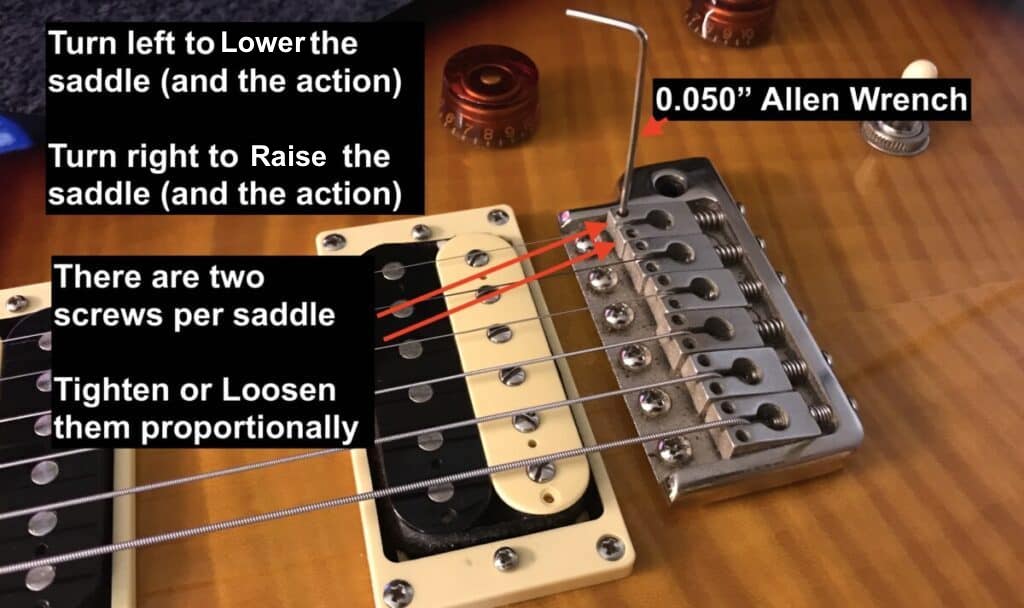
If you want to lower the action of the string, turn the screws on both sides with the Allen wrench counter-clockwise, and if you want to raise it, turn both screws clockwise. Be careful when you’re making adjustments because a little goes a long way.
Also, ensure that you’ve made a proportional amount of turns on each screw, that way what you’ve done is even on both sides of the saddle.
Another thing that’s worth mentioning is that if you’re raising the action, you may have to loosen the string by just a bit. In fact, you will have to do that. I find de-tuning it by one full tone to a tone-and-a-half is enough.
4) Tune It Again and Check the Action
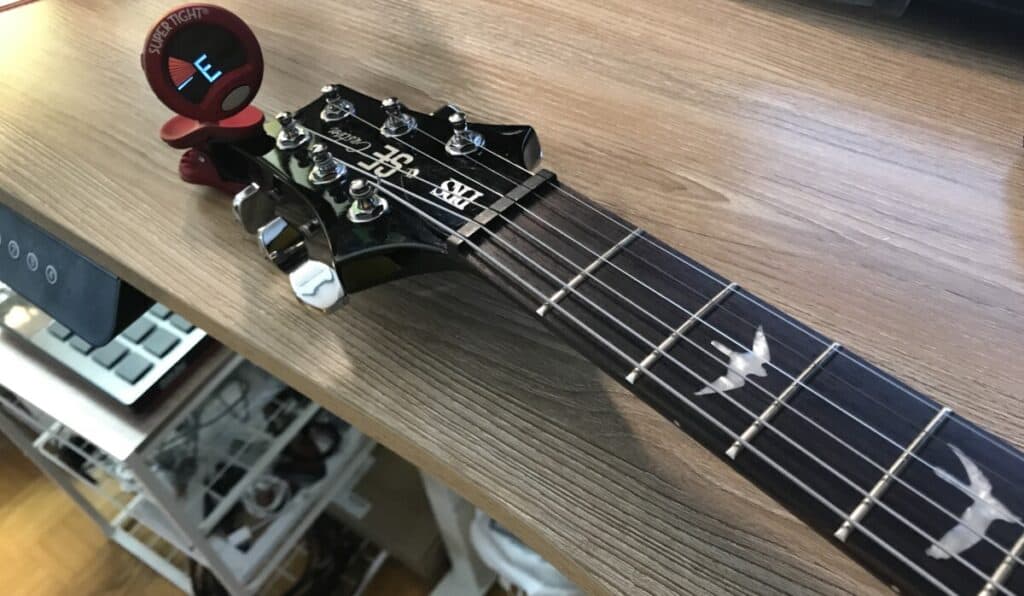
Measure the string again and see what changes you’ve made. Also, you’ll want to actually play the guitar and see how it feels now that you’ve dropped the action of the string down just by a little bit.
You can usually see the difference, but you’ll certainly feel it, assuming you’ve made a big enough adjustment.
If you choose to use the Snark Tuner, use the “Vibrate” option instead of the “Mic” option because I find it works better that way, although, you may choose to use a different tuner altogether.
A better tuner like the Boss TU-3 is more suited for the intonation like I said earlier, but for the first stages of the set-up, I like using a clip-on tuner for convenience’s sake.
5) Repeat To All Strings
Once you’ve determined where you’d like the action to be, you can go ahead and apply those changes to all the strings, however, understand that the coiled strings (Low E, A, and D), are much thicker but it’s the thinner strings that need more space to vibrate.
This means you may have to make smaller adjustments to the lighter strings.
Now that you’ve applied the action change across the board, you’ll have to check the intonation of all the strings which is really a part of the action adjustment.
Adjusting the action and intonation go together, you can’t just drop the action on your instrument or raise it and then not check the intonation after.
On the other hand, though, I find that the intonation doesn’t vary as much as what other people have told me.
In other words, from my experience, I find that if you lower or raise the action, the changes this makes to the intonation of the guitar are not as massive as what has been suggested to me, but maybe that’s just me. But I digress, let’s set the intonation.
Adjusting the Intonation on Your PRS
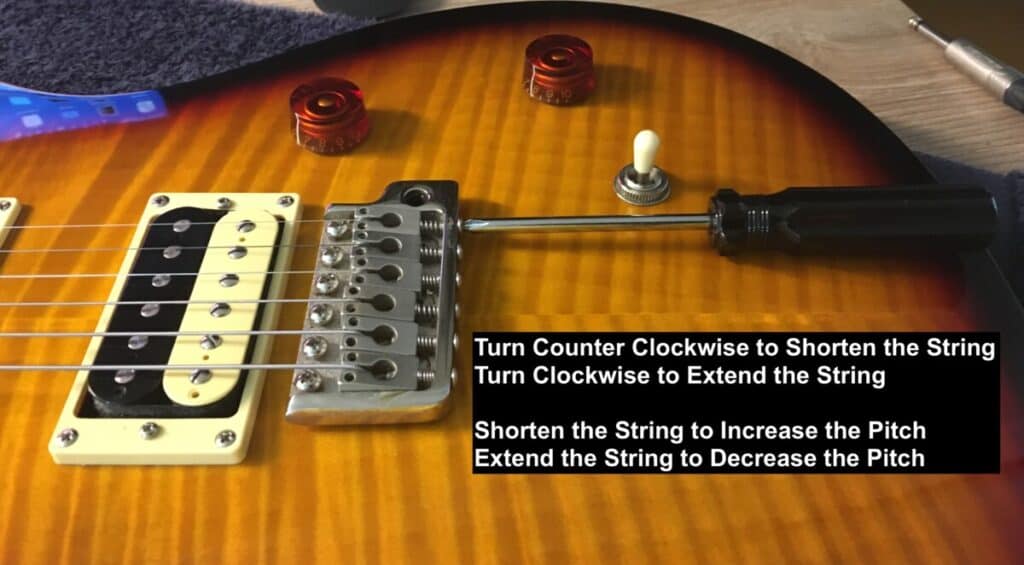
To adjust the intonation on your PRS guitar, tune each string as perfectly as you can, and then fret it at the 12th fret and measure the tuning there. If the 12th fret is sharp, turn the saddle screw clockwise, and if it’s flat, turn it counterclockwise. You’ll need to re-tune it after every turn.
If you recall what I said earlier, the intonation is the part of the process where it wouldn’t hurt to use a more accurate tuner like the Boss TU-3. The clip-on tuner will work, but it won’t be as smooth because the needle will jump around a lot more.
Sometimes, it may even struggle to hear what you’re doing and it’ll give you an improper reading, for example, telling you that you have an ‘A’ instead of an E. This is something that I said was an issue with guitar tuner applications as well.
Again, you’ll need to de-tune the string if you want to raise the saddle without difficulty, however, you won’t have to do anything if you’re lowering the action.
The same principle applies to a tune-o-matic bridge as well. Another point worthy of mentioning is that sometimes the screws will actually get stuck in place when you’re shortening the string.
In this case, you’ll have to physically push on the screw as well as the saddle to move it forward, otherwise, the screw will be sitting outside of the back of the hardtail and it’ll just slip one day when you’re tuning it. Just ensure that you’ve pushed the screw all the way in.
You’ll probably notice anyway because you won’t change the intonation in this case; you’ll just adjust the screw and not actually move the saddle. This is usually caused by the fact that the saddles are squeezed in tight together, which is just a natural consequence of the technology.
How Do You Lower the Action on a PRS Tremolo?
To lower the action on a PRS tremolo system, one that has a floating bridge, you have to use radius gauges and the springs need to be adjusted in the back of the guitar to balance with the string tension. Adjust each string’s tuning peg to fine-tune the strings.
How Do I Adjust My PRS Neck?
As the tutorial just demonstrated here, to adjust a PRS neck, you need to use a 1/4″ (7mm) truss rod wrench to set it between 0.005″ – 0.010.” Using the 0.050″ Allen wrench, turn each screw in the saddles counter-clockwise to lower the saddle and the action so that the strings measure 4/64″ between the string and the 17th fret.
This is a ball-park neck adjustment that I find is a nice stepping stone into finding a place that’s the right fit for you. The guideline I mentioned above is the exact measurement that I prefer to use when setting up the guitar because it’s a nice balance between playability and tone.
How to Adjust My PRS Bridge?
To adjust the bridge on your PRS guitar, you’ll probably have to use a 0.050″ Allen wrench to turn each screw in the saddles. This presupposes that your guitar has a hardtail bridge, however. A guitar with a tune-o-matic bridge can only be adjusted on two sides, whereas a floating tremolo system has to be adjusted from the back springs.
Does the PRS SE Custom 24 Have A Floating Bridge?
Paul Reed Smith started making PRS SE Custom 24s with floating bridges after 2010, however, if you have a model before 2010, you’ll have a fixed, hardtail bridge.
Important Things to Note About Adjusting A PRS Guitar’s Action
1) Your Paul Reed Smith Guitar May Have A Different Bridge
You may have a Paul Reed Smith guitar that doesn’t have a hardtail bridge which means how you’ll set it up is different, however, assuming that it has a tune-o-matic or something similar, the principles for how you’ll make measurements are the same. How you’ll adjust it, however, will be different.


 Written By :
