 Written By :

Headless guitars have a ton of unique advantages, and restringing is one of them. They’re actually much quicker and easier to string up than conventional guitars, once you get the hang of it. So here’s what you do:
To restring a headless guitar, loosen the strings using the fine tuners at the bridge and unscrew the string locks to remove the old strings. Insert the new strings through the headpiece, secure the ball end, and lock them with an Allen key. Then, tune them up to pitch and cut off the excess.
What Gear You Need To Restring A Headless Guitar
1) A Hex Key

This is usually provided with your guitar when you buy it (check the original box or the gig bag’s pockets). The hex wrench, also known as an Allen key, is important for loosening and tightening the string locks at the headpiece of your guitar.
You’ll also need a few different sizes of hex keys if you want to adjust the bridge and other hardware on your guitar.
In case you don’t have one with your guitar, I recommend buying a set of multiple keys from Amazon or a local hardware store, since the exact size required can vary for different models.
On my Ibanez, it was a 2mm key, but it’s good to have the 1mm, 2mm, 3mm, 4mm, and 5mm ones handy if you’re not sure (and they’re usually cheap).
2) String Cutter

Any string cutter or clipper will help trim off the excess string length once you’re done installing them and have it all tuned.
If you don’t have one, don’t worry. You can still twist and turn the strings (after they’re tuned up) and eventually break them off at the headpiece. It’s tiring and old-fashioned, but it works.
3) Microfiber Cloth
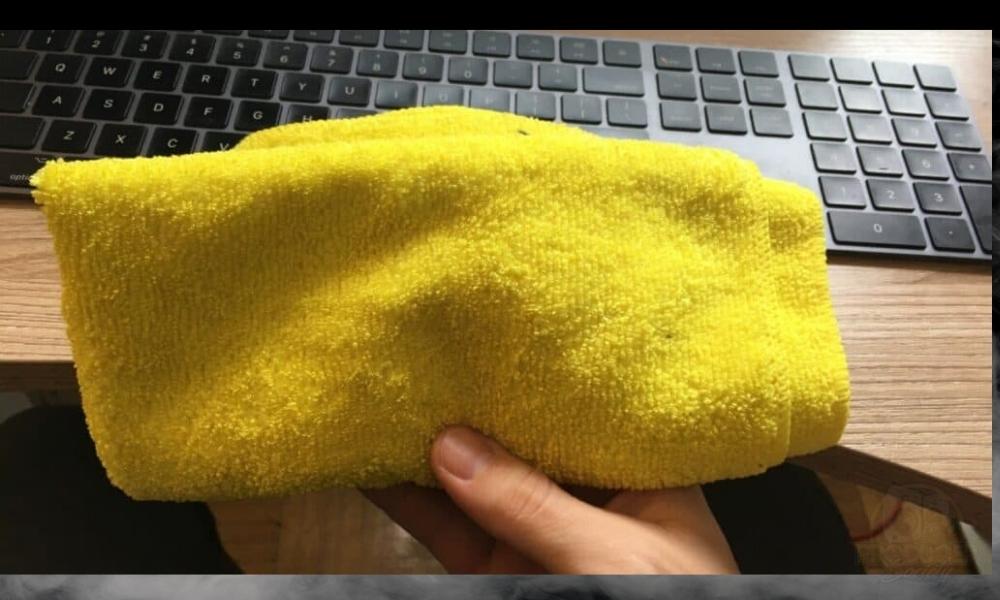
I recommend using a microfiber cloth to clean your guitar because it absorbs dust and grime the best.
But if you don’t have one, any clean, smooth cloth would do. An unstrung guitar is the best opportunity to buff up every inch of it.
4) The Right Type & Gauge of Guitar Strings

This might seem obvious, but you need to use the right type of strings for your guitar. Most headless guitars work perfectly fine with normal ball-end strings, so any brand of your choice should work.
The string gauge is another important factor: you could use the same string gauge as what came with it from the factory. But there’s no reason why you wouldn’t be able to switch.
That said, if you decide to switch up the gauges, you’ll have to account for it in your setup. This is because switching gauges can affect intonation, string height, and neck relief, so you’ll have to re-adjust these.
So if you’re not sure, check your guitar’s product page, manual, or consult the manufacturer. Use the same gauge, and whichever ball type is compatible.
5) Additional Tools like Screwdrivers and Wrenches
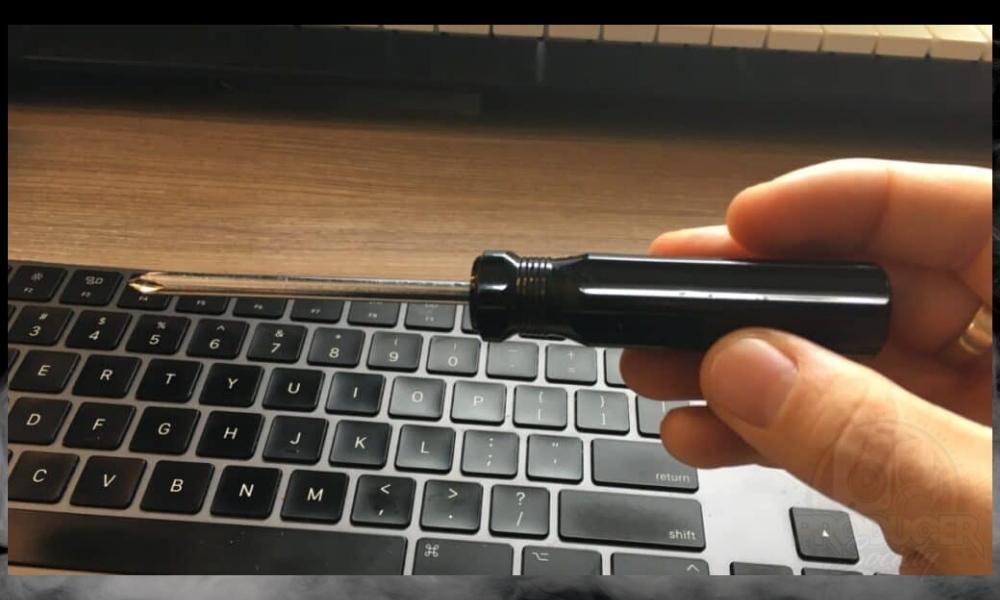
These may not be necessary for every guitar or hardware, but I’d say it’s good to be prepared.
A small flat-head screwdriver, a Philips screwdriver, and a few different wrench sizes could come in handy for specific models, just in case you need to make some quick adjustments.
12 Steps To Restringing A Headless Guitar
I’ll be using my Ibanez QX527PB as a reference throughout, but this applies to most headless models, and I’ve also included tips on how the process differs on some guitars (like Strandberg).
Tremolo vs Fixed Bridge

Before we get started, here’s a quick but important note:
If you’ve got a tremolo bridge (floating, like a Floyd Rose), then you need to block the bridge with a hard object, like a stack of picks. This keeps the bridge from crashing into the bottom cavity. Also, you should only remove one string at a time.
The entire process is done one string at a time, and each one should be tuned up before the next.
Otherwise, the spring tension becomes imbalanced and causes problems, possibly damaging the woodwork (although probably unlikely in my view). It’s a pain to fix these issues.
On any fixed bridge model, you can remove all your strings if you want to. This does make it easier to clean the guitar thoroughly.
1) Loosen the String Using the Thumbscrew on the Bridge

To do this, we’ll need to turn the thumbscrew on the bridge. To loosen the string, you’ll need to turn the screw to the left (counterclockwise).
When loosening, you can loosen the string all the way. Then just push the saddle in front, and the ball end will be visible, so you can remove it.
On Strandberg guitars and some other models, the string goes through the bridge saddle, through the screws. In this case, just push it out from the other end once you’ve loosened it.
2) Use a Hex Key to Loosen the String Lock at the Nut

This is the point where the string gets held securely and is the replacement for the conventional headstock + tuner mechanism.
Just use the appropriate hex wrench, and turn it counterclockwise to loosen it. This will free up the string, so you can now remove it.
On a fixed bridge, you can repeat steps 1 and 2 for all the strings and take them all out. But again, don’t do this on a tremolo bridge.
3) Clean the Guitar with a Clean Cloth

Use a microfiber or any other clean cloth to wipe down every inch of the guitar, from the headpiece to the bridge.
I put some extra focus on gently scrubbing the fretboard to remove the build-up of grime. But be careful to not overdo it so you don’t risk damaging it. And always try to scrub along the grain.
If you do have any guitar cleaning products like sprays or fretboard oils, this would also be a good time to use them.
4) Prep the Tuner Assembly (If Required)

Check your guitar’s manual or the manufacturer’s website to see if this step is necessary for your model.
For example, some thumbscrews come out if you loosen them too much, like on a Strandberg. In this case, you just have to re-attach them, but don’t wind them more than 3-4 turns. You need as much tuning range as possible.
You should make sure that when you push the bridge saddle back in, the small ball-end slot touches the bridge, as shown above.
5) Thread the String Through the Headpiece but Don’t Lock it Yet
Now, take out the fresh strings, and thread the first string through the headpiece. If it’s not going through, then loosen the string lock a bit more.
Be careful not to loosen the locks too much because they can actually fall out. And don’t lock it right now.
On a Strandberg and on some other bridge models, the string actually goes through the bridge tuners, so do that. It’s a much simpler process than Kiesel, Ibanez, and other hardware.
6) Insert the New String into the Bridge

Hold the ball end straight, and insert it into the locking mechanism. You can use a small Allen key to help you push it in if you’re finding it difficult.
Once it’s in the slot, pull the string tight and keep that tension. If you loosen it, it’ll probably just come out again, and you’ll have to repeat this. So keep your hand tight for the next few steps.

7) Pull the String Tightly Through the String Lock and Align It
While keeping the string tension tight, you need to pull the rest of the string through the headpiece.
So the end result is that the ball end is secure at the bridge, and the entire string is held taut over the fretboard and across the nut. Everything should be aligned properly too.
8) Check That the String is Secure at the Bridge, Then Lock it With a Hex Key

While keeping this tension with one hand, use an Allen key with your other hand to lock the string lock at the headpiece.
Tighten it just enough that it securely stays in place. Overtightening it could damage the string, and even break it (causing it to potentially snap at you while tuning).
Keeping the string as tight as possible during this step is essential to getting a good tuning range out of your guitar.
9) Tune the String Using the Thumbscrews
Now comes the moment of truth – tuning the string. Turn the thumbscrew at the bridge to adjust the pitch. Remember, turn clockwise to tighten and raise the pitch.
You don’t need to tune it all the way up to pitch right now, just tune it a few semitones down so you know the string is secured. I prefer tuning all the strings to pitch at the end since the guitar’s neck reacts accordingly.
Since headless guitars don’t support headstock tuners, I recommend using a pedal tuner or just using an audio interface and a DAW, or whichever setup is comfortable for you. Just make sure it’s an accurate one.
10) Repeat to Install Each String
Now, simply repeat the process for each string. Don’t rush it; make sure you’re keeping each string taut while you’re locking it.
The main issues come from having a slack string because unlike headstock guitars, headless guitars have a limited tuning range. So if the string isn’t tense already, the tuners will stop before they reach the pitch.
Remember, if your guitar has a tremolo bridge, it’s important to restring and tune one string at a time to maintain the bridge’s balance. It’s a bit like juggling – it requires coordination and patience, but once you’ve got the hang of it, it’s a breeze!
11) Tune All Strings Up to Pitch
Once you’ve set up and installed all the new strings, you can now tune all the strings up to pitch. Just go one by one, and tune them all using the most accurate tuner you have available.
Then, pull each string tightly, and repeat the process until the tuning feels stable. On a tremolo bridge, you can do this with the whammy bar too.
The reason I prefer doing this at the end, rather than when installing each string, is that in some cases, the string might go higher than anticipated and break. The neck reacts to the changes in tension, so the strings change tuning too.
12) Cut Off the Excess Strings

With all the strings in tune, it’s time to trim off any excess string from the headpiece using your string cutters. Try to cut as close to the string lock as possible, to minimize the sharp ends sticking out.
If you don’t have string cutters, just carefully twist and turn each string until a kink forms, and then keep twisting until it eventually breaks off. A cheap but tiring hack. Now your guitar is ready with fresh strings, and you can start jamming again.
Other Articles You May Be Interested In
- How to Set Up An ESP Eclipse [A Step-By-Step Guide]
- How to Set up An Epiphone Les Paul [An Illustrated Guide]
- How to Set Up a Squier Telecaster (Step-By-Step)
- How To Set Up A PRS Guitar (Step-By-Step)

