If your guitar pedal got wet, it’s crucial that you disconnect it from power immediately whether it’s a 9V battery or power supply. Unplug all cables and then wipe off all of the liquid with a towel. Cover the holes with tape, then let the pedal sit in a tub of rice for as long as possible.
This is exactly what I did when I spilled coffee (including milk and stevia extract) all over my MXR Clone Looper, however, I let the pedal sit in a tub of rice with the holes covered for at least 3 days. What I did next was a mistake.
After I let it sit for a couple of days, I plugged it back in and tried it and the pedal behaved totally erratically, including turning on and off, flashing, and clearly not working the way it was supposed to.
I put it back in its box and let it sit there for at least 3 months. I’ve made the mistake of throwing out gear before thinking it was broken when it really wasn’t, so I was sure not to do the same thing again. I decided to test it again months later and it worked fine. I’m so glad I didn’t trash it. Let’s talk more about this and a few other tips in the next section.
The Easiest Way to Fix A Wet Guitar Pedal
![How to Fix A Wet Guitar Pedal [Dead SIMPLE] - In Article](https://travelingguitarist.com/wp-content/uploads/2023/01/How-to-Fix-A-Wet-Guitar-Pedal-Dead-SIMPLE-In-Article.jpg)
1) Disconnect Your Guitar Pedal From the Power Source
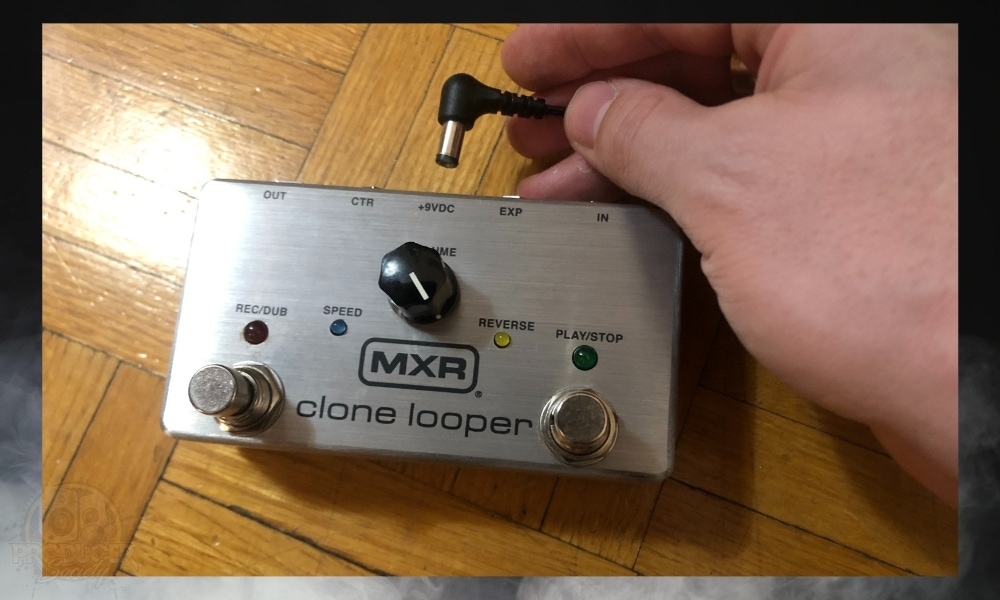
And I can’t stress this enough. The longer you have it connected, the more likely it is that you’ll fry something in the circuit.
So make sure you get the battery out of it too if it has one. The MXR Clone Looper doesn’t have one as I discussed in my dedicated tutorial.
2) Unplug All The Cables
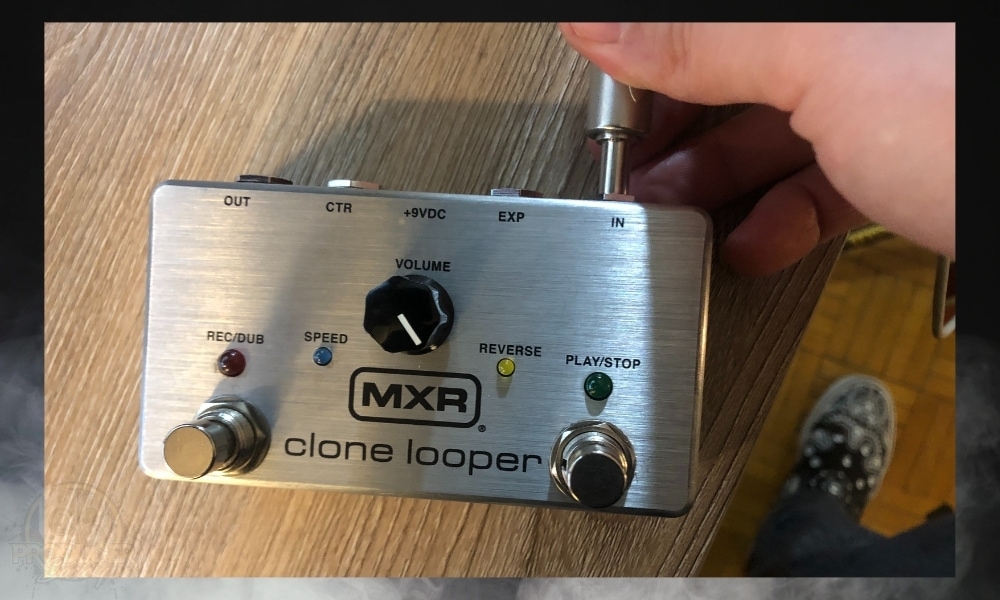
The first two actions: 1) unplugging the power source and 2) unplugging the cables have to be done as quickly as possible because ultimately they’re the most important.
You want to disconnect the power super fast.
3) Wipe All Of The Liquid Off The Pedal – Be Thorough
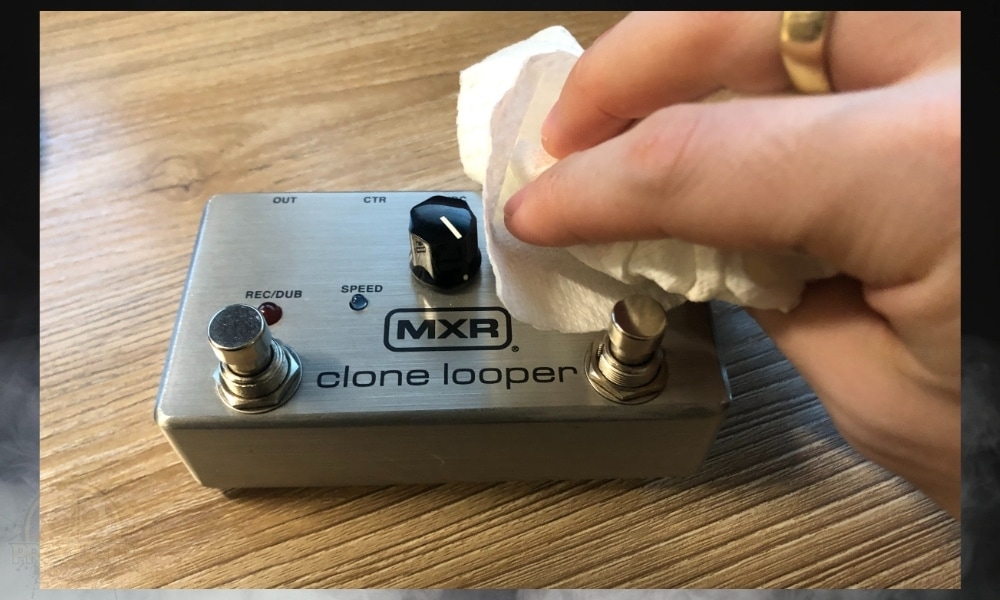
It took me a long time to clean my MXR Clone Looper because the coffee, milk, and stevia extract combination was a mess.
I wiped down to get it as dry as I possibly could at first and then I had to go at it again with a slightly damp rag to really clean it well.
4) Take Off The Back And Wipe Down The Motherboard***
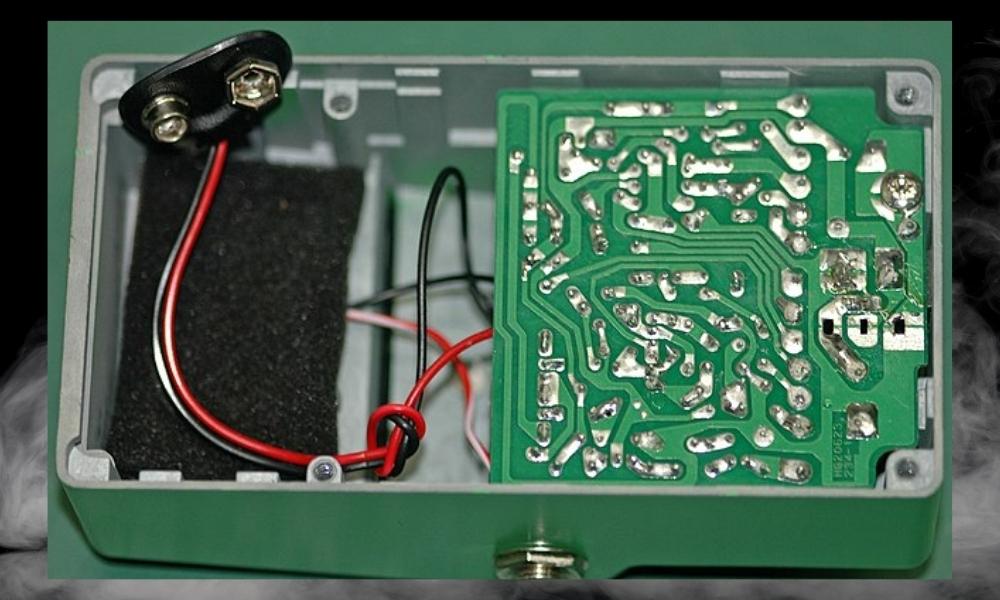
***It’s important to note that I didn’t actually do this, but it’s not a terrible idea. Apparently, I got lucky because I never had to do anything like this despite spilling coffee which is much worse than water.
I got this tip from the following 3 articles: A, B, and C, so just understand that I can’t personally vouch for whether or not this method will work.
I can’t see why it wouldn’t though. Just be sparing with the alcohol and you’ll be good. Wipe off the alcohol with a dry towel again once you’ve really cleaned it up as well as you possibly could.
5) Tape The Holes With Electrical Tape
![Taping Off The Holes - How to Fix A Wet Guitar Pedal [Dead SIMPLE]](https://travelingguitarist.com/wp-content/uploads/2023/01/Taping-Off-The-Holes-How-to-Fix-A-Wet-Guitar-Pedal-Dead-SIMPLE.jpg)
It doesn’t really matter what you choose to seal off the holes with. I just used electrical tape because I have plenty of it. Little cotton balls would work just fine too. As long as it’s easy to remove once you’re done letting it dry.
6) Put the Pedal In A Bag Of Rice And Seal It For 48 Hours
![Rice - How to Fix A Wet Guitar Pedal [Dead SIMPLE]](https://travelingguitarist.com/wp-content/uploads/2023/01/Rice-How-to-Fix-A-Wet-Guitar-Pedal-Dead-SIMPLE.jpg)
It probably wouldn’t hurt to really seal it shut. Your pedal should be nice and clean so you don’t have to worry about mucking up your perfectly good rice.
7) Take It Out And Then The Pedal Sit For A Month
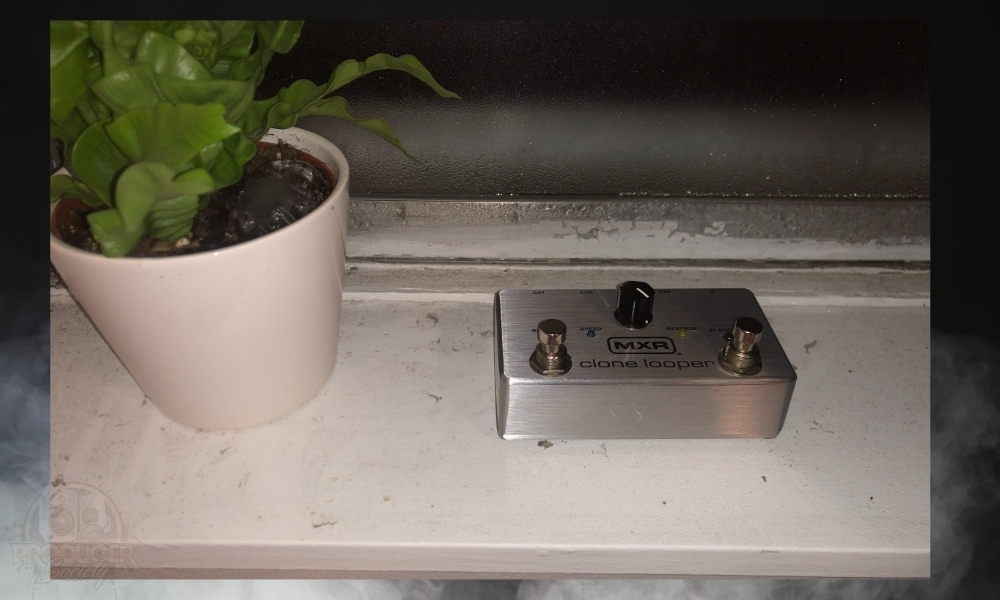
As I said earlier, I just put the pedal back in its box and let it sit there for months. But you could let it sit on a window sill for that same amount of time.
Just make sure you don’t let it sit TOO long in the hot sun because then you’ll just roast and destroy your pedal in another way.
The Final Result – What’s Important
Having one of your beloved guitar pedals get wet is truly horrific and it’s a pain I wouldn’t recommend to any guitar player. It just sucks. However, I was extremely pleased when I discovered that what I did to my MXR Clone Looper worked.
Ultimately, I just disconnected it from power completely as fast as I possibly could and then submerged it in a bag of rice for a few days just like I would do with an iPhone.
I took it out after a couple of days and then let it sit in its box for several months, thinking it was ruined.
What’s important to note is that I was extremely quick about 1) disconnecting it from power, and 2) drying it off as much as I could.
In the end, it was totally fine. You can see my exact reaction when I discovered it was all good because I posted it on my channel the same day which you can see in the video shown at the start of this section.
As I said earlier, I spilled coffee on it too and not just water so it was a miracle that it actually wound up working perfectly fine.
5 Tips for Fixing A Wet Guitar Pedal
There are a couple of other things you could do if you REALLY wanted to be thorough. Keep in mind that none of these tactics (with the exception of not using WD-40) are what I used to fix my pedal, but they could be worth trying if you’ve got nothing to lose.
1) You Can Also Use Moisture Absorbing Packs
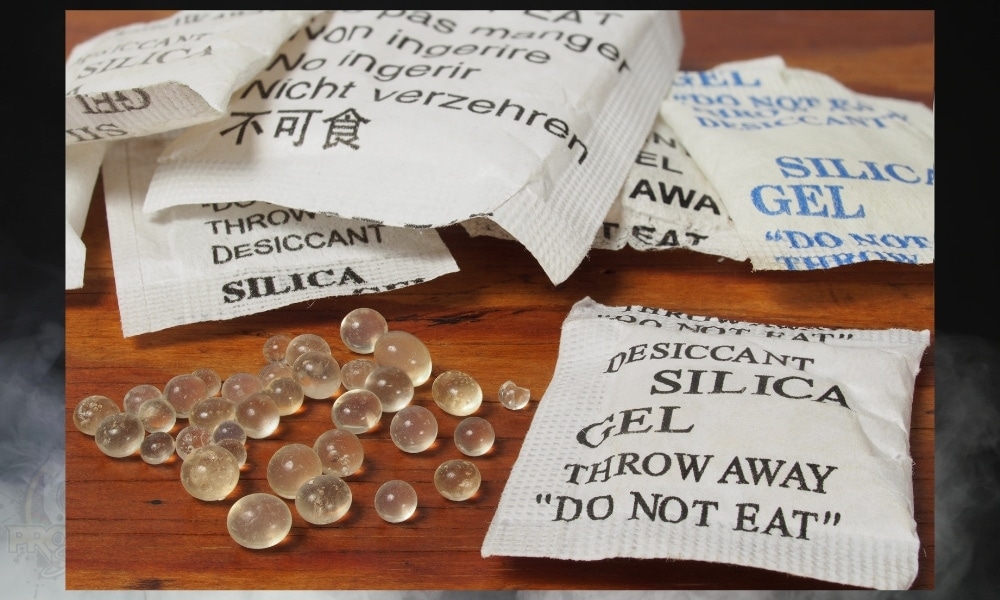
If you’ve ever bought a children’s toy or some other similar product that’s sensitive to moisture, you probably noticed there were little packets in the bottom of the box that said “do not eat.”
These are moisture-absorbing packets and you could use some of these if you don’t have a bag of rice to submerge your pedal in. You can easily find these on Amazon and you can get a boatload of them.
2) Use Compressed Air To Spray The Motherboard
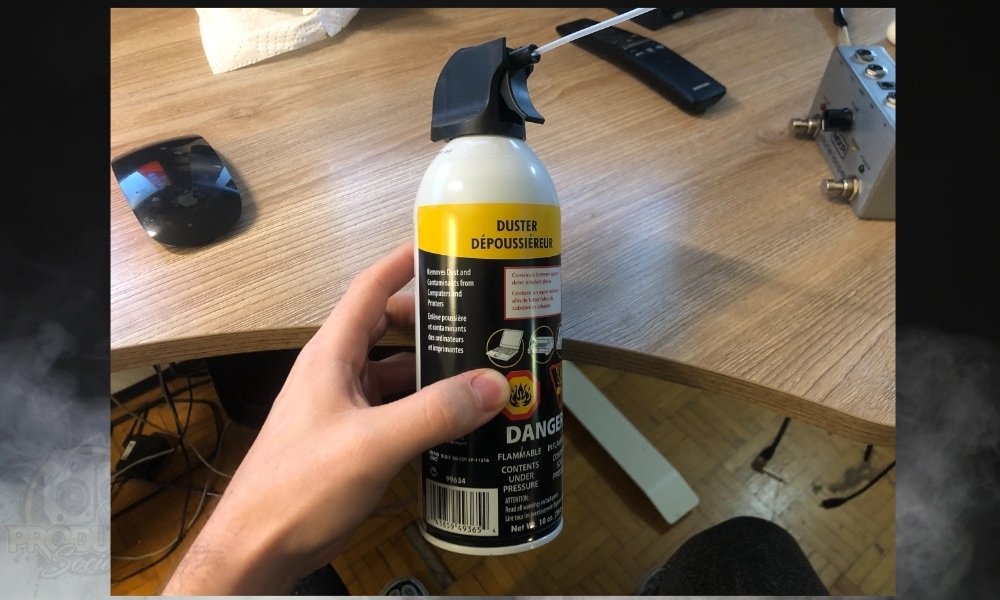
Using compressed air is another potential tool in your tool kit, although, be sure not to spray the liquid coolant on the motherboard which could be an issue.
There is a certain way of spraying compressed air, and that includes 1) not tilting the can in a weird way and 2) not shaking the can either.
Don’t make this mistake, otherwise, you’ll spray even more liquid on it. Do a couple of practice runs before you try something like this.
3) Use A Q-Tip To Clean Around The Stomp Switch
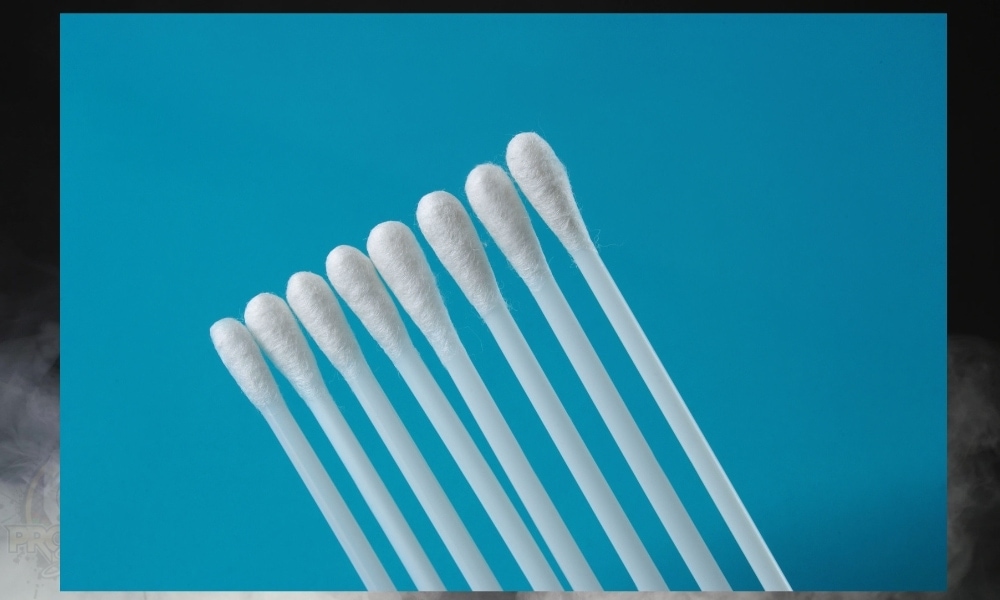
Another thing you can do while the back is taken off the pedal is clean around the stomp switch with a towel or a Q-tip that way you can get really precise. Thankfully, I never had to do this but it’s something that could save your switch from getting sticky and weird.
4) Don’t Use WD-40
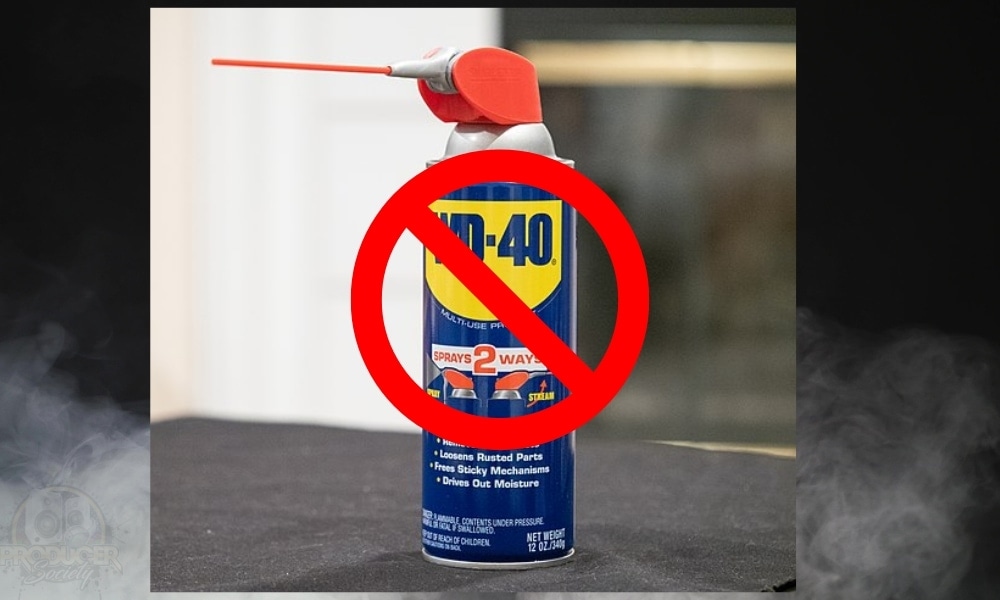
I’ve heard a few people say that WD-40 is a great thing to spray on your stuff but I’ve experienced nothing but problems with it because it appears to collect a lot of grime, dust, and dirt over time.
It’s my personal opinion (and possibly that of others) that you should just avoid this stuff entirely when you’re working with your guitar pedals.
5) You Could Also Try Removing The Back Before Submerging The Pedal In Rice

And finally, it wouldn’t hurt to take off the back so the motherboard is exposed before you put it in a bag of rice. Just make sure the bag doesn’t get shaken around or anything like that. Put it in there and let it sit.
Other Articles You May Be Interested In
- The Ultimate Troubleshooting Guide to Guitar Pedals [EASY]
- How to Fix A Whammy Bar That’s Too Stiff [SIMPLE]
- How to Adjust the Action on a Squier Telecaster [ANSWERED]
- How to Adjust the Action on a PRS Guitar (With Pictures)
- How Long Do 9V Batteries Last in a Guitar Pedal? [Experiment]


 Written By :

Just spent about £500 on BOSS guitar pedals after borrowing a mate’s one for a few months. This morning I come down to find my (jealous I htink) dog pisse don them last night – they were all plugged in and I assumed they weren’t working cos I had left them plugged in (but not stomped ‘on’). WHen I realised and before seeing your article I did exactly what you advised – cleaned off water (piss), taped over holes and stuck them in a big thing of rice (luckily wy wife is Thai so it’s always around. I didn’t take the back off to see if the motherboard was wet but I htink the fact that all three pedals wouldn’t stomp on in the morning probably means that they friend overnight – only time will tell. Thanks for your article though. I htink my dog has cost me £500 !
Hope you put those dogs outside for the night.
Good luck, let me know how it goes.