The TCE Ditto X2 is an acclaimed looper used by all kinds of musicians all over the world. It has cool features and a very simple & unique user interface that gives you an excellent looping experience, on and off stage. You can record loops up to 5 minutes in length and it has the capability to record unlimited overdubs.
It also has a 24-bit signal processing capability, which allows for proper dynamic range, reduced noise and great sound quality. Additionally, you can connect it to your PC to store loops which is pretty straightforward once you do it once. Here’s a simple explanation:
To connect your TCE Ditto X2 Looper to your PC
1) Supply power to the pedal with 9V batteries or a 9VDC power supply
2) Connect a Mini-USB cable between the pedal and your PC
3) Import or export your loops to or from the Storage of your Ditto X2
4) Eject your Ditto X2 and disconnect it from your PC
If you connect your Ditto to your PC, it’ll recognize the pedal as an external drive. This enables the transfer of loops to and from the device. This feature allows you to run backing tracks directly on the pedal without needing extra hardware. If the above explanation was too brief, I’ll explain everything in detail in the following section.
How to Connect the Ditto X2 To Your PC
1) Assemble The Gear You Need
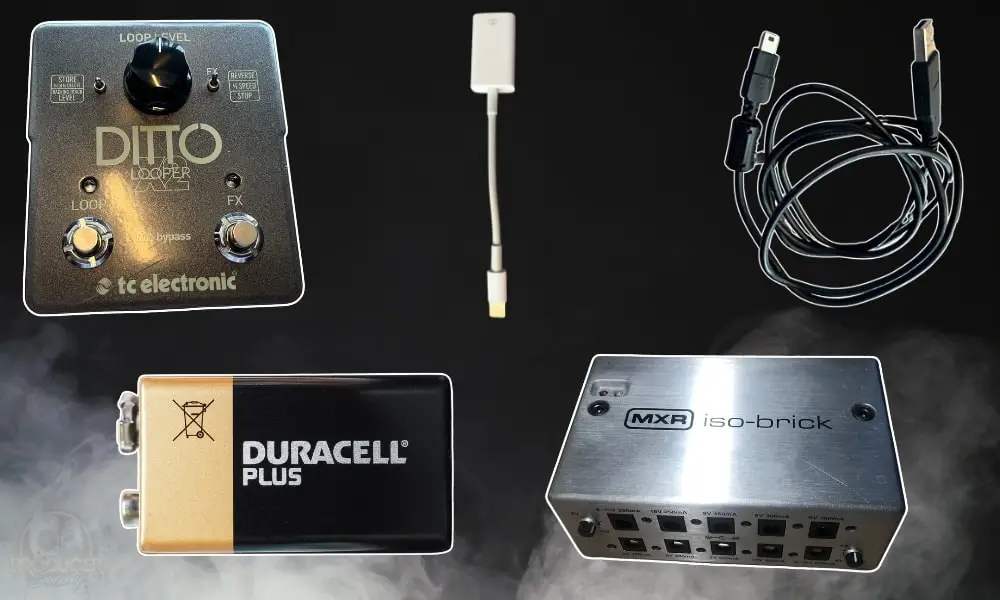
First, you need to grab all the gear you’ll need to make this possible. You’ll need the following items:
- The Ditto X2 Looper itself – obviously
- USB Cable (already provided in the box – but here’s one on my Product Page if you lost it).
- USB-C adapter
- Power supply or 9V battery
2) Connect the USB Cable to Your Ditto X2 Looper
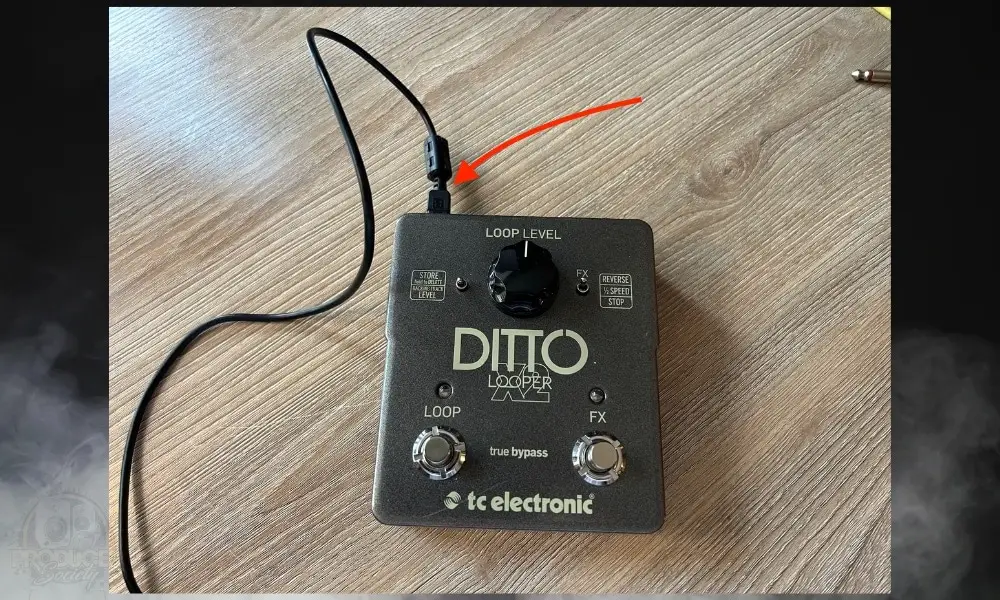
Start by connecting the USB cable to your Ditto X2 looper via the USB port available on the looper. As I said a moment ago, a USB cable comes with the Ditto X2 box.
You’ll probably need a USB to USB-C adapter like what I’ve shown in the following section. I use a multiport adapter. In fact, I use two of them.
3) Connect the Ditto X2 USB Cable to Your Computer
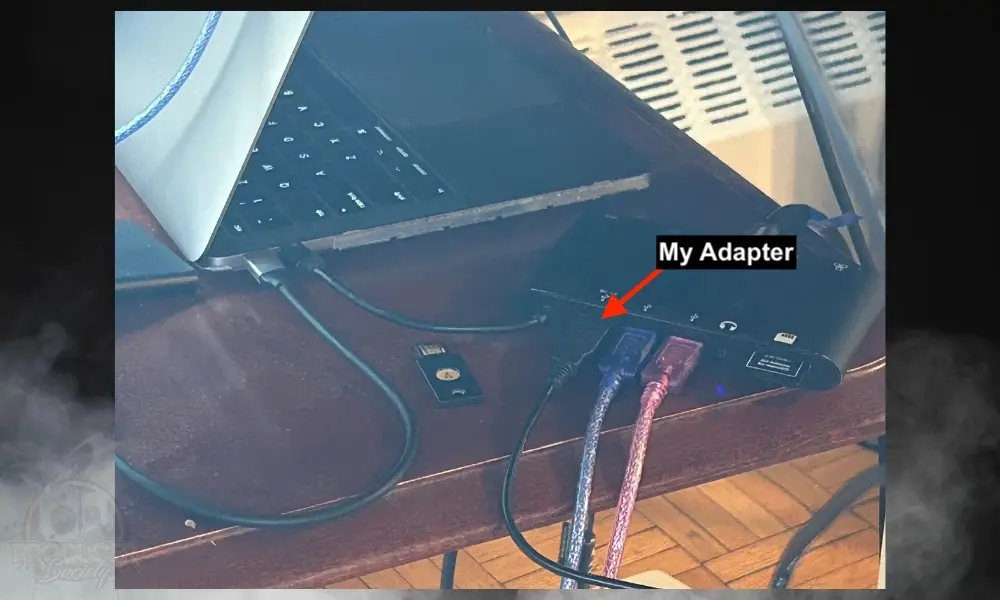
Connect the PC end of the cable to the USB port on your computer or adapter. If this is done properly, the Ditto X2 Looper will change to ‘USB transfer’ mode and the audio function will be disabled.
4) Supply The Ditto X2 With Power
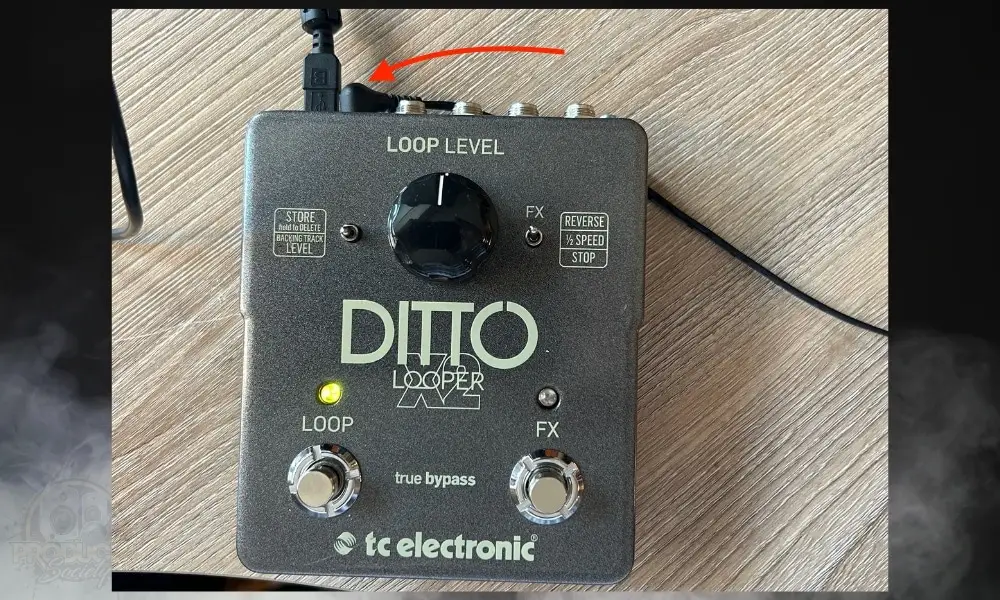
After you’ve connected power, an orange LED on the LOOP footswitch will begin to blink indicating that the Ditto X2 Looper is in transfer mode and ready for Import/Export as the case may be.
It’s important to give it power, otherwise, it won’t work. The same thing is true when connecting the BOSS RC-5 and TCE Vortex Mini Flanger.
5) Import & Export Your Loops to & from the Ditto’s “Storage”
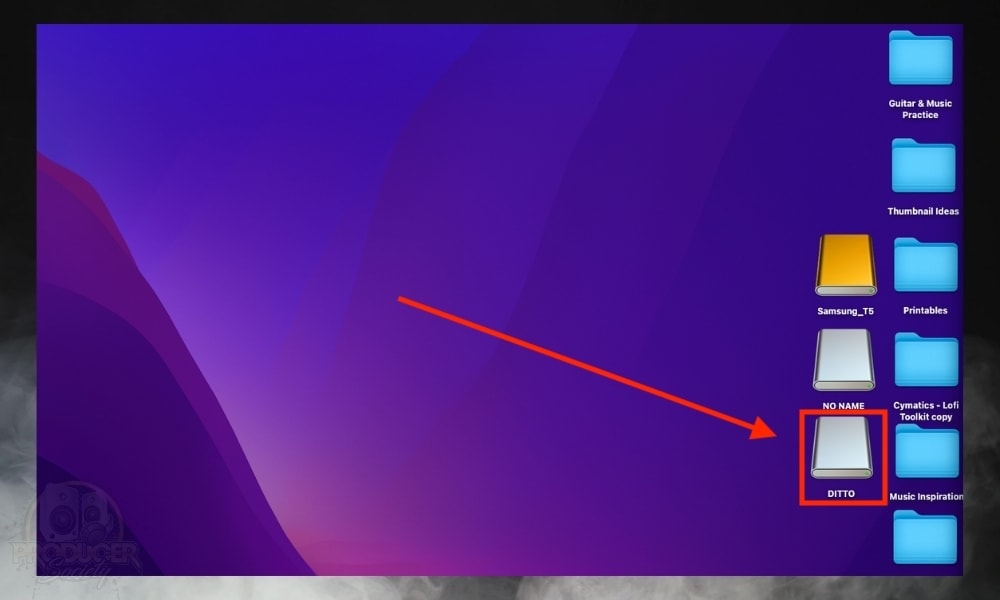
Once the Ditto X2 looper is connected to the computer successfully, the computer will recognize the looper as an external USB storage device named “DITTO”.
It can be located as a drive in the Finder on Mac OS, or in Windows Explorer on Windows OS. The Ditto storage has a folder named “TRACK” where loops and backing tracks are stored.
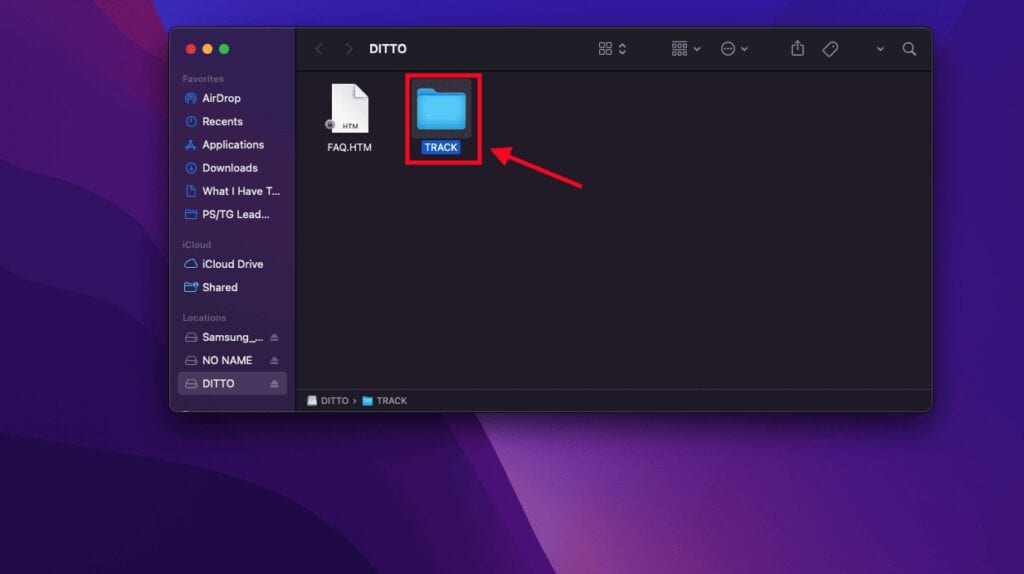
According to the Ditto X2 user manual, the Ditto X2 Looper stores audio in 2 formats only: WAV and AIFF (Audio Interchange File Format). Both of these are high-quality audio formats.
The AIFF format is not natively supported by Windows OS, as a result of this only the WAV format is recognized. The macOS has native support for both the WAV and AIFF audio formats. Most DAWs have no issues importing audio in any of these formats.
To transfer your recorded loop from the Ditto X2 Looper to your computer, drag and drop, or you can copy and paste the audio from the “TRACK” folder into your computer, and then you can go ahead to use it in your projects.
To import loops you’ve created into your DAW or any backing track you’ve downloaded, drag and drop the WAV or AIFF file as appropriate into the “TRACK” folder inside the DITTO “drive” and allow for the file transfer to be completed.
You can also send mp3 files into the Ditto looper. The looper converts the mp3 file to AIFF or WAV files. It’s the same process except for the fact that the conversion might take some time.
This could cause the addition and occurrence of a brief moment of lag or silence after the loop, leading to inaccurate looping.
For that reason, I stick to using the accepted formats, AIFF and WAV. These are the best quality anyway. Might as well put the 24-bit pedal to full use.
6) Eject the Pedal and Disconnect it From Your Computer
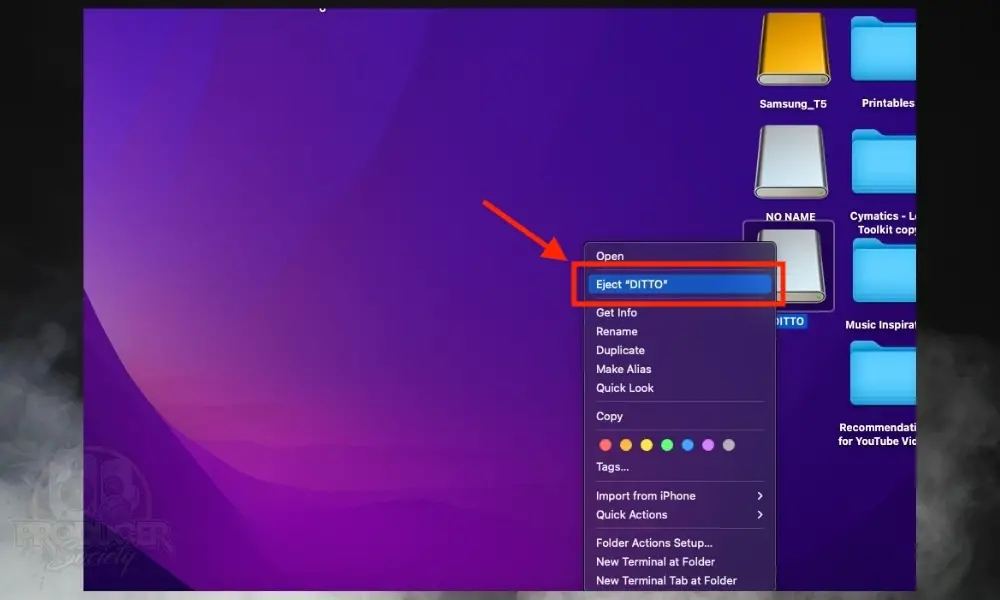
Ejecting the pedal in Windows is done by right-clicking on the DITTO drive in Windows Explorer and clicking “Eject”. For Mac users, select the DITTO drive, and click on [Cmd] and [E] at the same time.
This process safely ejects the pedal without any loss of data. Note that abrupt disconnection of the connecting cables from the looper or the computer without appropriate ejection can lead to loss of user data
You can now disconnect it from your computer after proper ejection. The audio function previously disabled will now become enabled, and the orange blinking on the LOOP footswitch LED will change to green.
How to Connect Your Computer to Update the Firmware
To update the Ditto X2 pedal, there are a few steps you have to take when connecting the USB cable to your computer. Below is a brief summary of these steps but If you need more details, you can check out the DITTO X2 manual here.
1) Download the Firmware Update from the Support Page
2) Unplug All the Cables As Well as The Power Supply
3) Connect the Pedal to your PC
4) Long Press the Loop’s Footswitch and Connect Power
5) Let Go Of The Footswitch and Wait for the Green Light
6) Quit All Other Applications and Open the Updater
7) Select Your Device from the Updater And Then Select “Update”
Why Can’t I Hear Audio When The Ditto X2 Is Connected to My PC
In simple terms, the Ditto X2’s audio playback ability is disabled while connected to a PC. When your Ditto X2 Looper is connected to a computer, it by default enters into the USB transfer mode.
In this mode, no audio will be enabled in the Looper. You can’t playback any recorded loop, or record anything at all.
If you want to hear your loops, you can listen to them from your computer via your DAW, or just complete all your file transfers, then eject and disconnect the Ditto X2 Looper.
Other Articles You May Be Interested In
- How To Connect The BOSS RC-5 To Your Computer [SIMPLE]
- How to Connect The Boss Loop Station [SIMPLE]
- How To Connect A Guitar To Your AudioBox [EASY]


 Written By :
