Vibrato pedals are an effects unit that I’ve overlooked for a long time, simply because they just didn’t appeal to me that much. But after having got one at an auction not long ago, I’ve become more open to them.
They’re a pretty cool pedal with a lot of applications, however, I find there isn’t as much information on how to use them as they’re could be. If you’ve also found this to be the case, that’s probably why you’re at this article, so how do you use one?
Generally speaking, a vibrato pedal is just an effects unit that detunes the guitar signal based on a number of different parameters, including intensity, speed, as well as a mix control. They can be used to create a light vibrato effect or extraterrestrial-sounding soundscapes.
In this article, I’ll show you how to set up a vibrato pedal, how the various knobs and dials work, where it goes in your signal chain, including some of my own settings for how to get one of them to work. Without further ado, let’s dive into how to get all of this done in the next section.
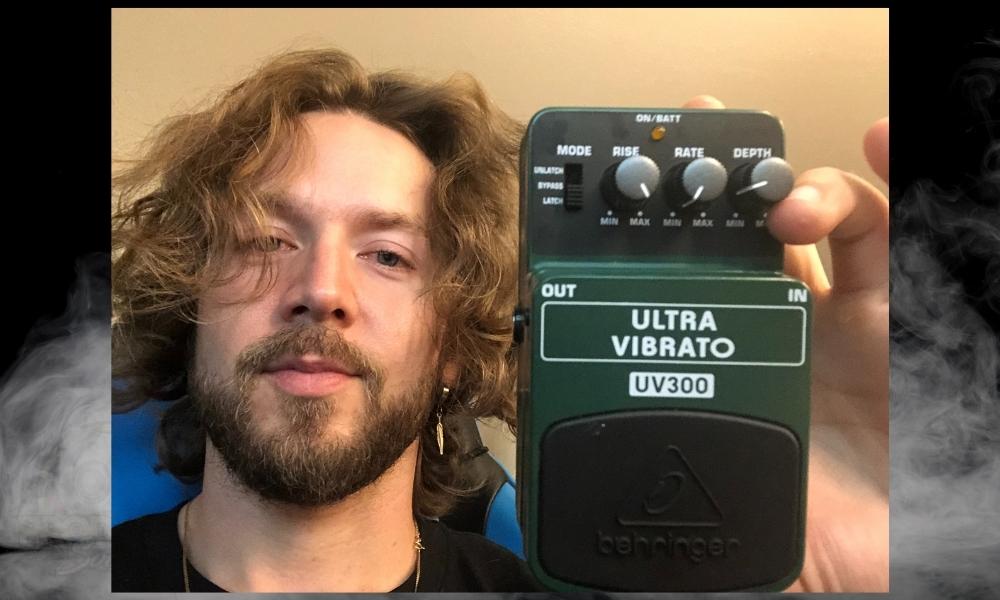
Using A Vibrato Pedal – A Step-By-Step Guide
For this tutorial, I’m going to be using the Behringer UV300 because it’s an inexpensive vibrato guitar pedal that’s accessible to everyone.
Moreover, it’s also a great option for a demonstration because it’s an emulation of the BOSS VB-2 which is a famous – and also very expensive – guitar pedal.
Many guitar pedals will have the same knobs, features, and dials, however, they go by different names. Just keep that in mind, and apply the principles that are discussed here to your own vibrato pedal.
How to Set Up A Vibrato Pedal
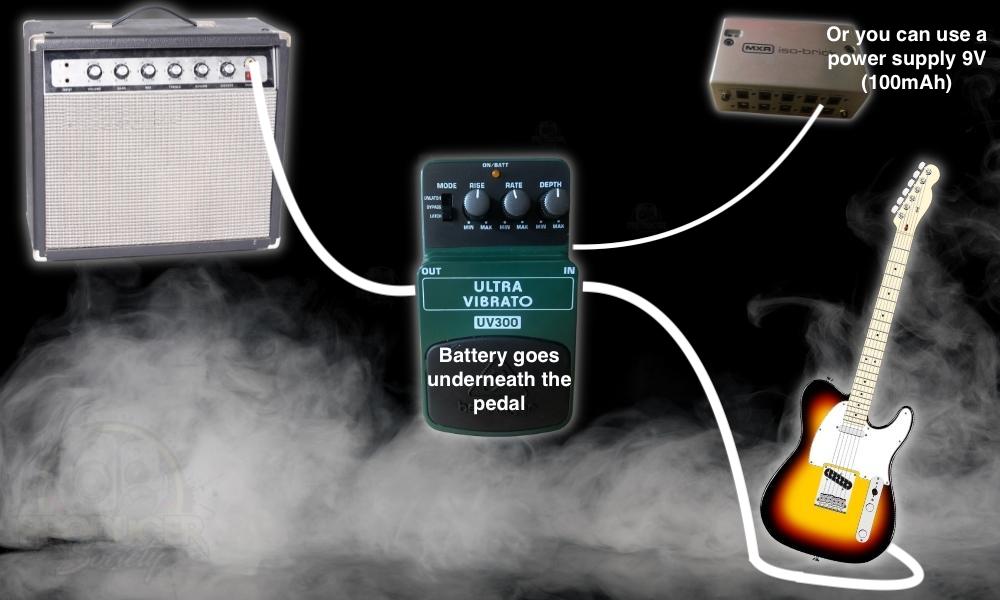
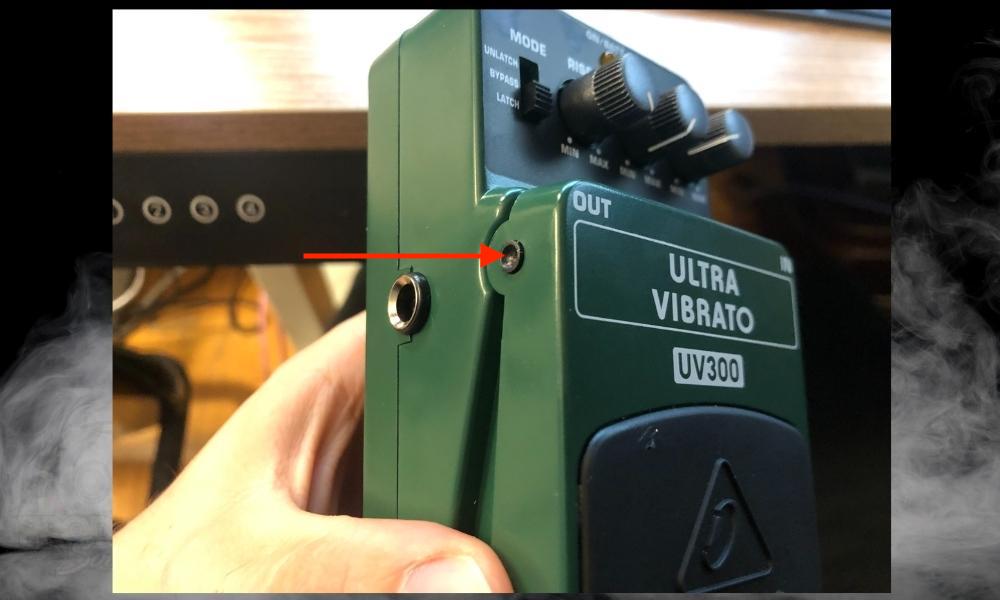
Getting a battery in this pedal is a little different than other pedals because it involves you taking off the top of the footswitch, rather than at the back. Its power consumption is 30mAh, so the 100mAh setting on the Isobrick will do great.
Where Should The Vibrato Pedal Go In Your Signal Chain?
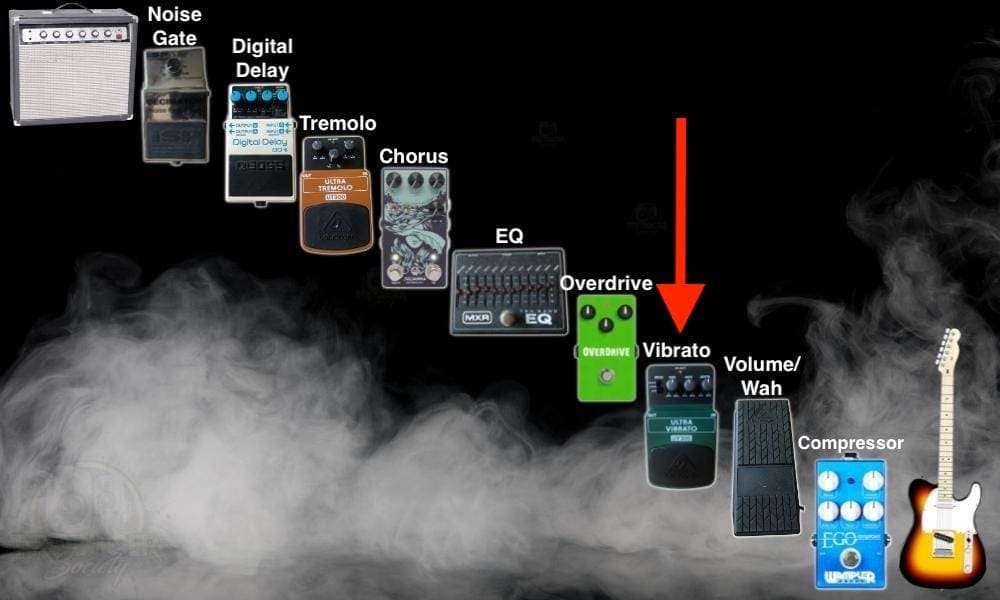
How and where you place the vibrato pedal in your signal chain depends largely on personal taste I’ve discussed in this guide on whammy pedals and signal chains, however, there are some common guidelines that you could follow. Here is one:
Dynamics > Filters > Pitch Shifters > Volume > Gain > Modulation > Time > Volume
Essentially, I would consider the vibrato pedal a pitch-shifter because that’s what it’s doing. the vibrato pedal de-tunes the guitar signal at a rate consistent with your settings and configurations.
Generally speaking, it’s best for vibrato pedals to go close to the start of the signal chain, or closest to the guitar, usually, after dynamics like compressors, filters, and other dynamics effects.
In my chain, I would put the vibrato pedal right after the whammy pedal because I prefer for the signal to go into the whammy pedal first before it gets to the vibrato pedal.
The Rise, Rate, Depth, and Mode
The nice thing about the Behringer UV300 is there are only 3 knobs on it and one mode switch. The pedal emulates the BOSS VB-3 pedal that goes for about 10x as much money, so many of the controls are similar. What you get is pretty much all you need.
Rise [Decay]
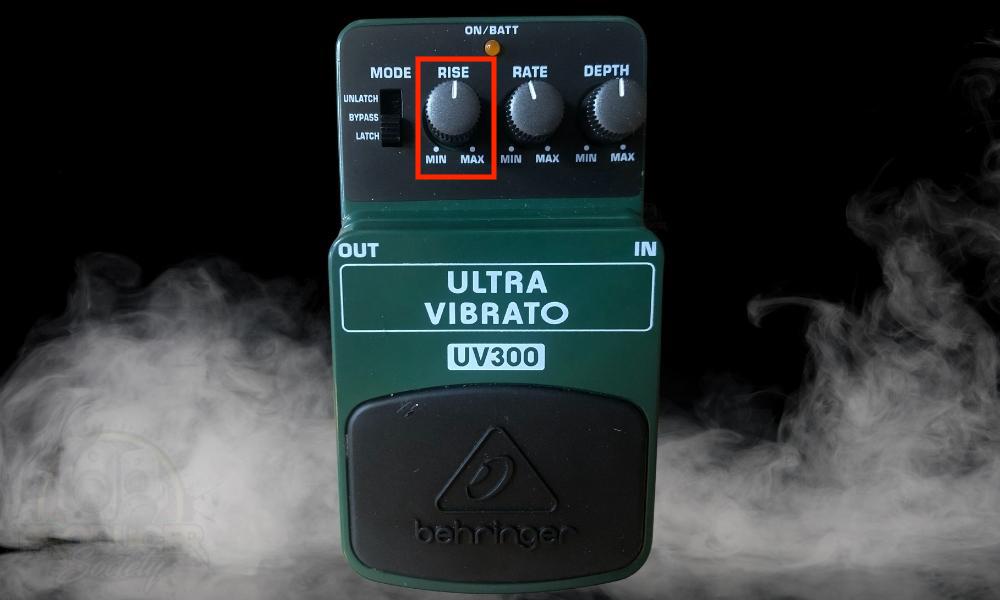
I started with the Rise and Mode of the Pedal because they’re linked to each other. More specifically, the Rise dial and the Unlatch mode operate together.
As I’ll explain to you again in a minute, the unlatch mode puts the pedal into a mode whereby it works on a press-and-hold basis, rather than being switched on as other pedals most commonly are.
So the Rise pedal controls how fast the vibrato effect is introduced onto the guitar signal and also the time it takes for it to reach its de-tuning effect.
To explain this principle using different terminology, it’s almost like it introduces a delay so it takes a second for the vibrato to actually start working its magic on the guitar sound.
Mode
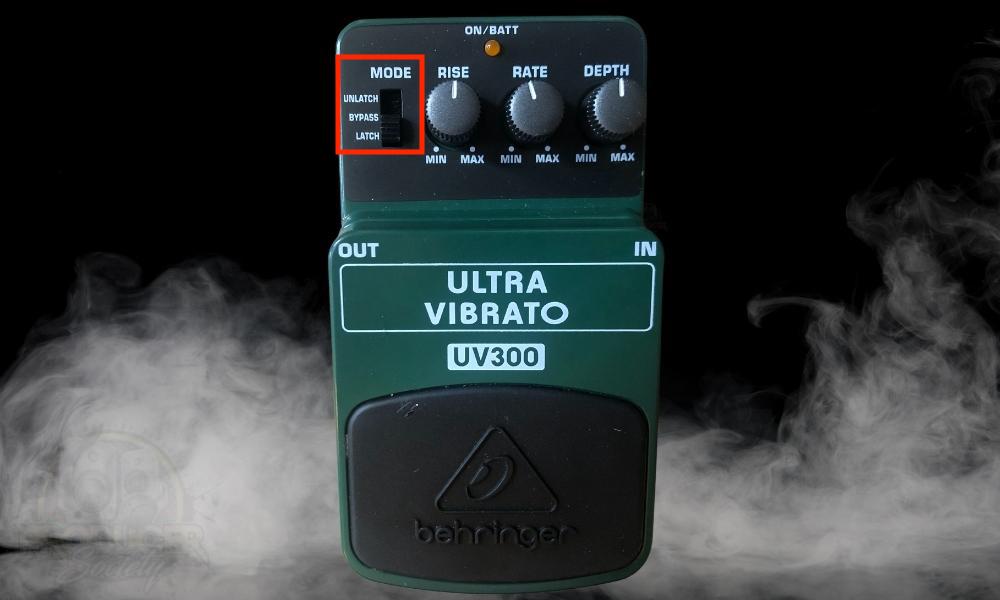
The Mode, of course, is a tool to use for switching between various configurations on the pedal. There is unlatch, bypass, and latch mode. Let’s start with Unlatch mode which is the first mode of the pedal.
Unlatch
Unlatch is a cool mode that’s underrated. What it does is that it makes the pedal work on a press-and-hold basis, rather than being switched on after having pressed the footswitch.
In other words, the pedal will always be turned off when you have this mode engaged. The pedal must be depressed in order for it to work.
When you want it to work, you have to press and hold on to the pedal to get it to turn on, but the moment you take your foot off the pedal again, the pedal will immediately stop affecting the signal.
Bypass
Bypass mode is a way of getting around the pedal, so the signal can get through it without being negatively affected or encumbered by the circuit and technology inside it. When the signal passes through the pedal without being bypassed, it can cause latency.
Latch
Latch means the pedal is going to work normally as it should. This is kind of like the default mode of the settings, and how almost all pedals work.
To turn on the pedal, you do as you normally would which is to stomp on the footswitch and to turn it off, you stomp on it again.
Rate [Speed]
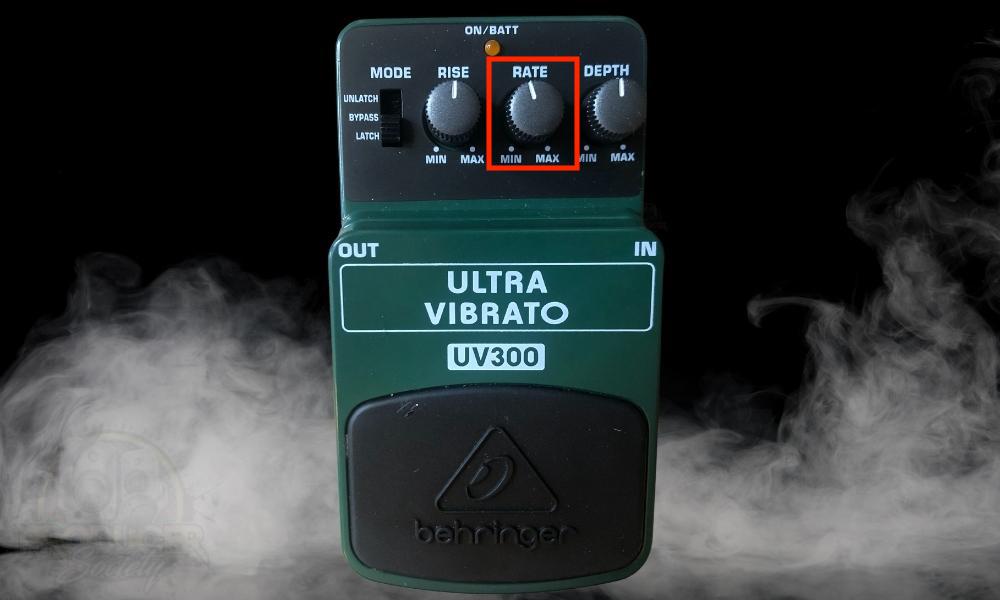
The rate controls the speed of the pitch modulation, or in other words, it controls the speed of the guitar signal as it moves up and down. If you have the rate turned all the way down, it’s going to be as slow as the pedal can go.
But if you have it turned all the way up, it’s going to oscillate significantly faster. The rate feature of the Behringer UV300 is probably the UV300’s weak point, because, in my view, it doesn’t go as slow as it should.
That’s probably why some people, including this YouTuber, have even taken to modding the pedals by adding a new switch to go into a much slower mode.
Depth [Intensity]
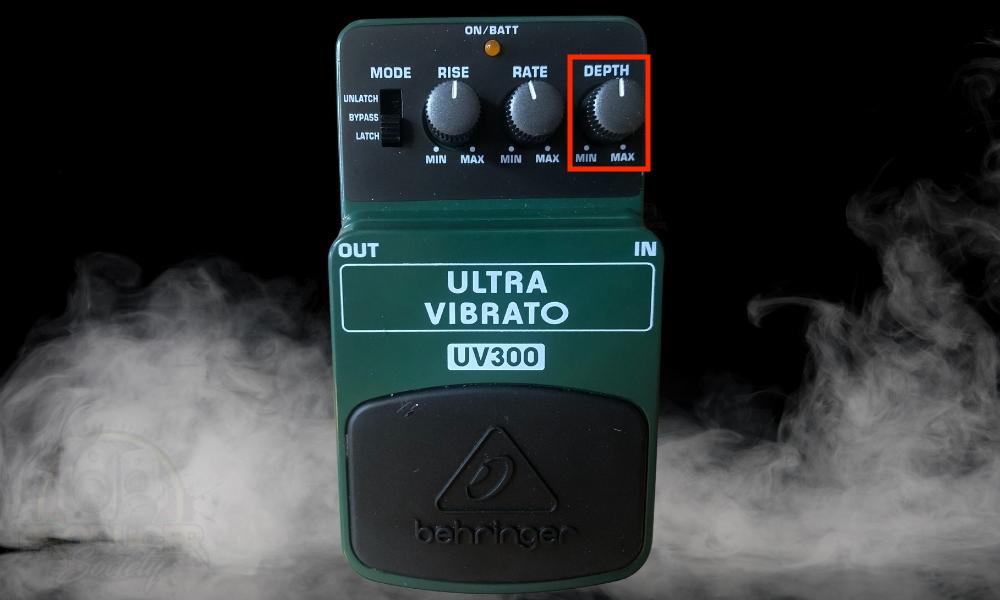
The depth controls how much vibrato you’re adding to your guitar signal or the intensity of that signal. Explained using other words, it controls how much you’re moving the guitar signal away from its original pitch.
For example, if you put a C note into the pedal with the depth mode set to the bare minimum setting, you’re not moving the guitar signal very far away from the original C note. The result of this is a vibrato effect that isn’t quite as pronounced.
But if you crank the depth to the maximum, this means the note is going to be pushed further away from the bass note. This is why it’s called depth, in my view, because you’re pushing the note to go deeper.
8 Ways to Use A Vibrato Pedal With Your Guitar
Like most guitar pedals, there’s a lot that you can do once you start combining effects like chorus, overdrive, fuzz, whammy pedals, and so on.
I’ll show you a few of the settings I’ve found interesting with a standard vibrato pedal, but I’ll also mention a couple that involves other effects pedals.
1) Warbly Vinyl LP Sound
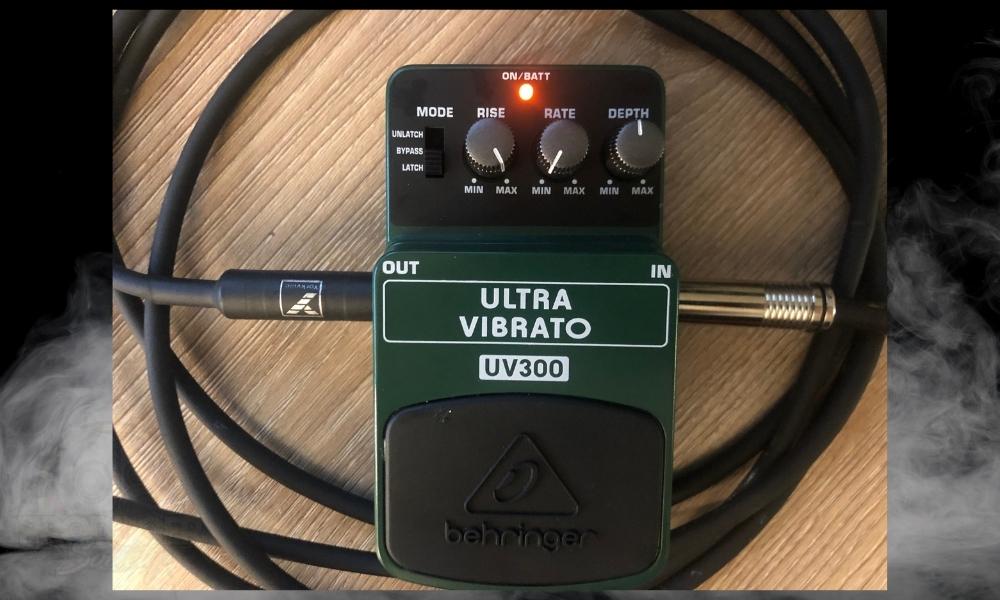
Pair this sound with static and the slightest bit of overdrive to get a clean, warm, vibrato sound.
2) Laser Gun
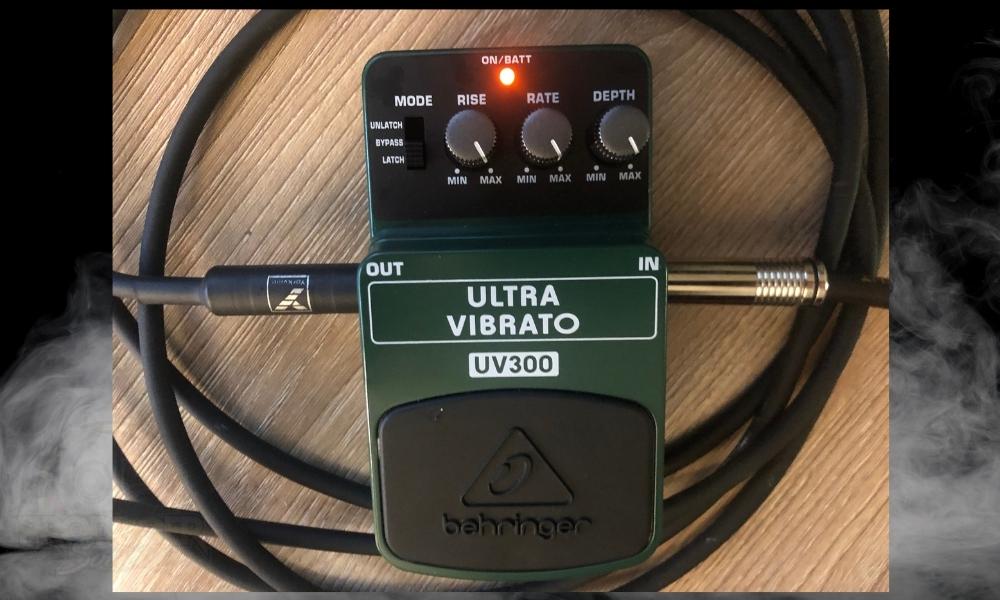
This sound reminds me of an old-school laser gun sound, like something you would hear in an old sci-fi movie.
3) Warm and Gritty Lo-Fi
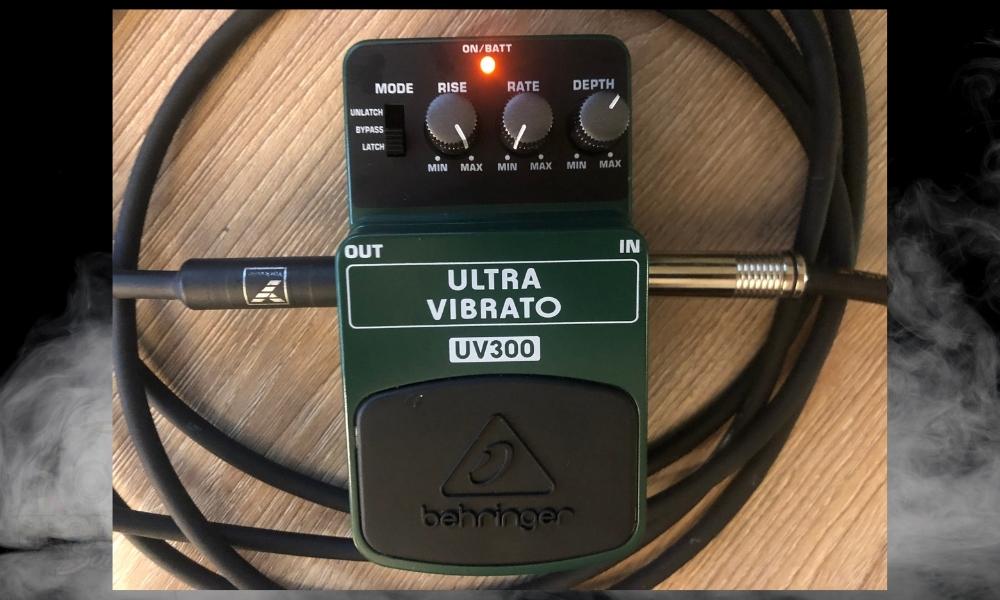
The guy in the YouTube video below shows how to get this sound with the pedals I mentioned above. This is a great tone that you can get with a vibrato pedal, overdrive, reverb, and a bit of delay. Amazing for dreamy and lo-fi soundscapes.
4) “Can’t Stop” Vibrato
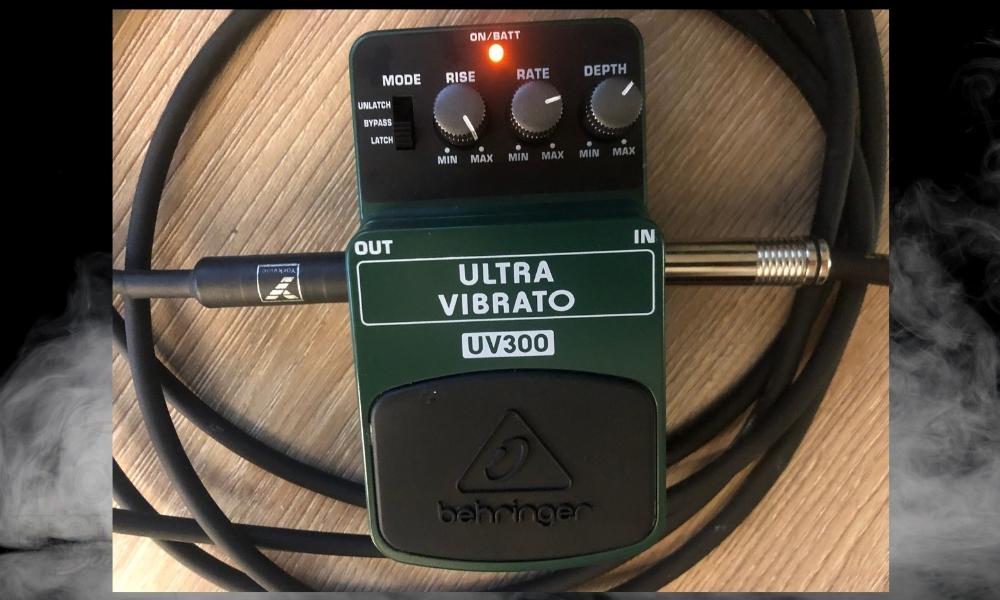
I really can’t think of a better way to describe this tone than to compare it to the classic song from RHCP’s By The Way track, possibly one of the greatest songs ever written.
I’m referring to the part where he outlines the chords of the song in arpeggio format, not long before the solo.
5) Small Movement
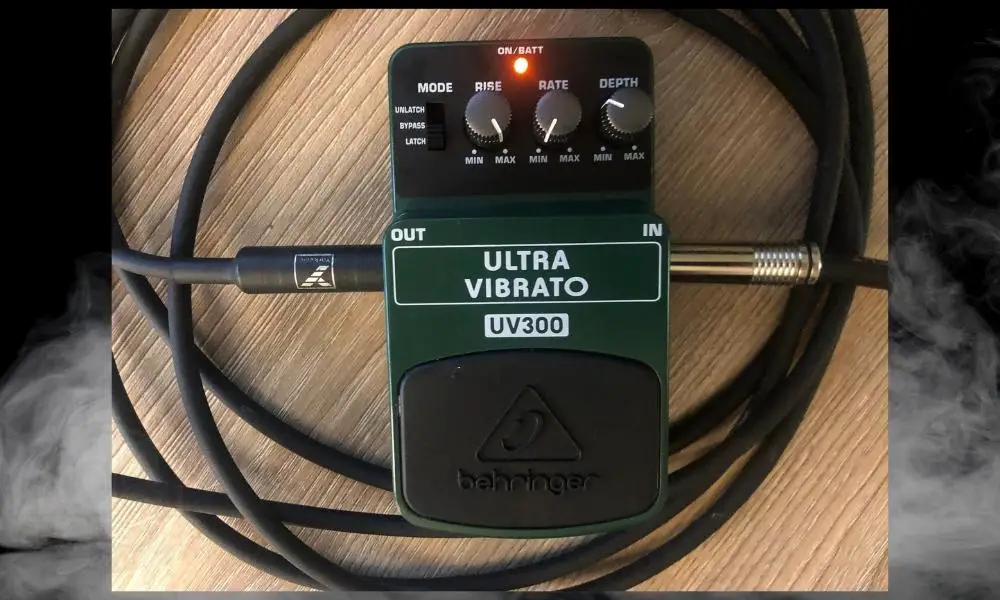
Personally, I’m a bigger fan of using vibrato in a subdued manner, such as this and the following settings. Paired with other effects, you can get some very beautiful tones.
6) Subtle Pitch Shift
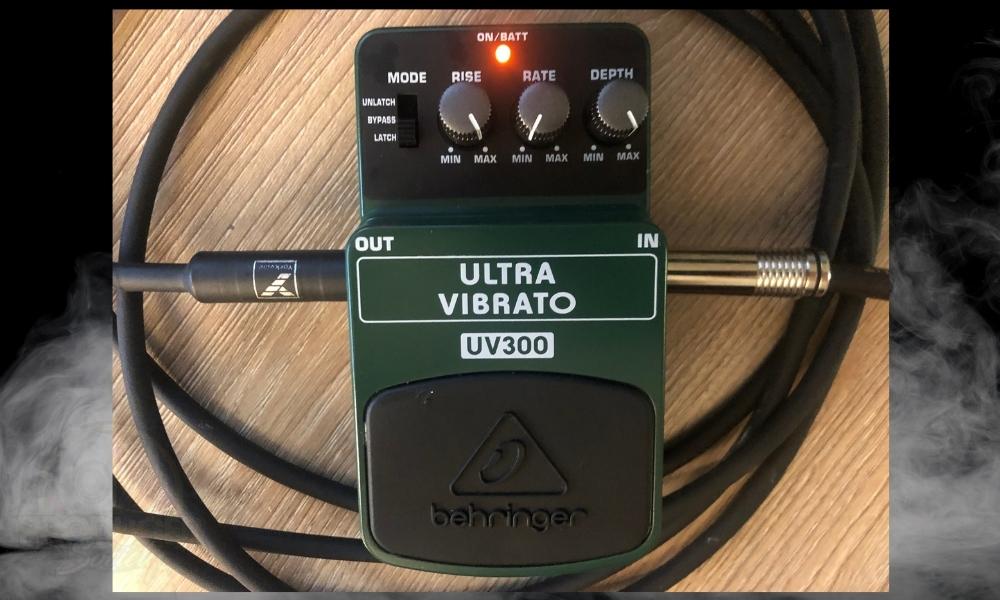
I like this one as well because it makes a tone just a little bit less dry, without using something like reverb which we all know and love but tend to abuse too much.
7) Fluttering Alien Sound
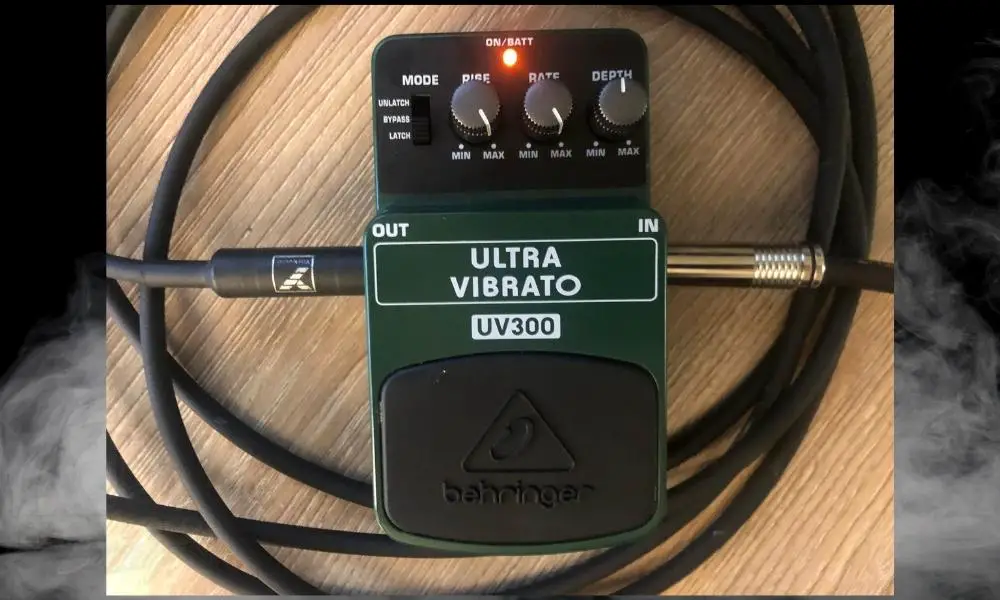
8) Barely Audible Vibrato
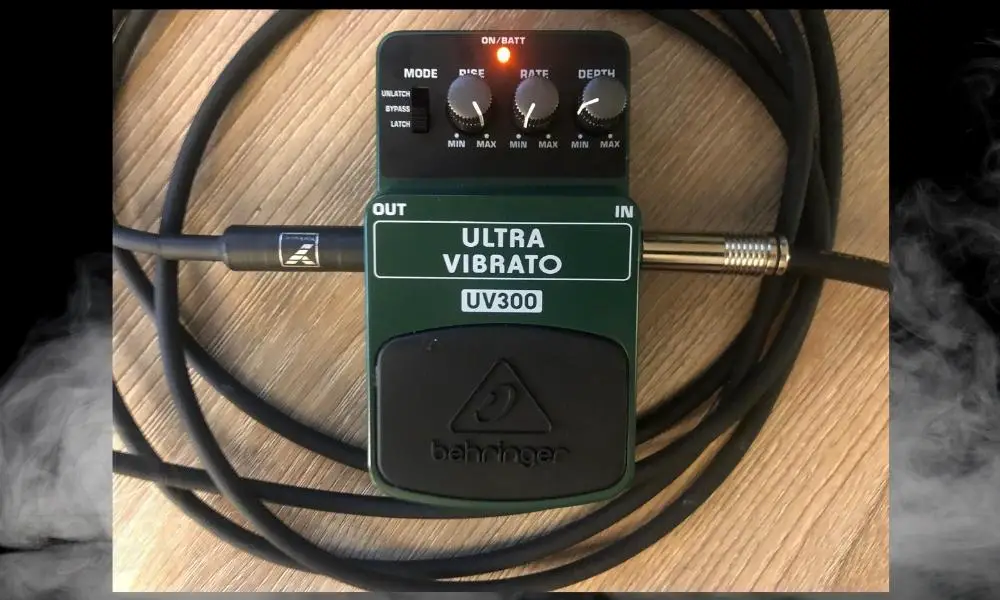
This is another configuration that I enjoy using because, this, like the others, will add just a bit of flavor and movement to your sound. And that’s all that I have for you today.
Make sure to do what I said earlier and pair the vibrato with other effects to see what you can come up with. A lot can be done with the many pedal effects units out there. Just be creative and try not to follow the “rules” too much. Enjoy 🙂
Other Articles You May Be Interested In
- How to Use A Noise Gate/Suppressor Pedal [Dead Simple]
- The Ultimate Troubleshooting Guide to Guitar Pedals [EASY]
- Do You Need A Delay Pedal? [10 Ways to Use A Delay Pedal]
- How To Use A Digitech Whammy Pedal [The Ultimate Guide]
- How to Use A BOSS RC-5 Loop Station [An Illustrated Guide]
Important Things To Note About Vibrato Pedals
1) A Vibrato Pedal Can Also Be Used For Synths & Pianos Too
It’s worth mentioning that you can use a vibrato pedal, or really any pedal for that matter, the same way you would with a guitar pedal. You just connect your digital piano to the pedal with a 1/4″ instrument cable and then connect it to your amplifier or speaker system.
2) Tremolo and Vibrato Are Different from Each Other
A lot of people mistakenly confuse tremolo and vibrato for each other purportedly due to Leo Fender’s decision a long time ago to name the whammy bar a tremolo arm rather than a vibrato system as other manufacturers did at the time.
Ultimately, the two are significantly different. A tremolo is more of a volume effect in that it switches between volume 100% and 0% really fast, whereas vibrato is a pitch-shifting effect.
3) The UV300 Is Made to Be Identical to the VB-2W Pedal
There are some YouTube videos online which explain how Behringer’s line of super inexpensive pedals is meant to be imitations of some of the more classic designs from other companies.
This could be true, and if you take a look at them, it certainly looks to be this way. The UV300 from Behringer is supposedly meant to imitate the BOSS VB-2W Waza Craft which is a far more expensive option.

 Written By :
