 Written By :

I bought and tested the MXR Carbon Copy Delay. It’s a real gem. It’s simple and it has a warm sound & rich modulation. While it only has 3 knobs and 1 button, there’s magic to how they work together.
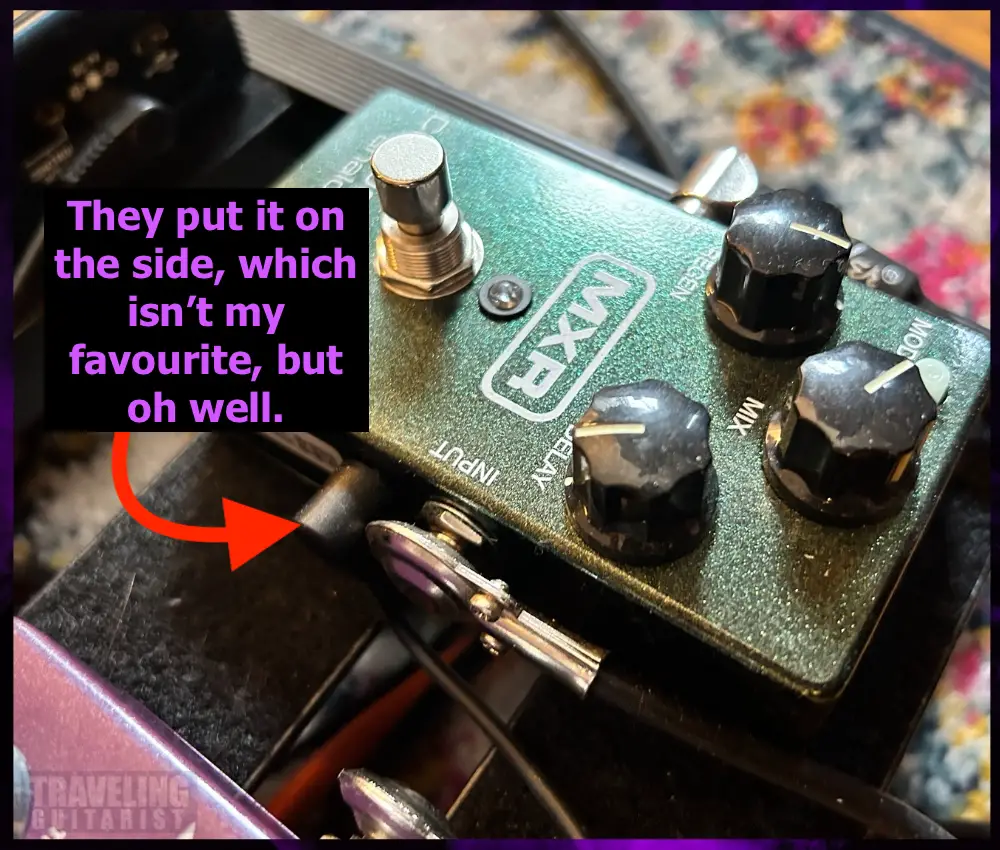
To use the MXR Carbon Copy, place it at the end of your signal chain or in your amp’s FX Loop. Power it with a 9V battery or 9VDC power supply. Start by setting the Delay time to match the tempo for your project, then set Mix and Regen. Press the Mod button to give it a modulated “lofi” sound.
How To Set Up The MXR Carbon Copy Analog Delay In Your Signal Chain
1) Near the End of Your Chain (With Reverb & Time-Based FX)
This applies the delay effect to your processed sound, like icing on a cake.
Usually, I place it before my reverb pedal, since the reverb can add more shimmer and presence to the delayed signal. Although you could be looking for something different.
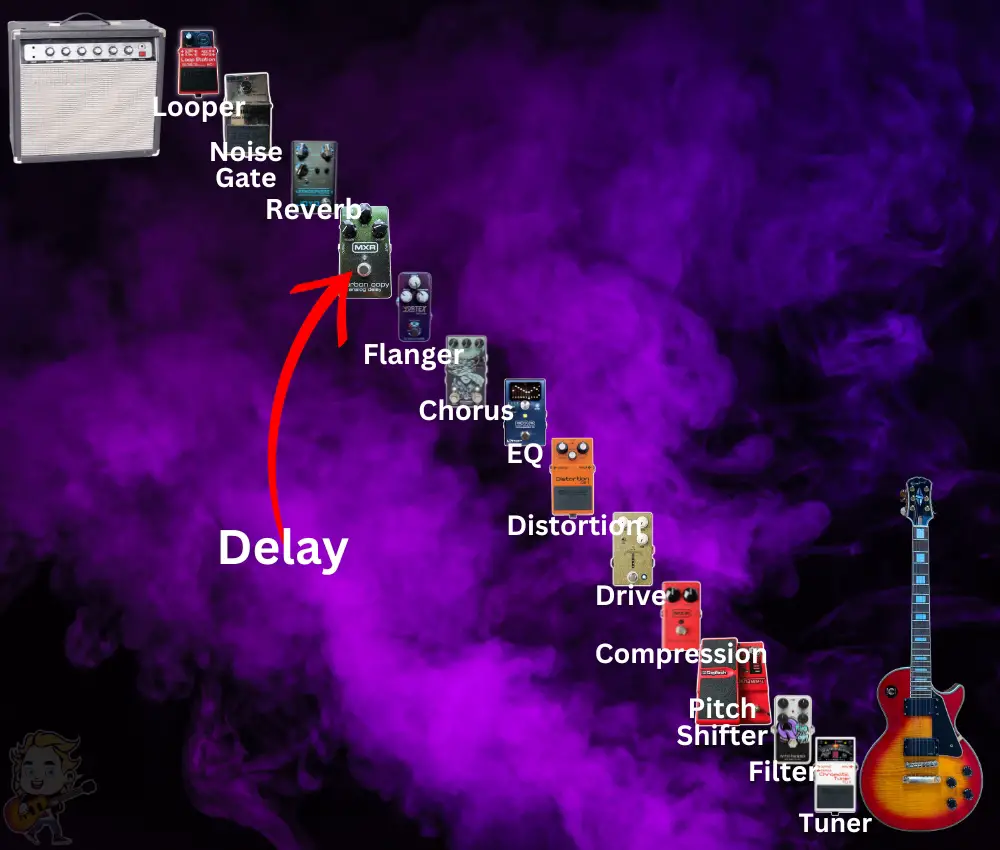
So my pedalboard setup usually goes like this:
Guitar > Tuner > Compressor > Overdrive > Distortion > EQ > Delay (MXR Carbon Copy) > Reverb > Amp

It’s important to place any tone-shaping or gain-staging pedals like distortion and fuzz before the delay; otherwise, you’re going to have a very chaotic sound.
Think about why that is. A delayed signal is essentially a repeated signal, so the distortion will be repeated over and over. If chaos is something you’re looking for, maybe give it a shot.
This’ll be doubled if you’re using a high-gain amplifier. The setup will be more troublesome.
The amp will end up distorting a delayed signal, which can sound muddy and noisy. The same thing goes for reverb and delay.
If you put delay after your reverb, you’ll essentially repeat the reverb sound a bunch of times. That’s where the FX loop comes in.
2) In Your FX Loop
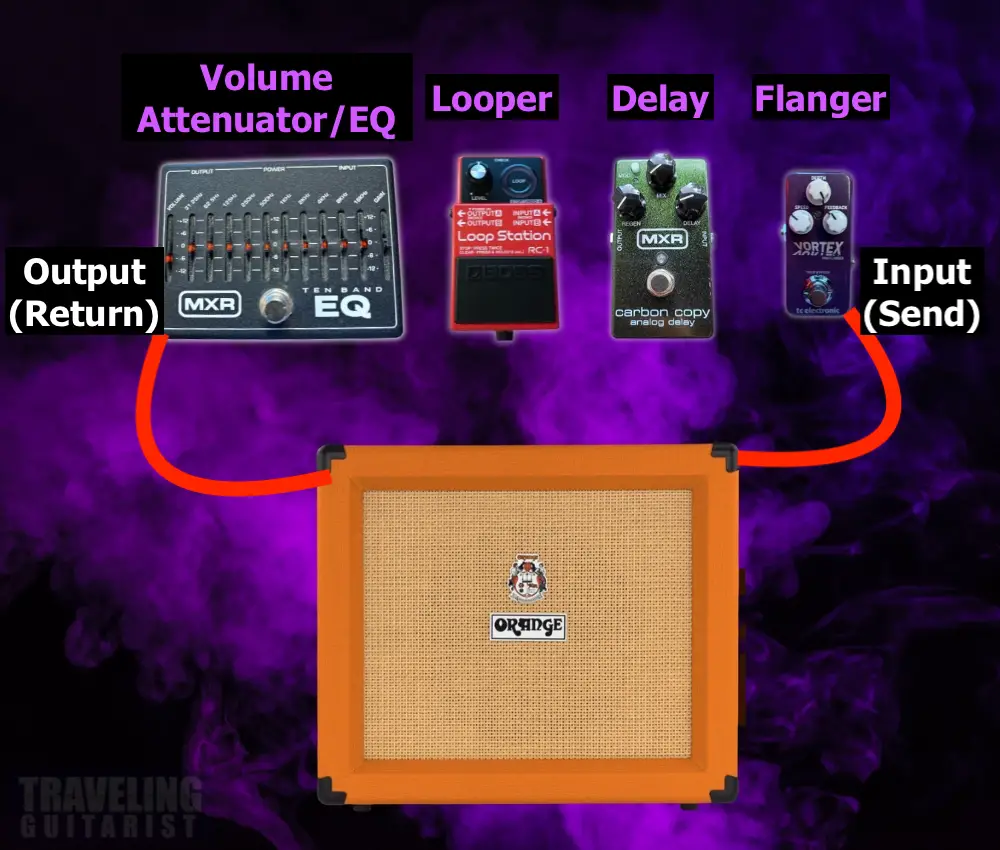
Putting the MXR Carbon Copy in your amplifier’s FX loop is another great way to do it.


Just plug the EFFECTS SEND on your amp’s FX loop into the Input of your pedal, and the Output of your pedal into the EFFECTS RETURN.
You can also add other time-based and modulation pedals like reverb and flanger here.
It’s worth mentioning that, for some reason, I find that I have no control over the volume of the Regen when the pedal is in the FX Loop.
In other words, It seems like the Regen will get louder and louder and louder until you finally just switch it off.
If you go this route, the delay signal should be fairly clean and noise-free, even on a distorted tone. Perfect for thick leads and overdriven solos.
On top of that, you can also use the reverb pedal to add more depth and dimension to your sound. But again, don’t overdo it.
How to Power The MXR Carbon Copy Analog Delay
1) Power Supply

Powering your Carbon Copy Delay is as simple as using a 9VDC power supply or 9V battery. Plus, this pedal isn’t much of a power hog either – it draws just 26 mA.
With decent batteries, it can last a long while.
2) Battery
To install or replace the battery:
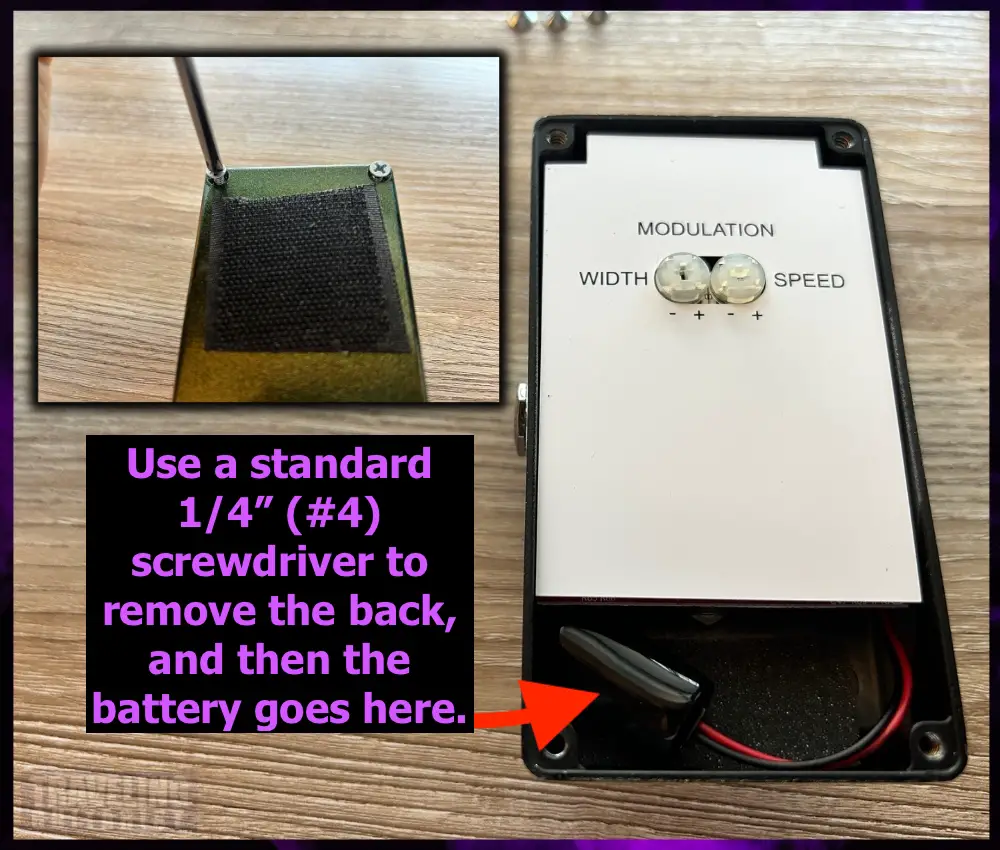
1) Open the back compartment using a small Philips screwdriver.
2) Remove any old batteries by gently pulling out the connector.
3) Align the new battery with the positive and negative terminals, plug it in, and place it back neatly in the compartment.
Remember, the pedal stays active as long as the input jack is plugged in. So to save battery life, disconnect the input each time you’re done playing.
You can leave the output plugged in if you want though.
Once you’ve opened up the back compartment, you’ll also see two trim pots to adjust the modulation width and speed; which I’ll talk about later on.
How to Use the Features Of The MXR Carbon Copy Delay
The MXR Carbon Copy is relatively straightforward, with just three knobs and a Mod button. But as I said earlier, there are also two ‘hidden’ controls for the modulation on the back side.
I’ve included time-stamps under the following headings to direct you to my video where I demo each feature.
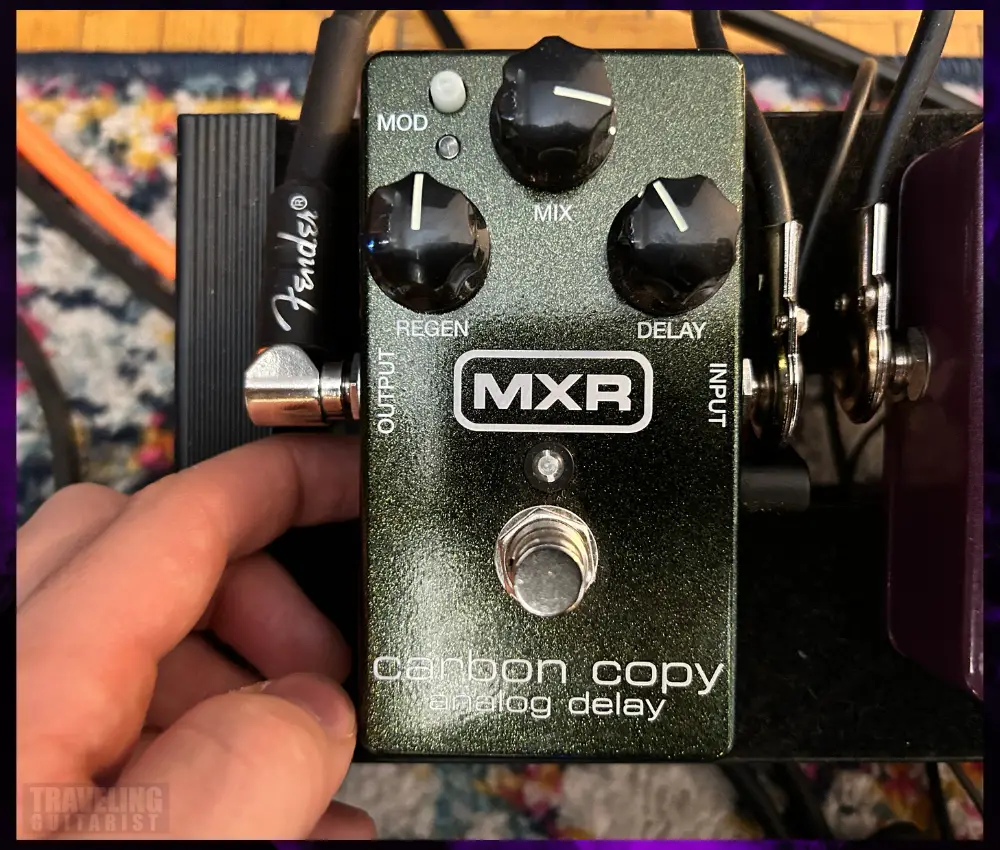
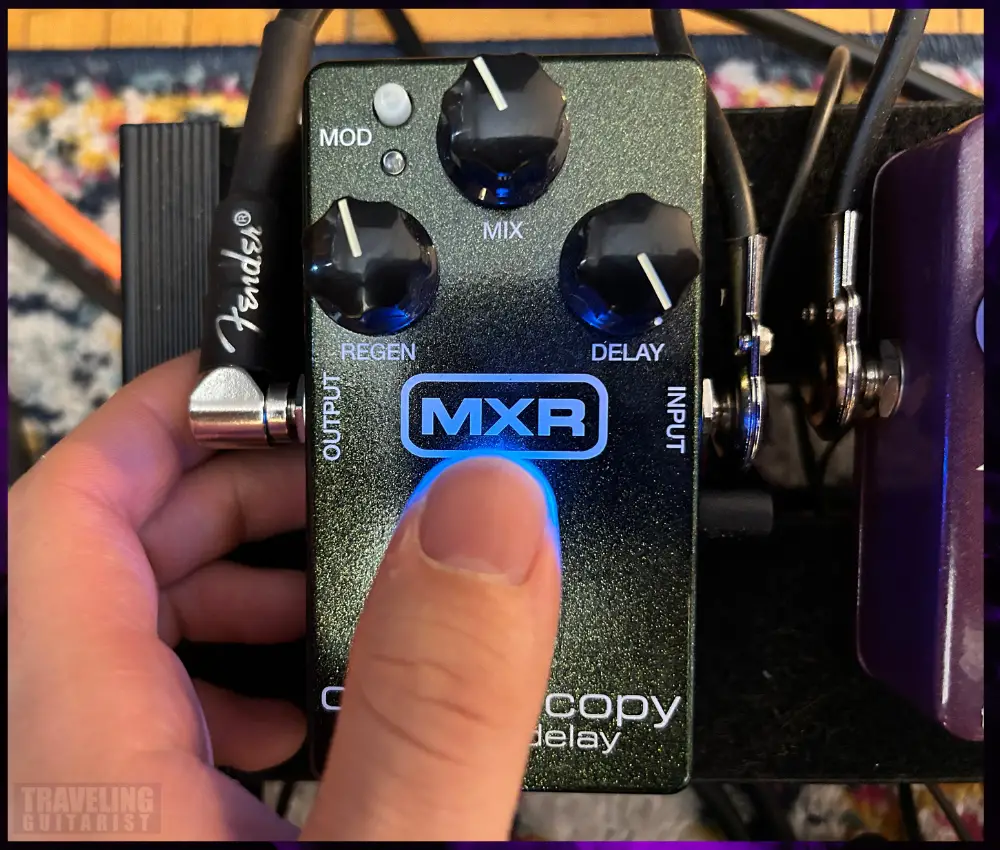
1) Front Panel Controls
The front panel of the Carbon Copy houses four controls: the Regen knob, Mix knob, Delay knob, and Mod button.
A) Regen Control
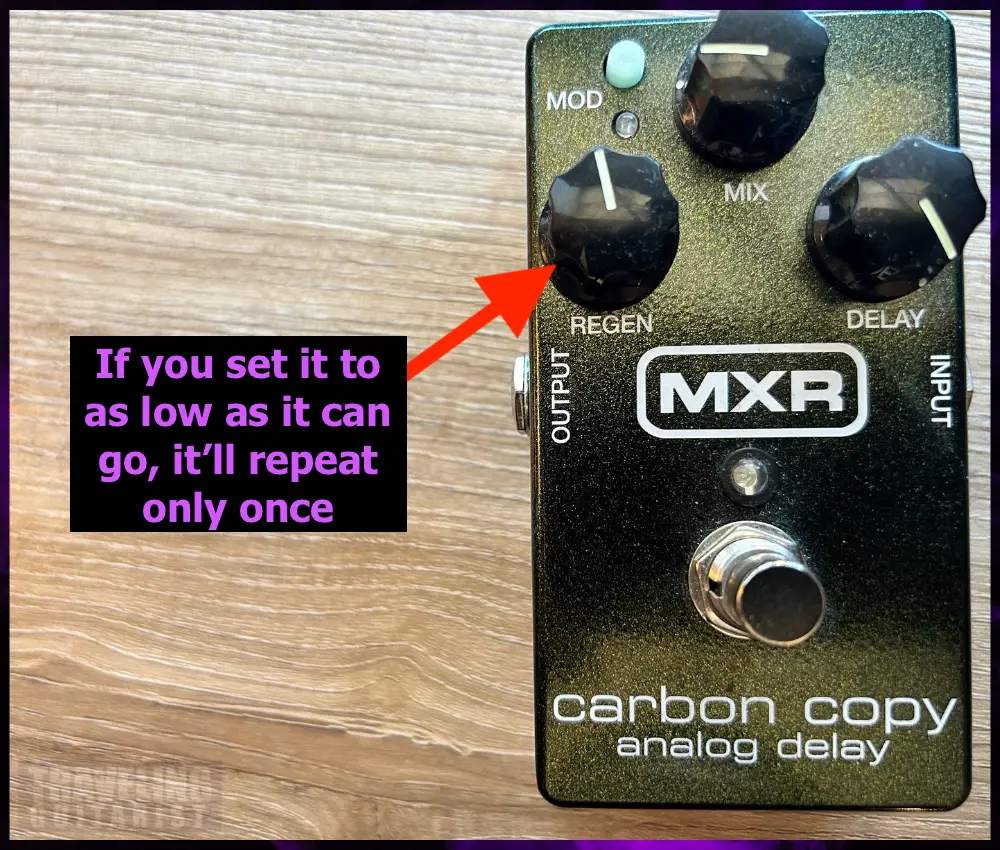
- The Regeneration control lets you set the number of repeats for the delay effect.
- 00:30 in my video.
Rotating it clockwise will increase the repeats (also called feedback), while counter-clockwise will decrease it.
I recommend starting at the middle position (12’o clock), and working your way from there. Want a single echo? Keep this knob dialed down to the lowest.
Looking for a cascade of repeats, Gilmour-style? Crank it all the way to 4:00.
At its max value, the Regen has a lot of repeats, and it sounds like they just continue to get louder and louder.
You can use this to create a feedback loop where the delay becomes kind of infinite; it keeps itself going with the delayed signal. Try raising the volume on your amp for this.
This can quickly get out of hand and sound very chaotic, but it’s a nice way to experiment and get some wacky effects. This video demo does a nice job of showing what it sounds like.
One thing I like to do is strum a chord, and while it’s sustaining, I’ll use my right hand to adjust the Regen knob and see how that impacts the sound.
This helps set the best value for the song I’m playing.
B) Mix Control
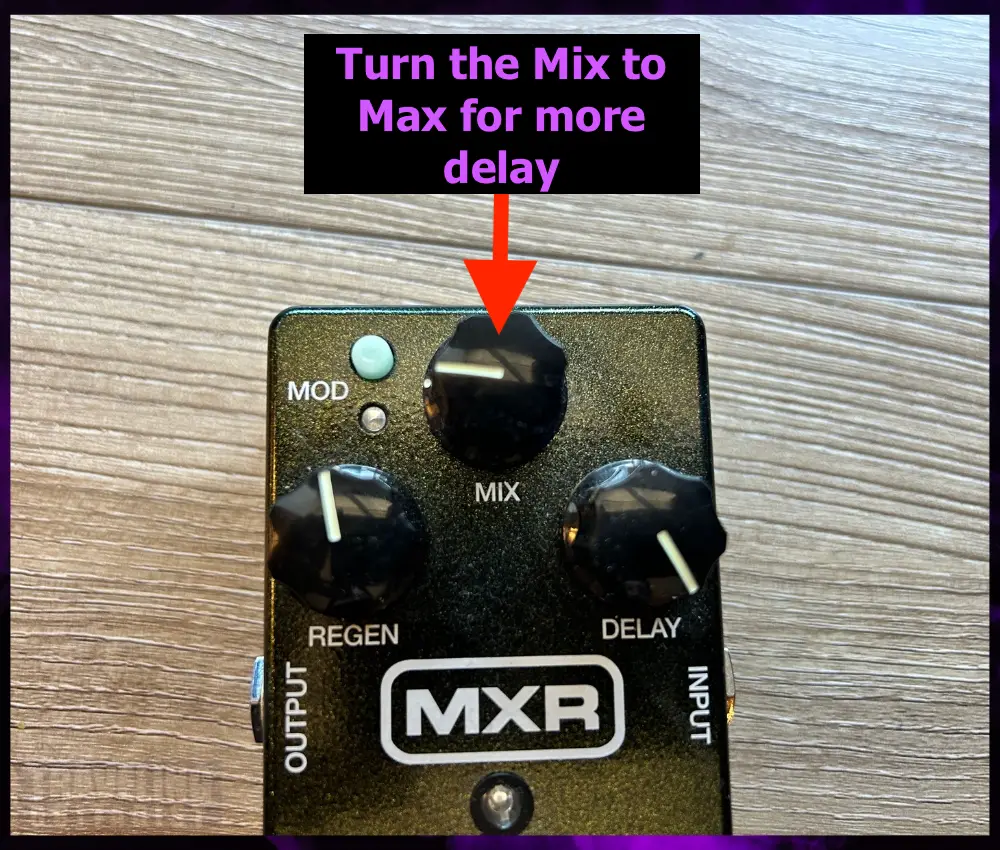
- The Mix control affects the blend of wet (delayed) and dry (original) signals.
- 01:17 in my video.
At its middle position, the delayed signal is about half your original tone’s level, so it’s nice and balanced.
Setting it fully counterclockwise gives you a dry signal with no delay effect.
Contrary to what I’ve seen others say, the Carbon Copy cannot produce a 100% wet signal (where there is no dry signal anymore).
I prefer starting it at 50%, and then working from there to see what fits the song. For some snappy echo riffs, I set it to about 80%.
C) Delay (up to 600ms)
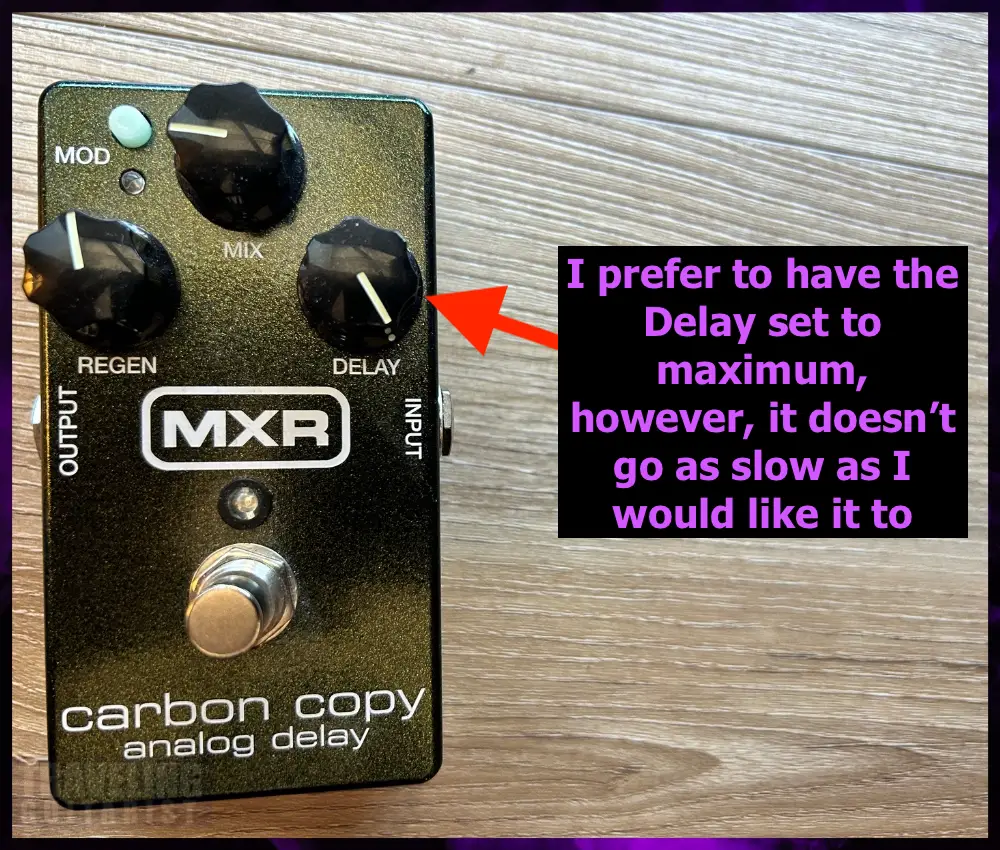
- The Delay knob lets you set the delay time; that is, how fast the delayed signal will be heard again.
- 00:59 in my video.
The fully clockwise setting is the max delay time, about 600ms, so it’ll be slow. I like this for slow leads and ambient chords.
And the lowest setting feels very fast, perfect for speedy licks and riffs.
Setting this knob to match the exact tempo of the song you’re playing can be a bit tricky, so what I like to do for this one is increase the mix, strum my muted strings, and listen to the delay.
Without any notes, you can hear the delay much more clearly.
Then, use a metronome or your song’s backing track, feel the groove, and just adjust this knob till it matches the tempo. It won’t be perfect because it doesn’t have a tap-tempo feature, but you can get close.
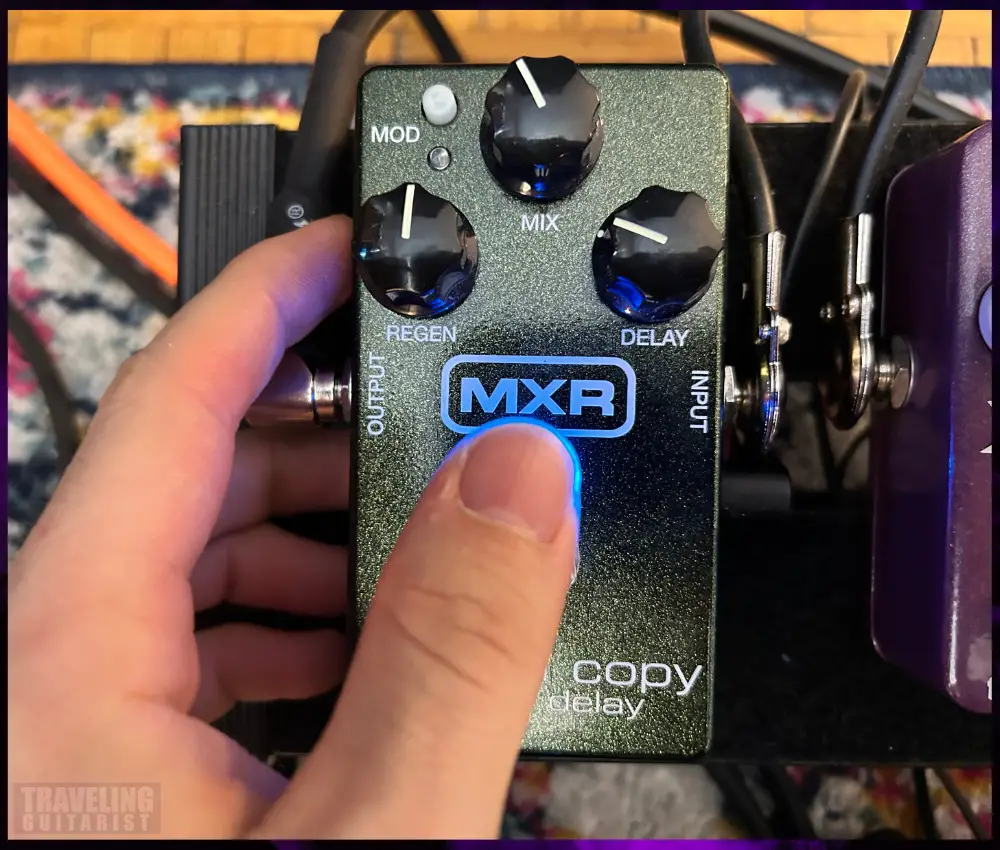
D) Mod Button
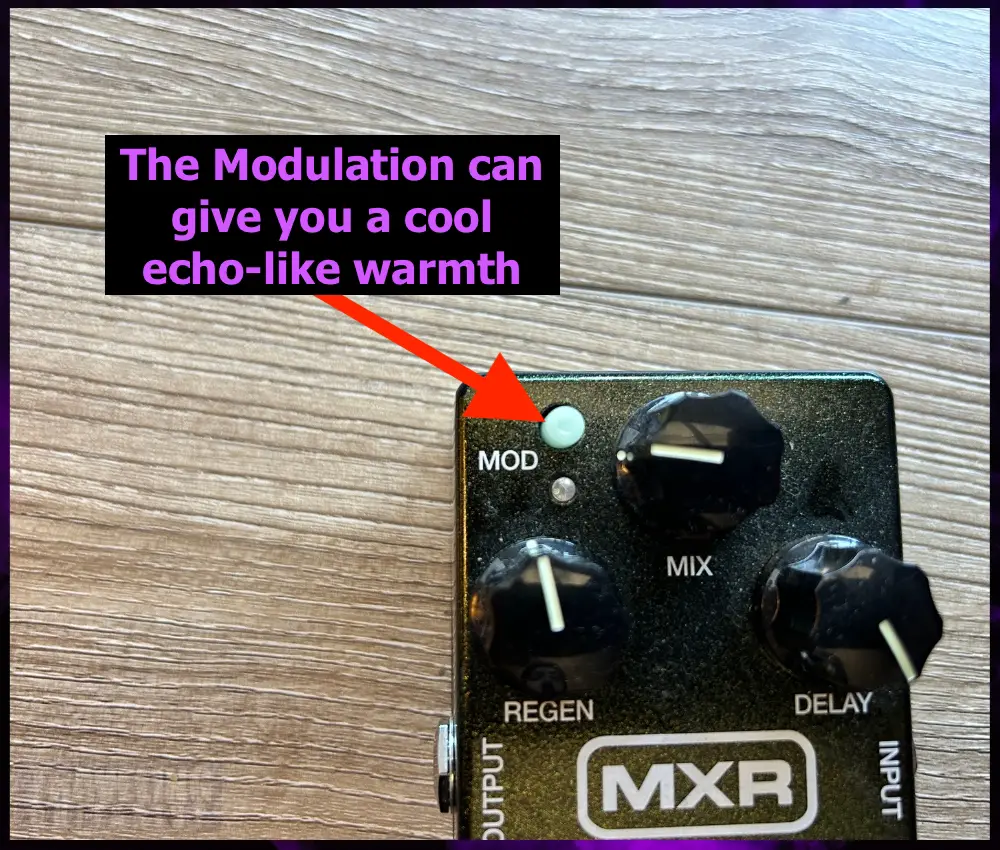
- The Mod button adds a rich modulation to the delay effect and is indicated by the blue LED when engaged.
- 01:49 in my video
This can give your repeats a swirling, chorus-like quality.
For me, the Mod button is the best feature of the Carbon Copy. It adds a lot of depth and character to the delayed signal, perfect for dreamy, lush, and analog vibes.
2) Back Panel Controls
If you unscrew and open up the back panel where the battery lies, you’ll also see two controls to adjust the modulation.
Both of these controls can be adjusted via a 2mm screwdriver.
Note that the range of adjustment for both these trim pots is small, so don’t tighten/loosen them too much to avoid damage.
Before you start adjusting these, I recommend taking some pictures of how they look as default, so you have some reference to go back to.
A) Modulation Width
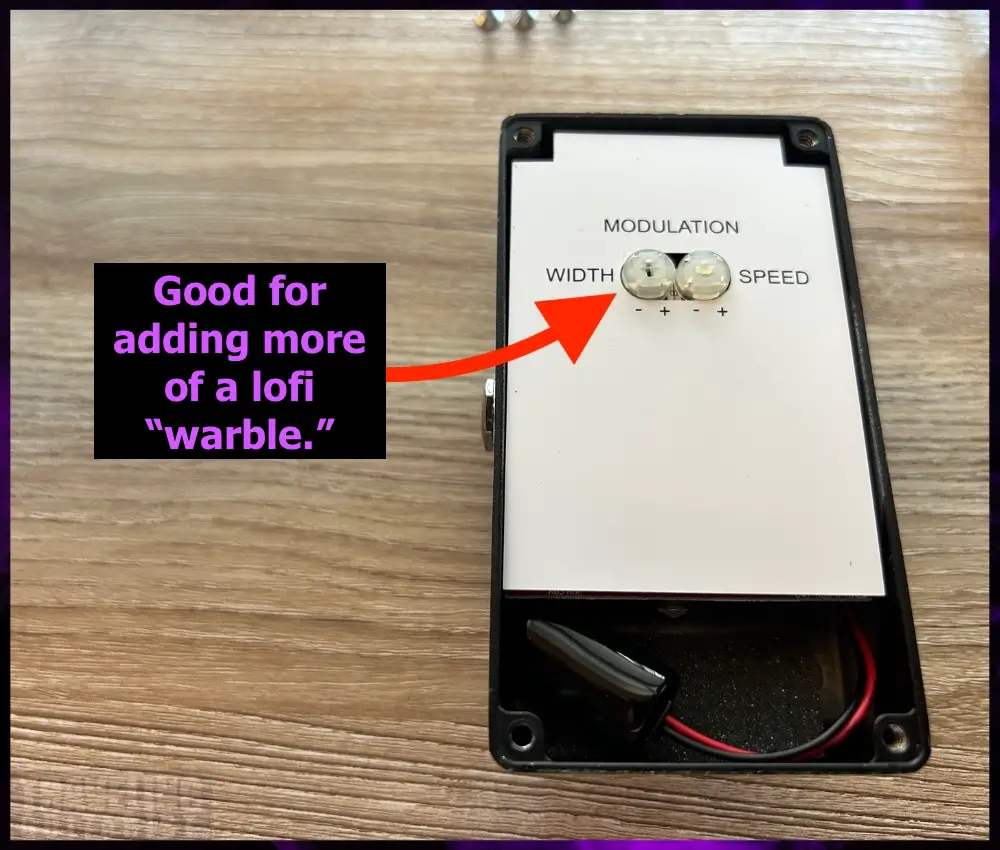
- Modulation width basically refers to the depth or intensity of the modulation effect.
- 02:20 in my video.
This width control determines just how much of the modulation effect is applied to the delayed signal.
You can increase it by rotating the knob clockwise, giving the sound a more ‘wobbly’ effect, like a chorus. And you can decrease it by rotating it counterclockwise.
B) Modulation Speed

- This is the rate at which the modulation is applied, or the oscillation of the effect.
- 01:58 in the video.
A higher modulation speed will create a faster fluctuation in the sound, while a lower speed will create a slower, more gentle oscillation.
So you can adjust this to taste based on your style of playing. There’s really no right or wrong here. This YouTube video shows how the modulation changes with these trim pots.
Adjust them in modest steps because the change in effect is significant.
Other Cool Features of the MXR Carbon Copy Analog Delay
1) Analog Circuitry
The Carbon Copy uses 100% analog technology with bucket-brigade circuits. This gives it a warm, vintage tone that digital delays can’t quite replicate.
Digital delays tend to have a very accurate reproduction of the delayed signal, which can sound a bit sterile and bland.
This MXR delay has much more nuance and character, especially once you switch on the Mod button.
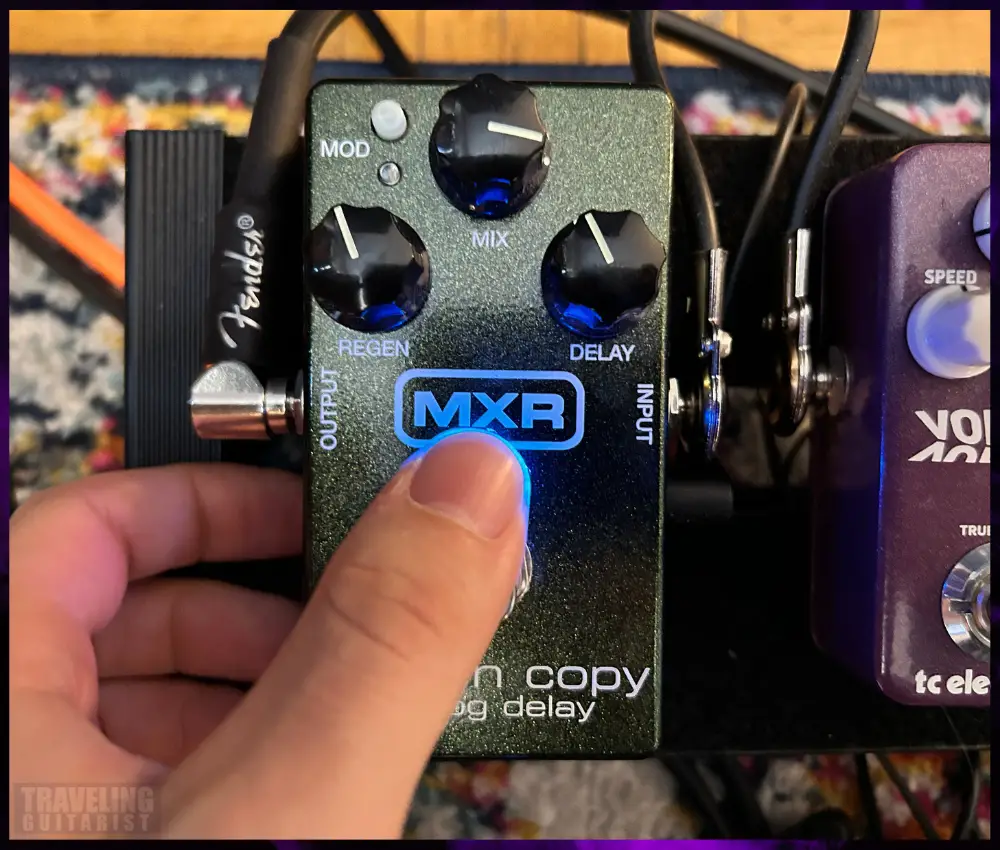
2) Durability
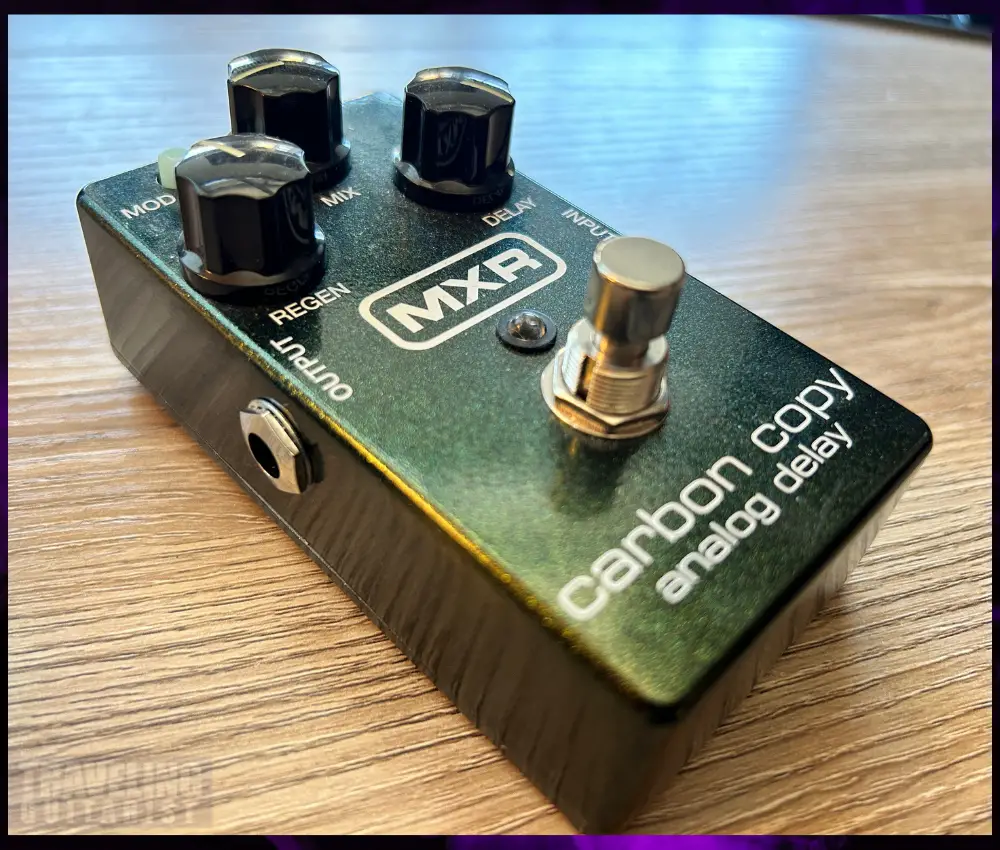
This pedal is built to last, as it’s housed in a rugged full-metal chassis that feels road-ready to me.
Definitely a plus point if you’re planning on gigging with it; it could probably survive a bumpy tour just fine.
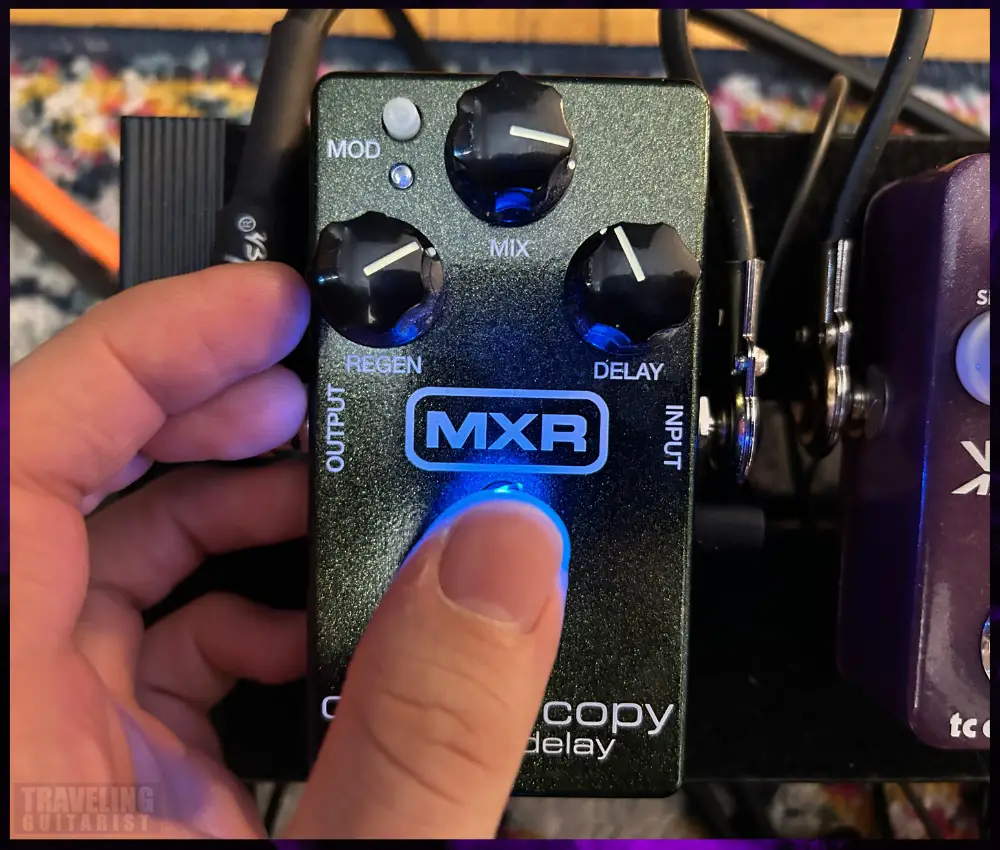
3) Knobs Glow in the Dark
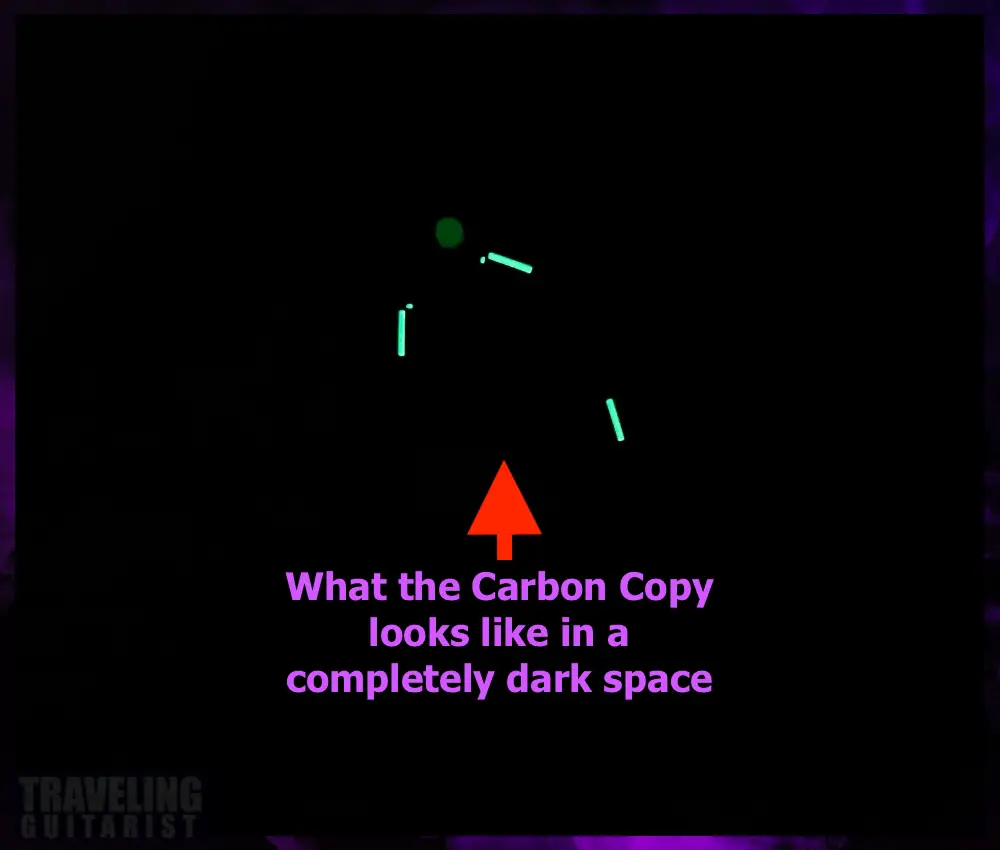
The knobs glow in the dark, which is a godsend on a dimly lit stage. This makes it easy to see your settings even under poor lighting.
Plus, it looks very cool on your pedalboard, contrasting elegantly with the sparkly finish on the body and the blue LEDs.
4) True Bypass
The Carbon Copy also features true bypass, which means that when you disengage the pedal, there’s no effect on your original signal.
No tone coloration at all, so your guitar’s natural voice shines through.
This is something I really like, and I wish more pedals in my setup had this.
Mixing the true bypass pedals with buffered bypass ones can be a bit troublesome due to impedance, however.
5) Versatility
From short slap-back echoes to long, spacey delays, the Carbon Copy can cover a wide range of sounds.
It’s just as at home in a blues setting as it is in rock, country, or ambient music.
That’s why I’ve included some of my favorite settings on this pedal below, from Pink Floyd to Guns N’ Roses, so you can check just how versatile it can be.
6) Easy to Use
As a simple analog delay pedal, the Carbon Copy is really easy to use. There are just 3 knobs and a button on the front, so it’s quick to adjust what you need.
Compared to some of the complex delay pedals from Strymon and all, I often prefer this simplicity.
The hidden modulation settings are more ‘set and forget’, as adjusting them regularly would just take too much time.
5 Cool Settings for the MXR Carbon Copy Analog Delay
As with any delay pedal, the most important setting is the delay time, so you can match the tempo of the song.
So here are some starting points for popular songs for you to get a feel for the Carbon Copy’s flexibility.
Each setting uses the standard clock as a frame of reference. The settings are approximations.
1) Tears Don’t Fall – Bullet For My Valentine
To get something like Michael Paget’s tone, try these delay settings on the Carbon Copy:
Regen: 12:00
Mix: 3:00
Delay: 11:00
You could increase the Mix and Regen if you want the delay to be more prominent.
2) Moonchild – Iron Maiden
Iron Maiden’s Moonchild has a cool synth-like riff in the beginning with a slap-back delay. You can get pretty close with these settings:
Regen: 12:00
Mix: 11:00
Delay: 9:30
3) Run Like Hell – Pink Floyd
David Gilmour’s guitar tones have always been great, with some unique effects. In Pink Floyd’s Run Like Hell, he used two delay pedals in tandem to achieve that signature riff.
So while that’s a complex setup, I got a similar tone from the Carbon Copy with the following values:
Regen: 11:00
Mix: 11:00
Delay: 5:00
If you do have another delay pedal, you can run it in parallel (in stereo), with a longer delay time of about 500ms and a single repeat.
4) Infinity Setting
I call it Infinity because a High Regen makes it sound like it’ll just repeat into the stratosphere.
I think that sound is much better achieved with a Digital Delay pedal, but maybe in the comments can figure it out and let me know.
Regen: 2:00
Mix: 3:00
Delay: 11:00
5) Welcome To The Jungle – Guns N’ Roses
And it’s so catchy it just gets stuck in your head. To get that feel, try these delay settings:
Regen: 11:30
Mix: 3:30
Delay: 11:00
The interesting thing about this riff is that many of the tabs I’ve seen are wrong; Slash plays it while hitting the open B string between each note. That adds to the staccato delay effect.
If you’re looking for more inspiring delay sounds, this video by Antoine Michaud has some excellent tones.
Do you have any tips or settings you’d like to share? Let me know what you think in the comments.
Other Articles You May Be Interested In
- Where To Put Delay In Your Signal Chain? [ANSWERED]
- Do You Need A Delay Pedal? [10 Ways to Use A Delay Pedal]
- I Bought & Tested The MXR Dyna Comp (Here’s How to Use It)

