If you’ve never used a looper pedal before you may be intimidated. I understand. There are a lot of models, brands, and different ways of using them, including for instruments you wouldn’t otherwise expect, ie, digital pianos and vocals.
That all said, there’s really nothing to a looper pedal because they’re fairly easy to use. In 99% of cases, you only need a few different items, most of which you probably already own if you’re a musician or a home studio hobbyist.
Typically, to use most looper pedals, all you need are two 1/4″ instrument cables, a power source for the pedal (a battery or power supply), an amplifier – ranging from mini desktop amps and practice amps to full stacks – and an instrument. This could include guitars, digital pianos, or even vocals.
And that’s about it for getting a looper pedal to work. One of the nice things about guitar pedals is they work for pretty much anything that uses a 1/4” cable. For example, in this tutorial, I’m going to use a mini guitar amplifier because they work just as well as a regular amplifier head and speaker cabinet combo. Let’s get into this in detail down below.
What You Need To Use A Looper Pedal Like the BOSS RC-5
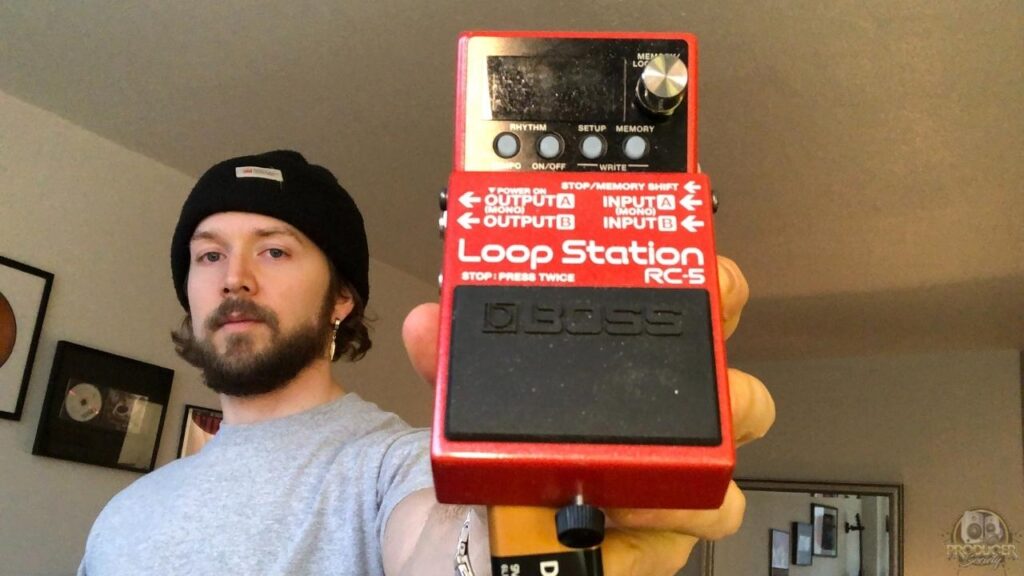
So it goes without saying that you first need a looper pedal. However, if you haven’t already got one, the RC-5 is the best choice to start, in my opinion.
I currently own three different looper pedals. I have the BOSS RC-5 like the one shown in the image above, the BOSS RC-1, as well as the MXR Clone Looper.
Out of all of them, I prefer the RC-5 the most because it has the most features, it’s the easiest to use, and it’s the most reliable. If I were to get a looper pedal tomorrow, it would be the RC-5, and not the other two.
The Clone Looper is a nice pedal overall but I prefer the RC-5 due to the display and their price relative to each other. In the case of the RC-1, it doesn’t have enough features for me but that’s kind of the point of it – it’s meant to be simple.
All-in-all, I highly recommend getting the RC-5 as your first pedal because it’s going to have everything you need.
It can store 100s of loops, it has a reverse function, drum loops, and the ability to import and export new sounds. That said, if you’re a street performer or a busker, you may actually prefer the RC-1 because it has 4.5 hours of battery life with a 9V battery.
1) A Battery or Power Supply
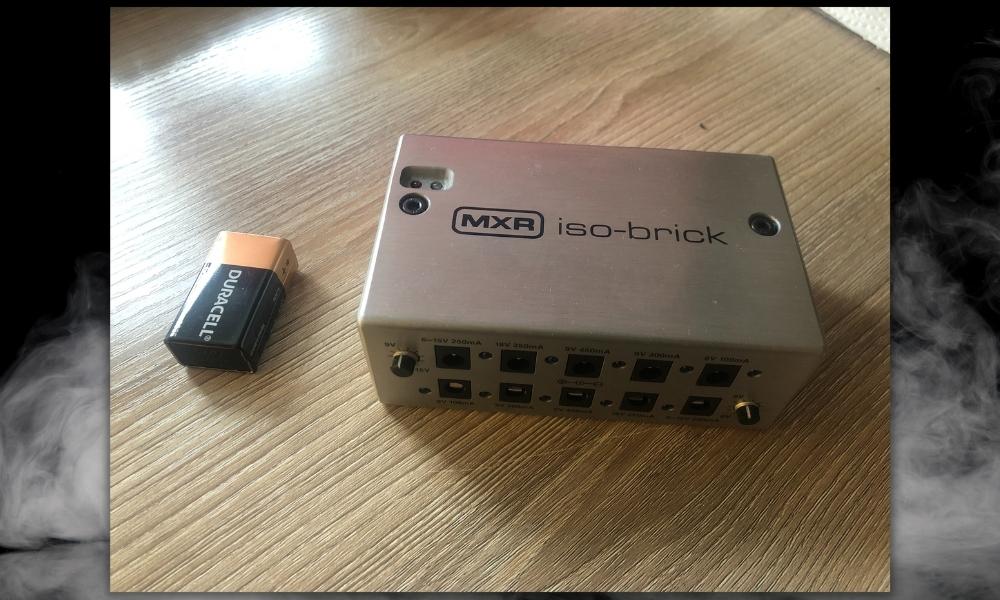
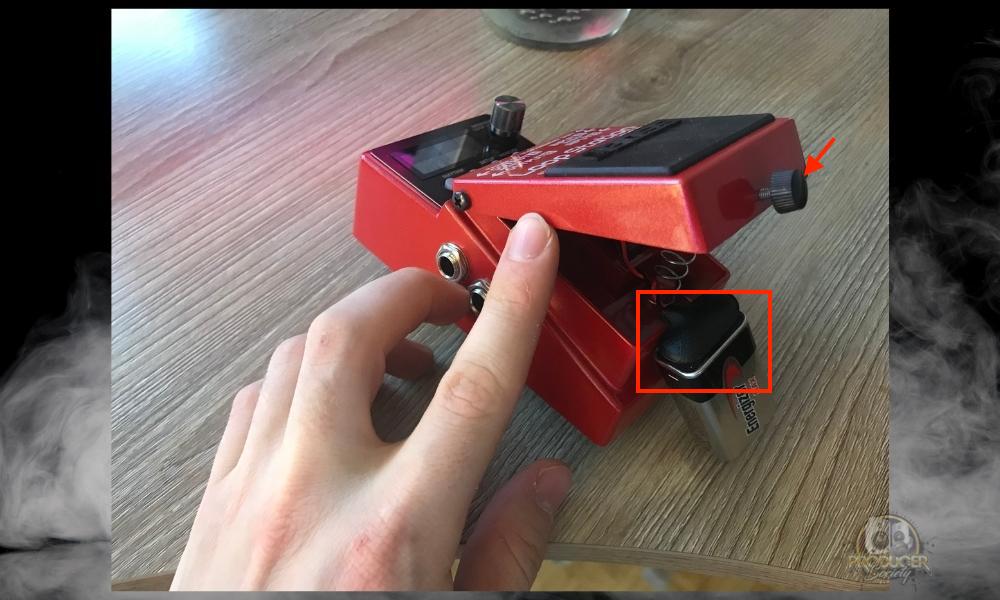
The next thing you need is a battery to power the pedal. You can either use a standard 9V alkaline battery which will only last around 1 hour and 45 minutes in the RC-5, or you could use an actual power supply like the MXR Isobrick.
As I said in my article on batteries vs power supplies, digital pedals don’t really benefit from battery use like analog pedals with traditional circuitry, ie, fuzz and distortion pedals. Digital pedals either get enough power to run or they don’t.
I have the MXR Isobrick, and despite the mixed reviews, I like it quite a bit. I like how bright the LED lights are, although, I can see how they may be too much for some people, especially if you use them on a dark stage all of the time.
Either way, there are a ton of options out there if you’re looking for a power supply. For example, if you need a small power supply with just a few ports, there is a much smaller Isobrick available, or you could try something from Voodoo Labs.
2) Two 1/4” Instrument Cables
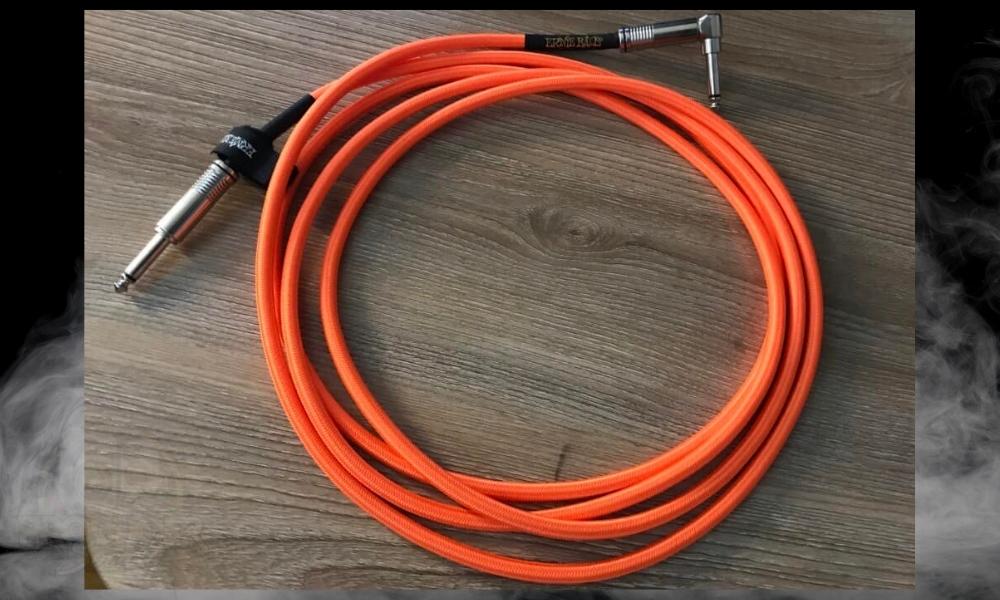
I prefer using the right-angled guitar jacks just because I sit down to record and I almost never stand up to play the guitar. As I said in my other article, I would recommend getting one straight cable and one right-angled jack.
The straight cable will go from your amplifier to the pedal, and then the right-angled cable will go from the pedal to the guitar.
3) A Guitar, Bass, or Digital Piano
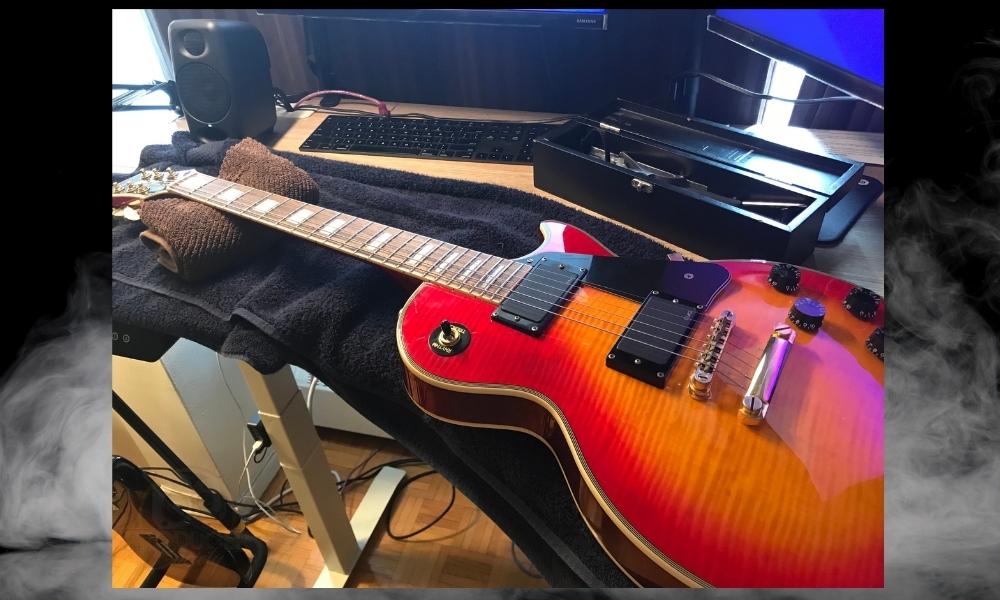
There’s also no reason you can’t just hook up your digital piano to the pedal in the same way. You would do that by connecting a 1/4” instrument cable from the piano to the pedal, then to the amplifier like what you can see in the image below:
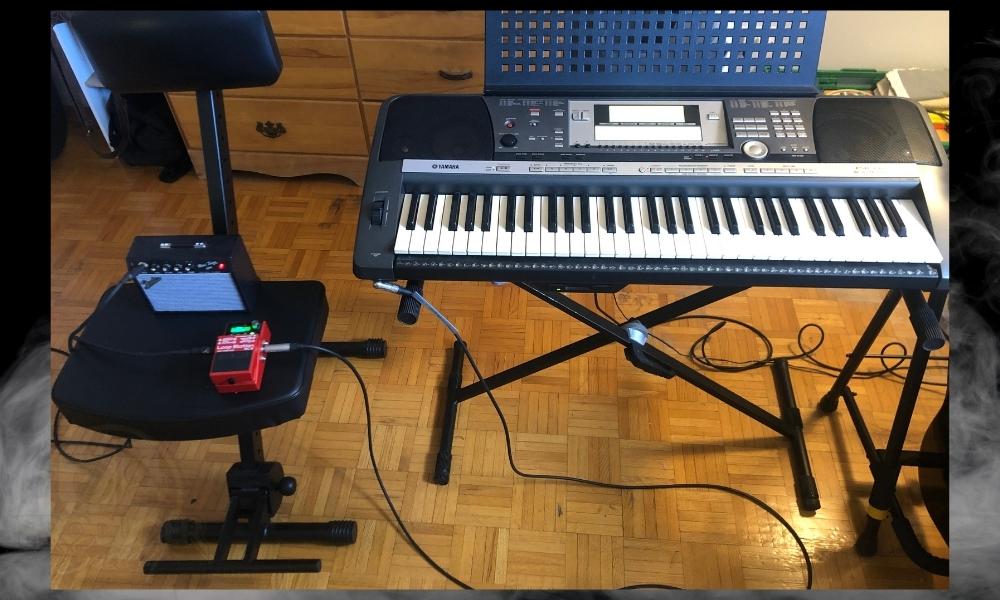
How to Set Up A Looper Pedal With Your Amp
I have a tutorial already in this article, but it’s worth exploring simply once again for convenience’s sake. Here’s the long and short of how you connect a looper pedal:
1) Connect A Guitar Cable to Your Amp
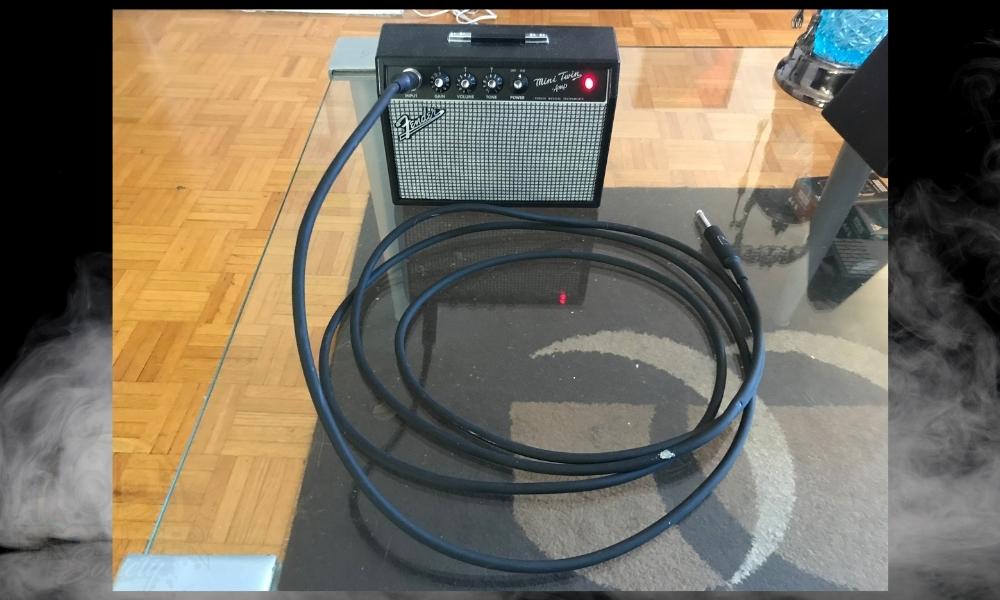
Connect your cable and then turn your amplifier on.
2) Plug the Cable Into The Mono Output On the Looper
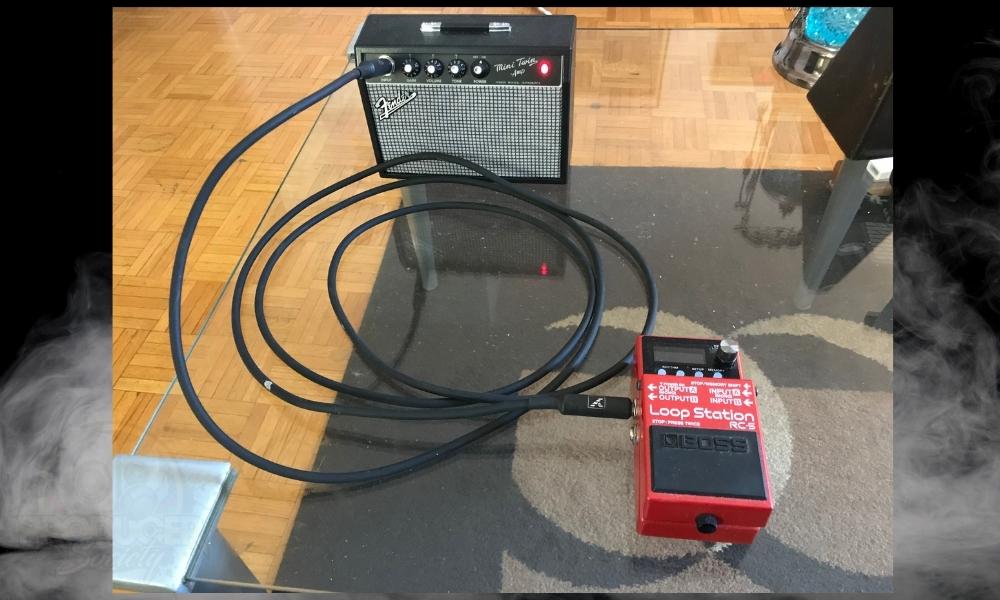
Not all pedals are the same, but from what I’ve seen, it’s not uncommon for pedals to have mono and stereo outputs and inputs. Just use the mono input/output.
3) Connect Your Power Supply (or Battery)
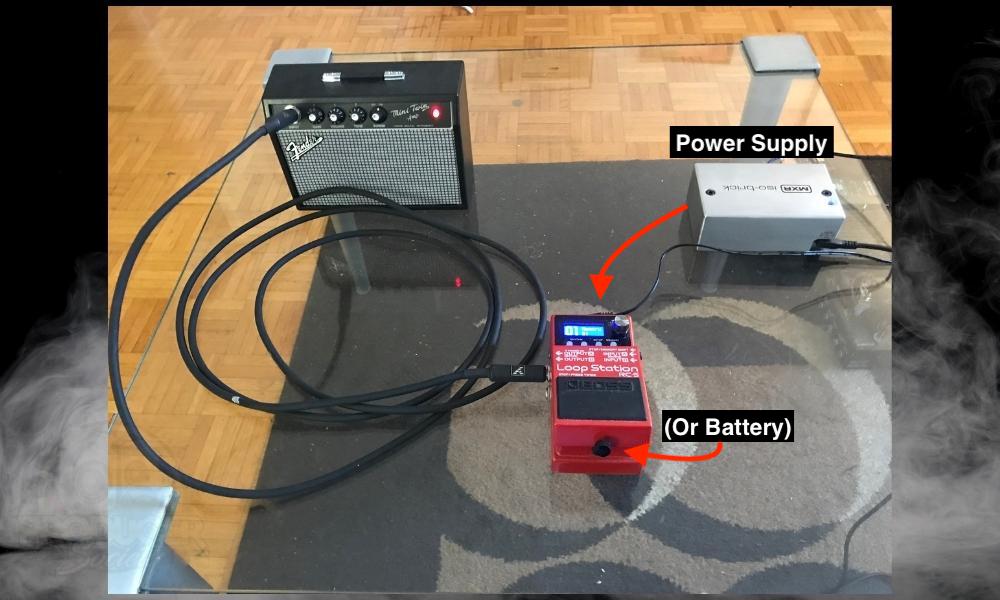
As I explained in my Isobrick guide, you want to use a 9V port on the brick for all 9v pedals. And in terms of the mAh rating, you just have to be using above what the pedal is rated for.
For example, the RC-5 is rated for 170mAh, so I would use the 300mAh port on the Isobrick. If you used the 100 mAh instead, the pedal just wouldn’t work properly. But it’s not like you’re going to fry it or anything.
The only way that would happen is if you used the 18V setting or really anything above 9V. I’m not sure if 10V would destroy the pedal, but I’m not trying to find out.
4) Connect the 1/4” Cable From the Pedal To Your Instrument
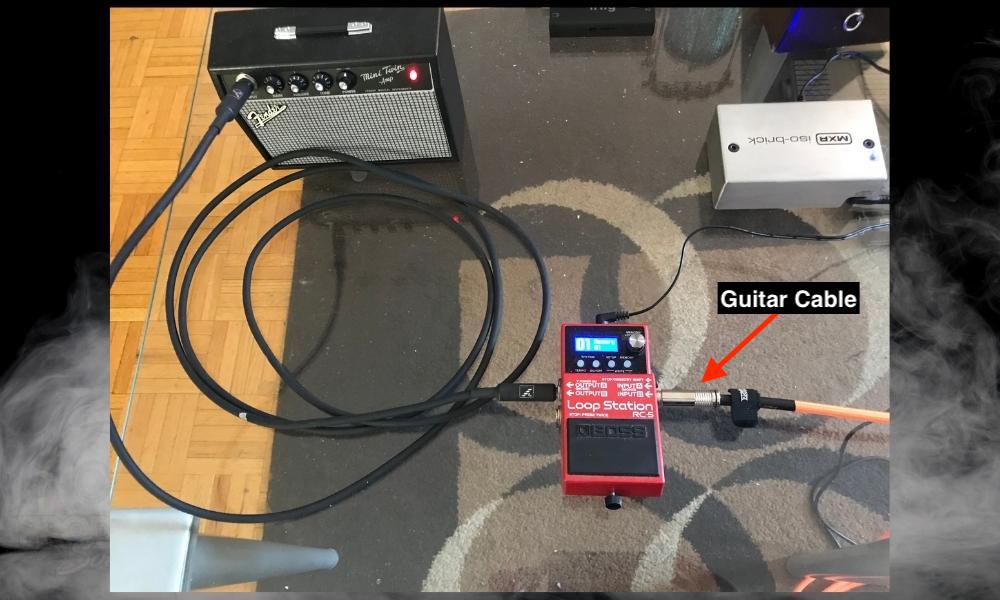
Start recording with the pedal and then you’re set. If you’re new to the RC-5, I have a dedicated tutorial on how to use it.
Other Articles You May Be Interested In
- How Long Does The Battery Last in the Boss RC-5 [ANSWERED]
- How To Connect Your BOSS RC-5 To Your Computer [SIMPLE]
- Where To Put The Looper Pedal In Your Signal Chain [SIMPLE]
- What Is A Guitar Looper – Looper Pedals Explained
- How to Jam By Yourself On Guitar
Important Things to Note About Using Looper Pedals
1) There Are Also Looper Pedals for Microphones
Pedals are made for guitars, so they don’t have the XLR input that microphones need to operate. If you are trying to get a Looper pedal just for vocals, I would recommend getting the TC Ditto Helicon Looper. This has the XLR inputs that you need for a mic.


 Written By :
