Are you tired of playing guitar at home by yourself? With the Ditto X2 Looper, you can compensate by creating a multitrack of backing tracks, samples, and your own playing just by clicking a button.
Before you start though, you’ll need to know how to integrate this pedal with your setup. While pedal placement is about as flexible as anything else in music, some options are distinctly better than others.
Generally speaking, the best place in your signal chain for the Ditto X2 Looper is in your amp’s FX loop. Specifically, you should connect the X2 at the end of your FX Loop’s chain. With this configuration, you have the most control over your guitar tone, including with and without other effects.
Another great option is at the very end of your chain, which we’ll talk about as well. With that said, you may still have questions. How do I connect everything to the FX loop? Does my amp have an FX loop? We’ll answer these questions & more in the following section.
What You Need To Put A Ditto Looper In Your FX Loop
Before we can get started with using our pedal in the FX loop, we need to make sure we have all the required equipment.
If you don’t have an amp with an FX Loop, click here to go to the other signal chain placement options. To set up your Ditto X2 in the FX loop of an amp, the first thing you’ll need, of course, is:
1) An Amp with an FX Loop
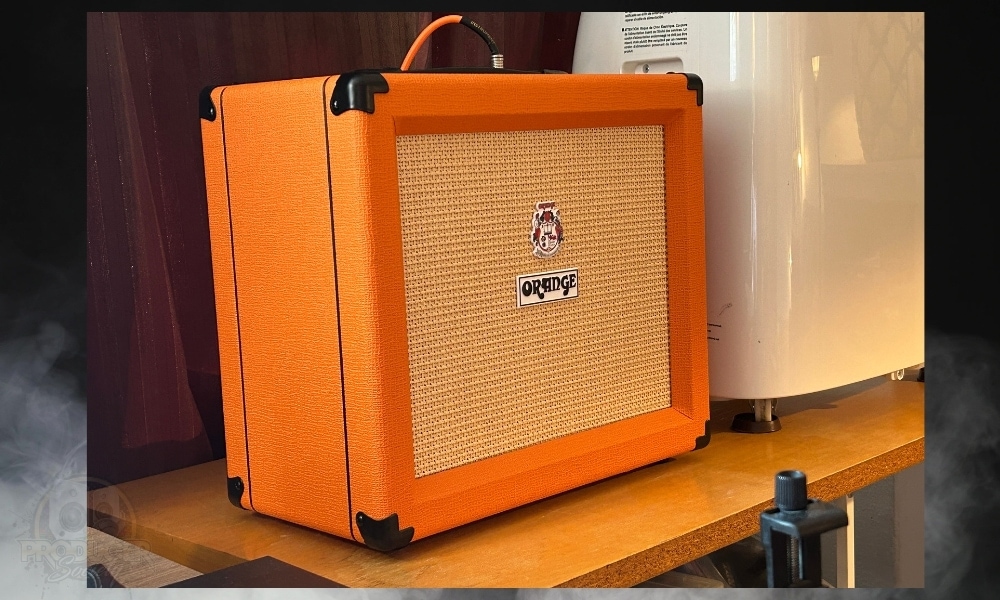
It sounds obvious, but ensuring your amp has an FX loop can often go overlooked. Especially if you’re buying a new amp for this purpose, check the backside of the amp for two female ¼” ports: one labelled “Send” and the other “Return.”
If your amp or the one you’re considering for purchase has these ports, then it has an available FX loop.
The Orange Crush 35RT is a good option (not the 20RT, it doesn’t have an FX Loop), but you could also try something like the Fender Mustang GT 40.
2) 2 Additional Instrument Cables
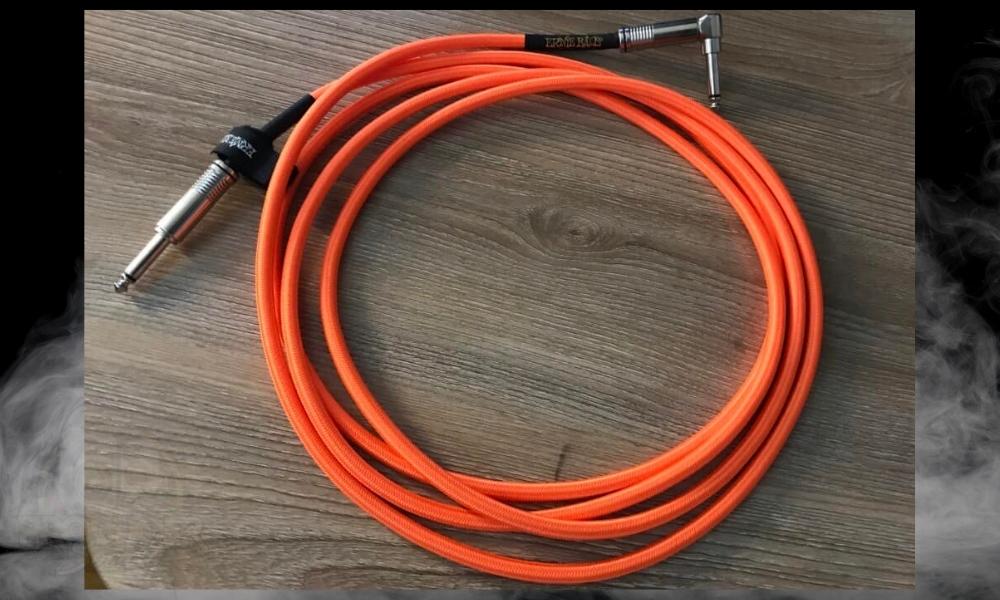
To make use of these ports, we’re going to need more instrument cables. These cables should have male ¼” jacks on either end and be long enough so that you can position the pedal where it makes sense for your setup. I’d recommend a bare minimum of 10 feet.
3) The Ditto X2 Looper
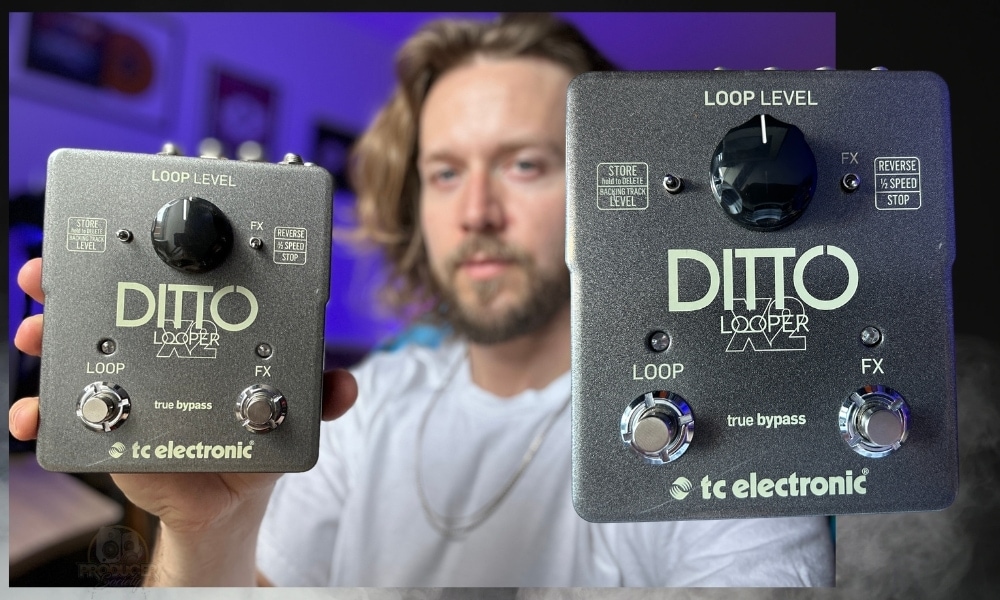
While you don’t need an amp with an FX loop to use a Ditto X2 Looper pedal, you do need the pedal to use it in your FX Loop.
You can pick up your own Ditto X2 online or in stores. Although, good luck getting one of these on the used market at the moment because used pedals are expensive.
Especially this one. Your best bet would be to go on eBay (that’s where I got mine). From what I understand, TCE isn’t even making these currently due to some kind of supply chain issue, but I can’t confirm this.
4) A Power Supply or Battery
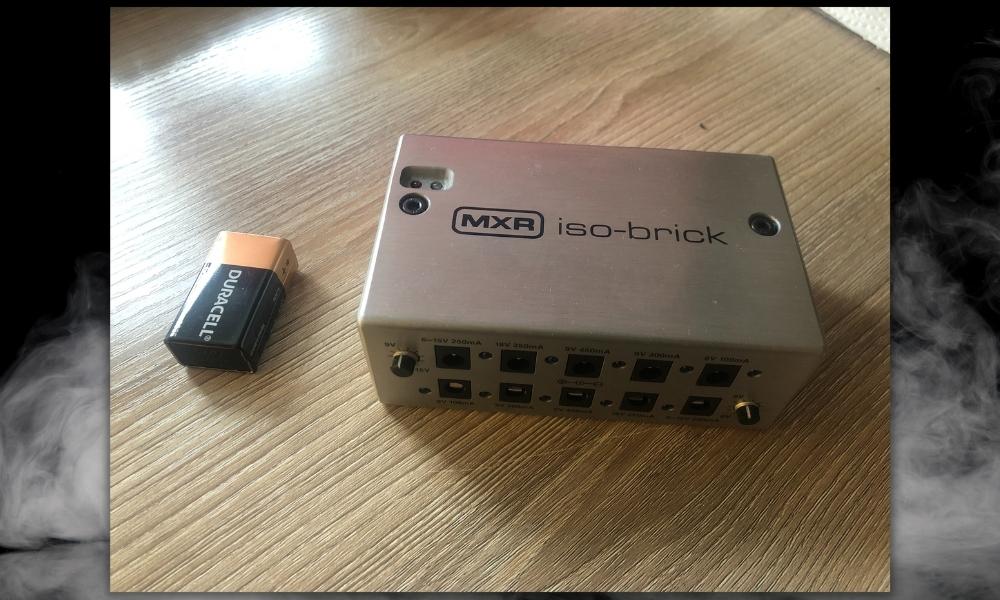
This key component unfortunately does not come with your X2. You’ll need a 9V power supply that provides at least 100mA of power in order to use your pedal. Alternatively, you can also use one or two 9V batteries.
If you already have a power supply, consider using a daisy chain to power all of your pedals simultaneously. Although, I have to admit that I hate doing it this way and I’ll typically avoid it at all costs because it’s so noisy.
A much better option is the MXR Isobrick or Voodoo Labs Pedal Power 3 + (on my Product Page). Both of these are fantastic. The VPP3+ is really good, but it costs a bit more than the Isobrick.
How to Put The Ditto Looper In Your FX Loop
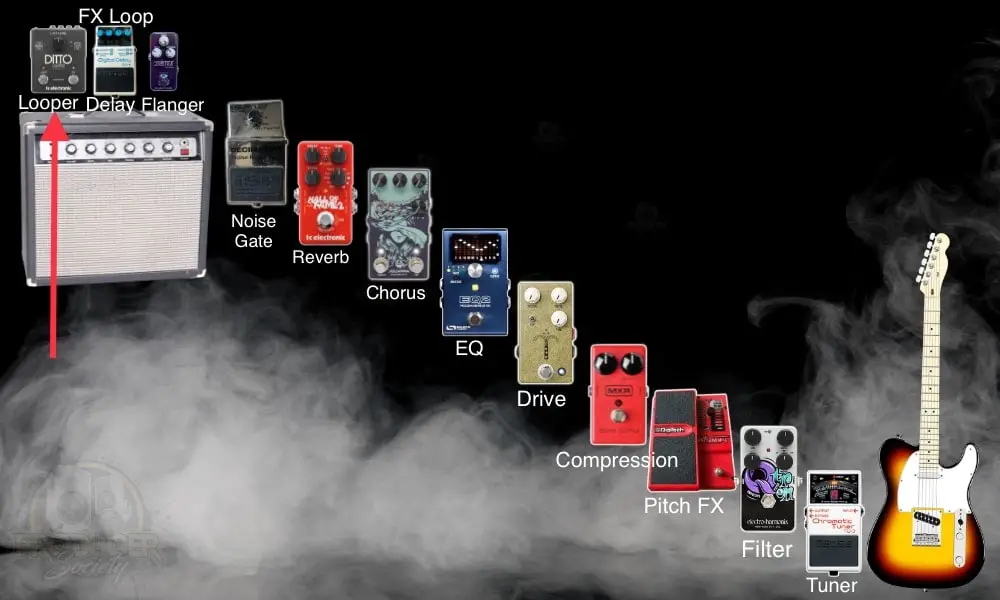
Once you have everything detailed above, you’re ready to set up your Ditto X2 in your FX loop. To achieve this, complete the following steps:
1) Locate Your Amp’s FX Loop
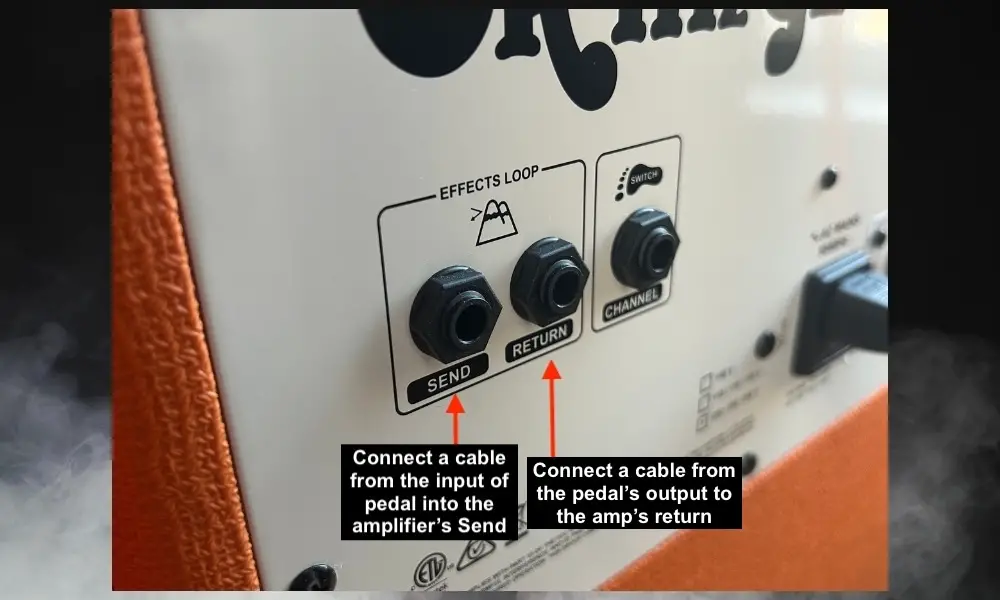
Most amps have their FX loop ports on the back of the amp itself. Looking at the rear of the amp, you should see a ¼” port labelled “Send” and another one labelled “Return.”
2) Connect the FX Loop’s “Send” to the Pedal’s “Input”
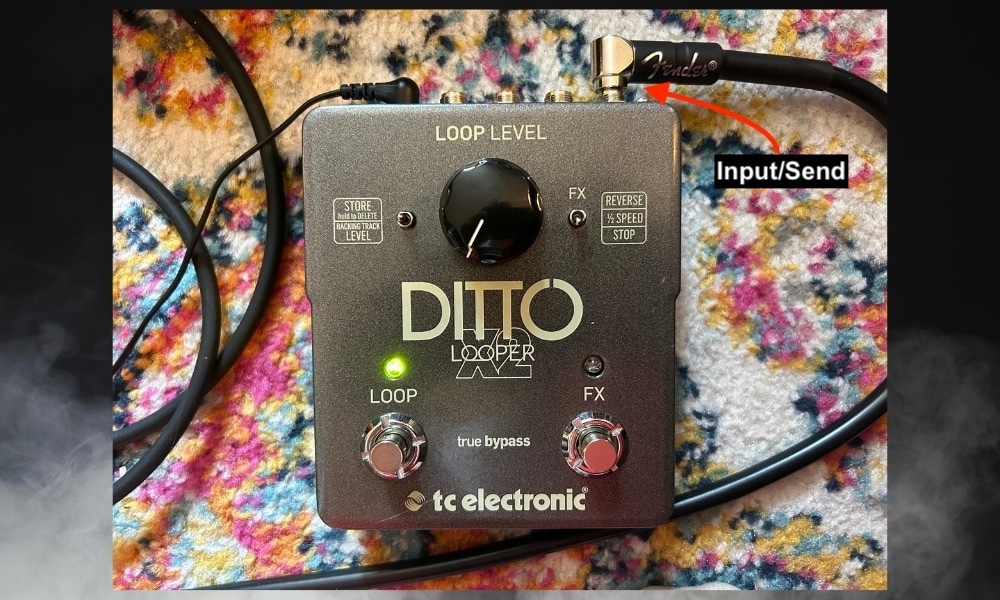
With one of our instrument cables, we’re going to plug one side into the amp’s “Send” port. Then, connect the other side to your pedal’s “Input” port.
Now, the X2 has two options for input and output: “Mono” and “Stereo.” Since we’re only running one connection into the pedal, go ahead and plug the first cable into the pedal’s mono input.
3) Connect the Pedal’s “Output” to the FX Loop’s “Return”
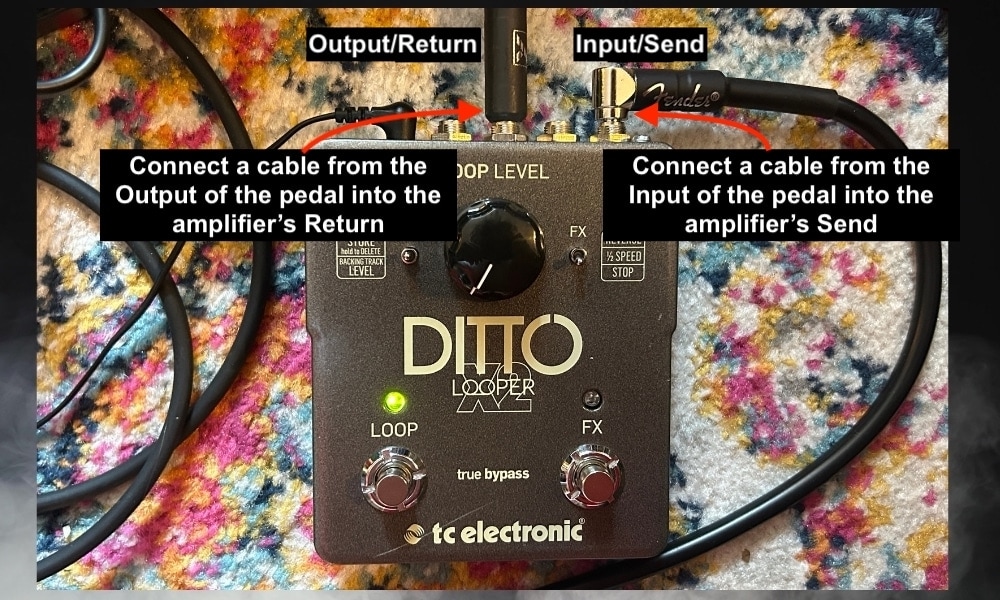
To complete the FX loop, we’ll now plug our second instrument cable into the pedal’s mono output. You should then connect the other side of this cable to your amp’s “Return” port.
Keep in mind that if you’re using other pedals in your FX loop, they should be placed before the looper.
4) Supply Power to Your Pedal
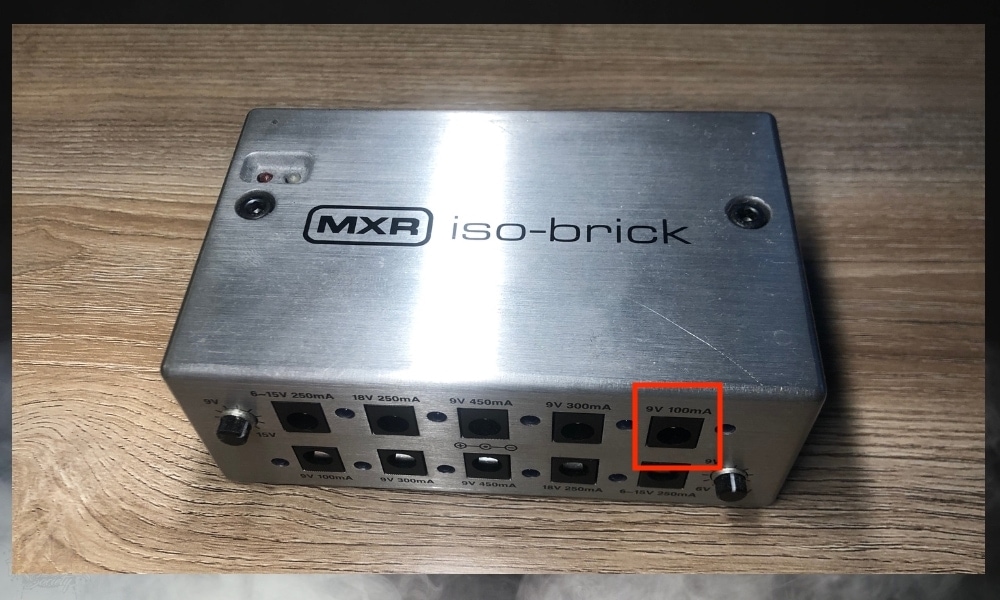
Plug in your dedicated power supply to an outlet, then connect it to your looper pedal. If you’re using batteries, remove the compartment cover at the back of the pedal and insert the batteries.
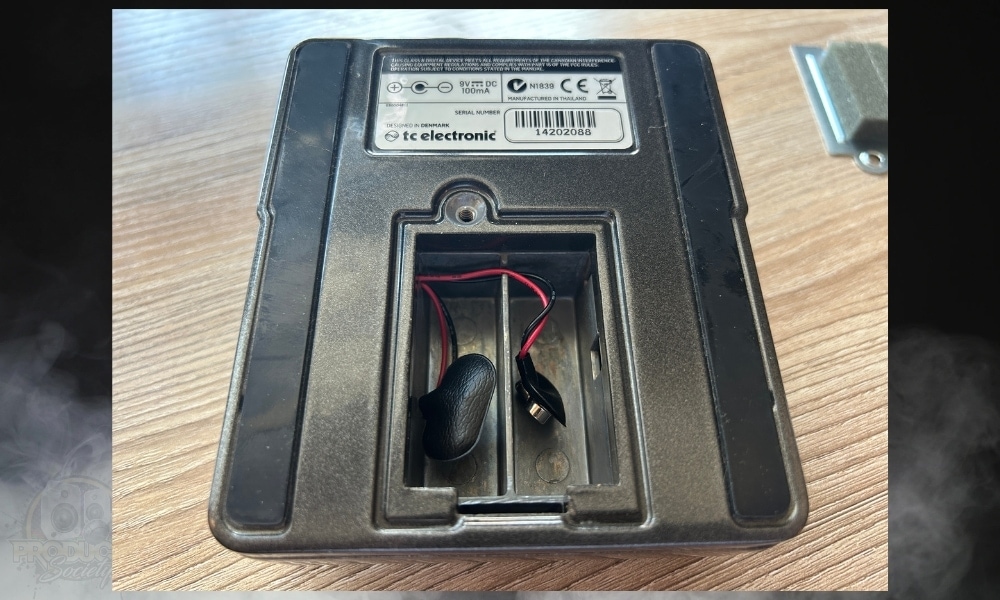
Regardless of whether your amp is powered on, your pedal should be active. You can press either of the buttons on the pedal to see if this results in the associated light coming on. If the lights do not come on, then there may be an issue with your power supply.
5) Turn Everything On
![Ditto X2 on Power Bar - Where to Put The Flanger In Your Signal Chain [ANSWERED]](https://travelingguitarist.com/wp-content/uploads/2023/08/Ditto-X2-on-Power-Bar-Where-to-Put-The-Flanger-In-Your-Signal-Chain-ANSWERED.jpg)
With the amp powered on, we’ll want to ensure that we’ve enabled our FX loop. Not all amps have this feature.
To check if you’ll need to toggle your FX loop on, look around the ports at the back of your amp or at the controls at the front of your amp.
If there is a switch or a button associated with the FX loop, ensure that it is in the “On” position or is lit up to indicate the FX loop is in use.
Why It’s Best To Put The Ditto Looper In Your FX Loop
When you record a loop on your Ditto X2, the signal that’s recorded includes everything before it in the signal chain. For example, if you place the looper at the start of the chain, the only signal recorded is that of your raw guitar input.
Say you’re really happy with your current tone brought on by your combination of pedals and pre-amp settings. The only way to capture all of that tone is to place the looper after the pre-amp. This is what the FX Loop allows you to do.
Of course, having the looper at the end doesn’t limit your ability to bypass other pedals, either. Simply put, this positioning allows you to utilize your looper’s functionality to the fullest extent.
You can record a loop with all of your FX turned on, play it back, and then jam over that same loop with all of your pedals turned off. In the end, you just get way more control by putting your looper in the FX Loop.
The Most Common Signal Chain Placement For The Ditto X2 Looper
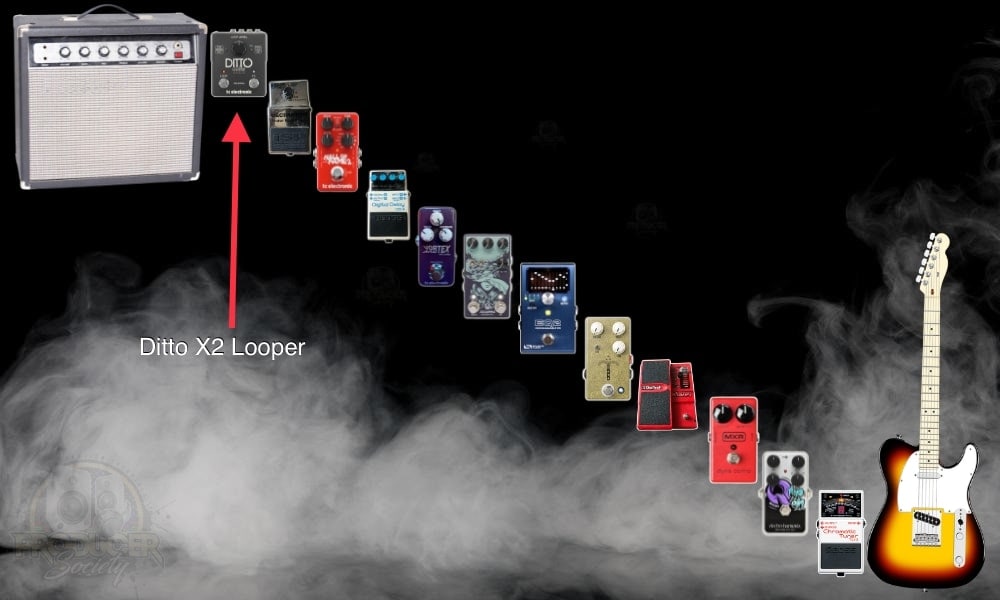
If you don’t have an FX loop, you can certainly still place your Ditto X2 at the end of your signal chain just before the amp. This is what TCE recommends as well.
Keep in mind that part of what you hear coming out of your amp’s speakers is the settings on the amp itself. Any changes to the pre-amp may alter your loop’s tone.
Another possibility for your looper is what we’ll call the experimental position. For this, we’ll put our looper at the very start of the signal chain.
This way, we can test what effects and settings work best with our loop because the captured input will be affected by everything that comes after it.
Once you have all of your pedals set how you want them for your experimental loop, place your looper back at the end of the chain and re-record the loop.
Other Articles You May Be Interested In
- Where To Put The Looper Pedal In Your Signal Chain [SIMPLE]
- Where Should A Tremolo Pedal Go In The Signal Chain? [EASY]
- Where Should The Whammy Pedal Go In The Signal Chain? [EASY]
- Does The Compressor Pedal Go Before Fuzz Pedals? [SIMPLE]


 Written By :
