 Written By :
When music becomes a part of your identity, it’s not unusual to look for ways to express your personality through your music and instruments. For many musicians, one way is to sport custom gear that’s unique to them. Custom guitar picks are just one example of this.
However ordering custom picks from online stores can get expensive. Sometimes, you might not quite be able to get the flexibility you want in your design. Other times, if you’re more crafty, you just want to be able to say that you painted it yourself! How, then, would you go about painting a guitar pick anyway?
To paint guitar picks, you’ll need plastic and nylon-friendly paint like Krylon Fusion because most guitar picks are made out of plastic or nylon. After choosing a suitable place to paint, add a flexible parts primer before you add the coat, apply the paint, and then wait for it to dry.
In this article, you’ll find all the guidance that you need to take your guitar picks from bland to blazin’. There are important points to cover such as the type of paint and the technique you’ll have to use to ensure a smooth coat. Here’s my in-depth guide.
A Simple Guide to Painting Guitar Picks
1) Get The Paint You Need
If you want the best finish on your custom pick, then it isn’t merely a matter of grabbing the nearest paint available and getting your Picasso on. You have to make sure you use the right kind of paint for a guitar pick and also follow the right process.
There’s a particular difficulty in painting plastic. That’s because it isn’t porous, so it’s difficult for paint to stick to the surface.
Fortunately, there are specifically developed paint products that solve this problem. The same thing goes for the guitar body which I’ve previously discussed in my guide on acrylic vs nitro.
The Best Types of Paint for Guitar Picks
A) Krylon Fusion for Plastic
Krylon Fusion for Plastic (on Amazon) is a spray paint specifically designed to bond to plastic. The additional benefit of Krylon Fusion is that there is no prep work required for your item.
Typically, plastics require sanding or priming before applying a coat of paint. With Krylon Fusion, you can skip these steps and go straight to spraying.
B) Rust-Oleum Painter’s Touch Ultra Cover
Rust-Oleum Painter’s Touch Ultra Cover (on Amazon) has a particular element that makes it more appealing for a guitarist. It’s been developed with an oil-based formula, which means that it is less likely to chip off the pick, making for carefree strums.
C) Small Scale Model Paint
Small-Scale Model paint like Testors Enamel ¼ oz 1100 & 1500 (on Amazon) series model paints. These paints are typically used by model collectors and creators to recreate intricate details.
The Kinds Of Paints You Should Avoid When Painting Guitar Picks
A) Acrylic Paints
Typically, acrylics will have a difficult time adhering to plastic. It isn’t designed to stick to plastic’s smooth surface. This means there will be more work required than usual if this is the kind of paint you’d like to use.
If for whatever reason, you do want to use acrylic to paint your pick, surface prep would be required. You can do this by sanding the pick to create that porous layer upon which a primer coat can be applied.
In addition to applying your base coast, you will have to apply a sealer after applying your acrylic coat, to make your work more durable in the long term. We’ll discuss this later in the article.
B) Wall Paints
With these types of paints, the preparation for the hard plastic item is similar. You would sand, clean, and dry your pick. Once that is complete, you apply your plastic primer. Wait for that to dry, and then apply your wall paint.
Guitar Pick Material And How It Responds to Paint
While plastic picks are certainly the most prevalent, there are other materials from which picks are made. These will, of course, respond differently to paint.
While this article doesn’t have the scope to cover all these materials – here’s a quick guide on which ones would be more easily painted.
A) Wood
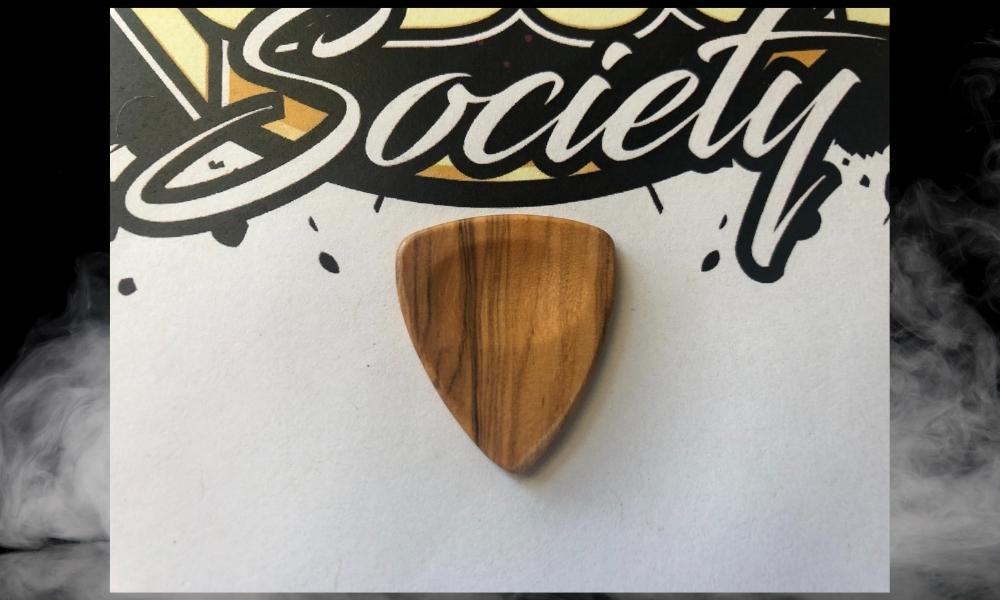
While wood is more porous than plastic, wooden guitar picks are generally sealed with a varnish or some sort of urethane sealer. This means that you’ll have to sand the pick before applying paint – but you won’t have to apply a primer coat.
B) Stainless Steel or Titanium

Stainless steel is even less porous than plastic – meaning that paint can’t be applied directly to the material without first priming it. When done properly though, it could last for a long time, just like guitar pedals which I’ve discussed in this context before.
You can buy a special galvanized metal primer to apply as your first coat before customizing your steel pick, moreover, there are plenty of guides online that show you how to do it in case you need help.
C) Nylon
For nylon, you can follow the same process as for painting plastics. That is, sanding and then applying a primer coat like what this site talks about. Nylon will respond well to the aforementioned paints that are specifically for plastics.
2) Get Your Paint Brush And Other Tools Ready

Once you start painting on an item as small as a guitar pick, you have a limited time to get the design right before the paint starts to dry. To better your chances of success, you should have all your painting materials prepped beforehand.
A) Prepare Your Drying Stand
Firstly, to allow you to dry both sides of the guitar pick at the same time, you want to make sure you have a device that can hold the pick up alongside its edges.
One handy way to do this would be to use playdough and toothpicks. Or you could use a specialized paint drying rack which you could find by searching it on Amazon.
You would roll your playdough into a ball, and stick the toothpicks into a stand that’s roughly the shape of your guitar pick. Gently place your pick in the center and it will be light enough to be held up by the toothpicks and have both sides drying at the same time.
Now that your drying stand is ready, you should get the appropriate brushes ready as well. A guitar pick will only require a short amount of time to dry, so keep that in mind.
B) Get the Right Kind of Paintbrush
There will likely be two stages to painting your pick. First is applying the base coat and the main color, then come the details. Different kinds of brushes will work best for each of these steps.
For broad strokes that will be suitable enough to coat your pick in a solid color, you should look for a flat/shader brush. This way, you can quickly coat the entire pick and wait for it to dry. The set I linked earlier and down in the “Gear Mentioned” section should work great.
For a guitar pick, a half-inch size is suitable. To apply finer details like words or patterns, you’ll need to use a thin tip brush like a liner/rigger. This is also included in the paintbrush set down below.
The fine point makes it appropriate to add smaller elements that’ll still stand out on an object as small as a guitar pick. If you want to take it seriously, you can check out other paintbrush types for specific tasks.
C) Prepare Your Cleaning Materials and Protective Equipment
You might want to paint each side of your pick a different color. You might want to add intricate details in various colors. Either way, you’ll have to clean your brushes between some strokes, as well as at the end of the process.
For washing off the paint, you can use a small bowl filled with water, as well as paper towels to make sure that the paint is all wiped off as this site points out.
In addition to cleaning your brushes, it’s important to make sure that the surfaces on which you are working are protected.
You can do this by placing a plastic sheet or canvas over the table you’re working on, or even using an old towel that you’re okay with getting messy.
If you’re working with spray paint, it’s good practice to use an N95 mask to protect yourself from inhaling the fumes escaping the canister.
If you have access to them, you’d do well to also secure protective goggles if you’re working with spray paint. Finally, it’s also good practice to wear protective overalls or just old clothes that you’re okay with getting dirty.
3) Start Painting

Depending on your preferred choice of paint, there will be a different method for ensuring an even coat on your guitar pick. Depending on your selection, the first layer will be the base coat or primer. You can apply one or two of these layers.
A primer is the first coat of paint that helps to ensure a surface is ready to be painted. Paint will adhere more easily to a primer coat, and in the case of painting on plastic with acrylic paint, applying a primer may be the only way to ensure premium quality.
Still, before applying the primer to the pick, it is a good idea to sand it to provide more of a porous surface for adhesion.
Vallejo Surface primer is a great option for smaller projects and will give you a reliable matte finish upon which you can then apply your base coat.
If you are painting using a spray canister, the main mistake to avoid is holding the canister too close to the object or in one spot for too long. Hold the spray paint approximately fifteen inches from the pick, and “swipe” your hand from left to right as you press down on the nozzle.
Holding the canister at an appropriate length away from the pick, as well as maintaining motion as you paint, will help you avoid blotches and dripping on your guitar pick.
If you are painting using a brush, you first want to ensure that you have an appropriate container or tray from which you can add the paint to your brush. Do not draw the paint directly from the bottle onto your brush or from the can onto your brush.
Apply the paint onto your pick using the tips of the bristles, and in broad strokes. Whether you paint from left to right or top to bottom is not important, just as long as you maintain the same direction throughout the entire project and apply even coats.
To apply a second layer of your base coat, you have to wait for your initial layer to be completely dry first. Once the second layer of your base coat is complete and fully dry, you can take your fine tip brush to add any patterns or detailed designs.
4) Protect Your Work With A Gloss Coat or Sealant
Once your base coat and design details have dried, the final step is to protect the paint you have applied. If this is a guitar pick you intend on actually using, then this is possibly the most important step.
An acrylic gloss sealant is the best option as a final layer. It will be durable enough to last for hundreds of thousands of strums while maintaining the fine details on your newly customized pick.
Important Things to Note About Painting Guitar Picks
1) You Can Skip The Sealant Step Depending On Whether You Will Use The Pick
While adding a gloss sealer will enhance the longevity of your paint job, it’s not a necessary step if you don’t intend to use the pick.
If your custom pick will just be an accessory or a keepsake, then it won’t undergo as much wear and tear and the paint coat will last longer naturally.
2) Painting Your Guitar Pick May Affect The Tone That You’re Used To Getting
Even a minor difference in the texture of your guitar pick can result in a slight change in the tone that you’re used to hearing, particularly with the electric guitar but also the acoustic as well.
Of course, this difference is likely to be very minor, but it’s worth noting if you do go ahead and paint your pick. My other guide on guitar picks talks all about tonal differences between materials if you’re interested.
Gear Mentioned
1) Krylon Fusion for Plastic
2) Rust-Oleum Painter’s Touch Ultra Cover
3) Testors Enamel ¼ oz 1100 & 1500
4) Detail Paint Brush Set
5) Canvas Tarp
6) Vallejo Surface Primer
7) Paint Drying Rack
